Introduction
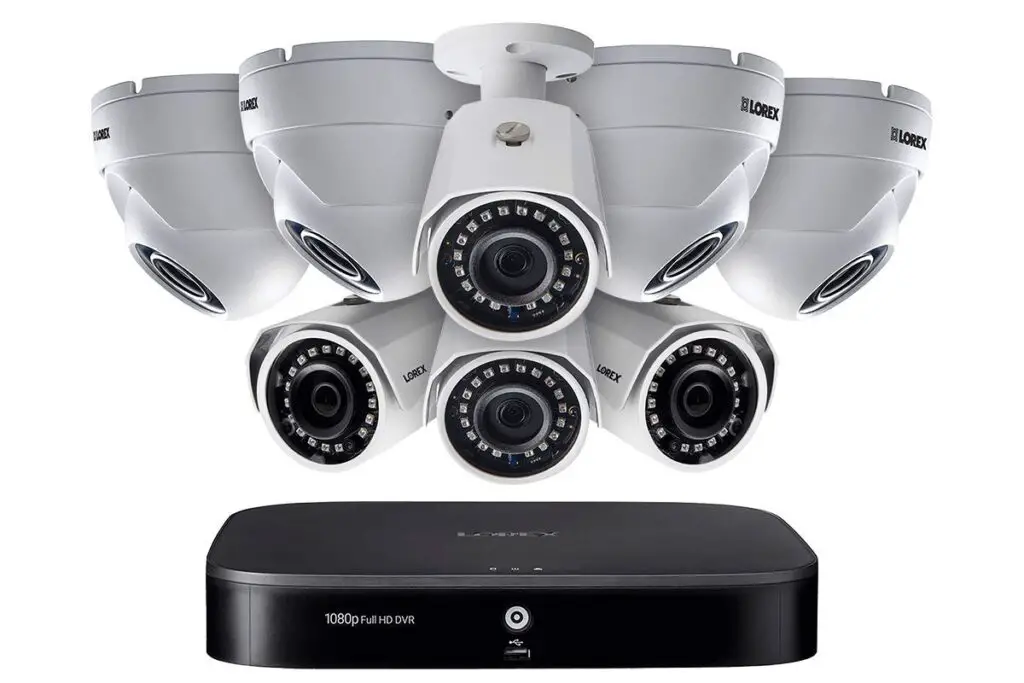
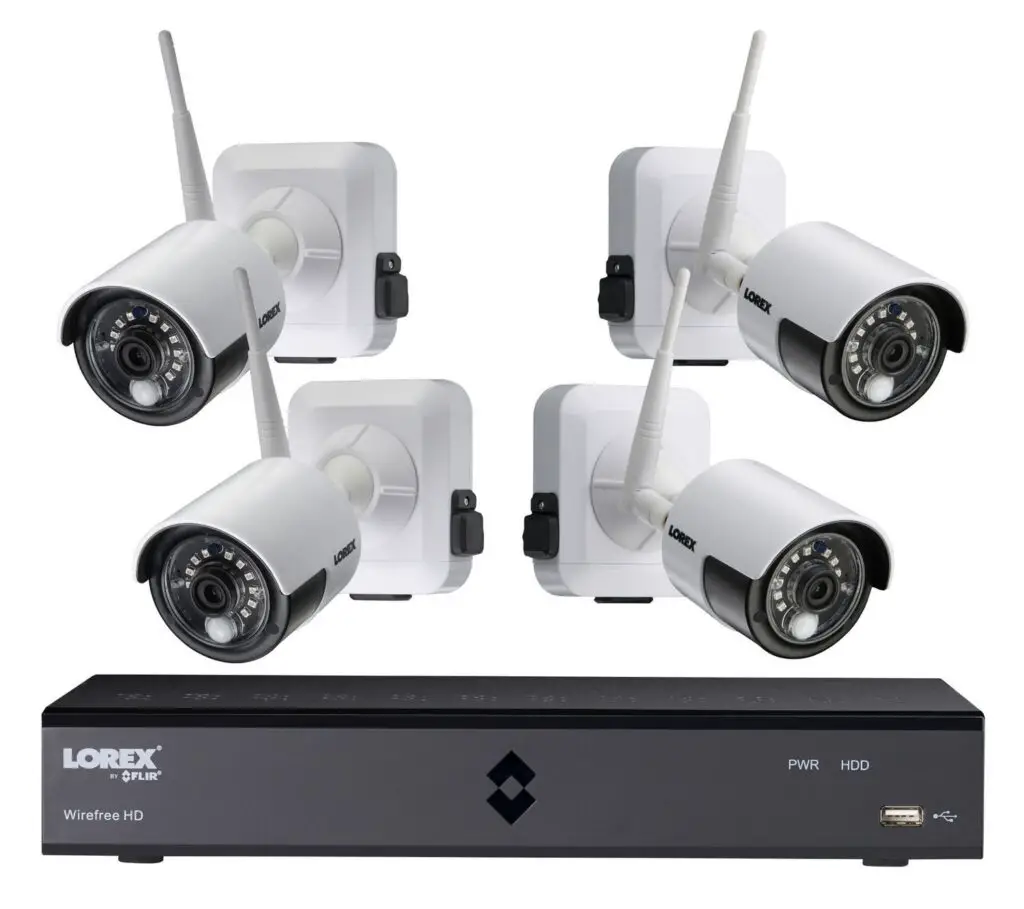
How To Set Up Lorex Camera: Before diving into the setup process, it’s crucial to understand the components involved. A typical Lorex camera system consists of cameras, a digital video recorder (DVR) or network video recorder (NVR), cables, and a monitor or mobile device for viewing. Depending on the specific model you have, there may be additional accessories or features to consider. To begin the setup process, ensure you have all the necessary equipment readily available and familiarize yourself with the instruction manual provided by Lorex.
This manual will serve as a comprehensive guide, offering detailed information specific to your camera system model. Firstly, determine the optimal locations for installing your security cameras. Consider areas that require monitoring, such as entrances, driveways, or key points of interest. It’s essential to position the cameras strategically to maximize their coverage while minimizing blind spots. Keep in mind factors such as lighting conditions, potential obstructions, and the camera’s field of view.
Once you have identified the camera locations, mount them securely using the included mounting hardware. Ensure that the cameras are protected from harsh weather conditions and have a clear line of sight for capturing relevant footage. Make sure to tighten all screws and adjust the camera angles for optimal positioning.

How do I connect my Lorex IP camera?
To connect IP cameras using a router or PoE switch:
- Right-click on the Live View to access the Quick Menu.
- Click Device Search.
- Log in using your administrator login information.
- Select the camera you would like to add.
- Click Add, the status indicator will turn green if the camera is successfully connected.
Before connecting your Lorex IP camera, it’s important to have a clear understanding of your network setup. Decide whether you will connect the camera directly to your router or use a network switch. Ensure that your network has a stable internet connection to enable remote access and viewing.
Begin by plugging in the Lorex IP camera to a power source using the provided power adapter. Make sure the camera is receiving power and the LED lights are illuminated.
Once the camera is connected to your network, verify its connectivity. If you have access to the camera’s web interface, enter the camera’s IP address into a web browser on a computer connected to the same network. If the camera’s web interface opens, it indicates a successful connection.
To access and manage your Lorex IP camera, you will need to configure its settings. Open a web browser on a computer connected to the same network and enter the camera’s IP address. Log in using the default username and password provided in the camera’s documentation or change them to secure your system. From the settings interface, you can customize various parameters such as video resolution, recording schedules, motion detection, and network settings.
What app works with Lorex cameras?
A professional app for professional security camera systems. Lorex Cloud keeps you connected no matter where life takes you.
The Lorex Cirrus app is designed specifically for Lorex IP cameras and NVR systems. It enables you to monitor your cameras remotely and access all the features of your surveillance system. The app allows you to view live video, review recorded footage, manage camera settings, and receive motion detection alerts. The Lorex Cirrus app is available for both iOS and Android devices.
The Lorex Secure app is another mobile application that works with Lorex cameras and systems. It provides remote access to your cameras, allowing you to view live video and recorded footage from anywhere. The app offers customizable motion detection settings, instant push notifications, and the ability to playback and save video clips. The Lorex Secure app is available for both iOS and Android devices.
Lorex Cloud is a cloud-based app that enables you to store and access your surveillance footage remotely. With this app, you can securely store your video recordings in the cloud, ensuring that your data is protected and easily accessible. The Lorex Cloud app allows you to view live video, play back recorded footage, and customize various settings. It is available for iOS and Android devices.
FLIR Cloud is a versatile app that works with Lorex cameras and other FLIR branded surveillance systems. It provides remote access to your cameras, allowing you to view live video feeds, playback recorded footage, and adjust camera settings.
Do Lorex cameras need wifi?
It doesn’t require Wi-Fi or the internet, but you can use it with the Lorex Home app if you want. While Lorex cameras perform well compared to brands like Arlo and Ring, they’re more expensive, and some models require stringing long wires around the house.
Many Lorex cameras support PoE technology, which combines power and data transmission over a single Ethernet cable. PoE cameras are connected to a PoE switch or injector, which supplies both power and network connectivity. This eliminates the need for separate power adapters and simplifies the installation process. PoE cameras can be easily integrated into an existing wired network infrastructure, making them suitable for larger installations.
Some Lorex cameras are equipped with built-in Wi-Fi capabilities, allowing them to connect directly to a wireless network. This enables you to place the cameras in locations where running Ethernet cables may be impractical. Wi-Fi connectivity offers flexibility in camera placement and can be especially useful for temporary setups or locations without accessible Ethernet ports. However, it’s important to note that a stable and reliable Wi-Fi network is required for optimal performance.
Lorex cameras can be connected directly to a network video recorder (NVR) or digital video recorder (DVR) using Ethernet cables. This wired connection ensures a stable and reliable transmission of both power and video signals. By connecting the cameras to the recorder via Ethernet cables, you can access the camera feeds and recordings through the NVR or DVR system without relying on Wi-Fi.
Are Lorex cameras legal?
Lorex products are designed for consumer and business use only and not for US federal governments, federally-funded projects or contractors subject to NDAA.
Privacy Laws: Privacy laws vary across jurisdictions, and it is crucial to comply with local regulations when using surveillance cameras. Privacy laws often dictate where cameras can be placed, what areas can be monitored, and how the recorded footage can be used. It is important to respect individuals’ privacy rights and avoid unauthorized surveillance in areas where privacy is expected, such as bathrooms, changing rooms, or private property owned by others.
Consent: In some regions, it may be a legal requirement to inform individuals that they are being recorded by prominently displaying signage or obtaining explicit consent. This is particularly important if the cameras are monitoring areas where individuals have a reasonable expectation of privacy, such as employee break rooms or residential areas.
Public vs. Private Property: Different rules may apply depending on whether the cameras are installed on public or private property. Generally, individuals have a lower expectation of privacy in public areas, such as streets or public parks. However, it is important to be aware of any specific local regulations or restrictions regarding the installation and use of cameras in public spaces.
Audio Recording: Some jurisdictions have specific regulations concerning the recording of audio. If your Lorex camera system includes audio recording capabilities, it is essential to understand the laws regarding audio surveillance in your area. In certain regions, obtaining consent from individuals being recorded or informing them of audio recording may be required.
Is Lorex camera safe?
However, Lorex security cameras are relatively secure because all of the footage is stored locally on a hard drive instead of in cloud storage where hackers can access them.
Lorex cameras employ encryption protocols to secure the transmission of video footage and other data. This helps prevent unauthorized access and interception of the video feed. It is important to ensure that your Lorex camera system uses up-to-date encryption standards to protect against potential security vulnerabilities.
Properly securing your Lorex camera system starts with setting strong and unique passwords. It is important to change the default login credentials provided by Lorex and choose strong passwords that are not easily guessable. This helps prevent unauthorized access to your cameras and system settings.
Regular firmware updates from Lorex are crucial for maintaining the security of your camera system. These updates often include security patches and bug fixes that address known vulnerabilities. Staying up to date with the latest firmware releases and promptly applying them helps protect your system from potential security threats.
When connecting your Lorex camera system to a network, it’s important to follow best practices for network security. This includes securing your Wi-Fi network with a strong password, enabling network encryption (e.g., WPA2), and regularly updating your router’s firmware. Additionally, enabling firewall protection and utilizing network segmentation can add an extra layer of security to your network.
Do Lorex cameras have night vision?
Most security cameras from Lorex use active night vision to see at night. You may have noticed tiny LEDs around the lens of security cameras. These are infrared LEDs (Light Emitting Diode), which act a kind of flood light that bathes the scene in front of the camera in infrared light.
The night vision range of Lorex cameras can vary depending on the specific model and its specifications. Lorex offers a range of cameras with different night vision capabilities, including short-range, medium-range, and long-range options. Short-range cameras typically offer night vision coverage up to 50 feet, while long-range cameras can provide coverage of up to several hundred feet. Consider your specific surveillance needs and the desired coverage area when selecting a Lorex camera with night vision.
Lorex cameras with night vision typically produce high-quality images, allowing for clear visibility and detailed surveillance footage in low-light conditions. The camera’s image sensor, combined with advanced technology and lens quality, contributes to the clarity and sharpness of the night vision images. It is important to review the specifications and customer reviews of specific Lorex camera models to determine their image quality and performance in various lighting conditions.
Some Lorex cameras feature Smart IR technology, which helps optimize the distribution of infrared light. This technology adjusts the intensity of the infrared illumination based on the distance of the object being captured. It ensures even illumination and minimizes overexposure or hotspots in close-up or distant objects, resulting in more balanced and accurate night vision images.
Do Lorex cameras need a DVR?
Most Lorex security camera systems are built around a DVR (digital video recorder) or NVR (network video recorder). Both are central devices that need to sit within Wi-Fi or Ethernet cable range of your router. Those devices process videos from the cameras and then store them in a built-in hard drive.
DVRs and NVRs come with built-in hard drives or support external storage devices to store the recorded footage. The storage capacity varies depending on the specific model and configuration. Larger storage capacities allow for longer retention of recorded footage, ensuring you have access to historical data when needed. It is important to consider your surveillance needs and choose a DVR or NVR with an appropriate storage capacity.
The DVR or NVR provides a user-friendly interface for reviewing recorded footage. It allows you to easily search and playback specific time frames or events, enabling efficient analysis and investigation. The playback features may include options for slow motion, fast forward, and frame-by-frame viewing, making it easier to scrutinize details and extract relevant information from the recorded video.
In addition to recording and playback, the DVR or NVR enables live monitoring of the Lorex camera feeds. It allows you to view the live video streams from multiple cameras simultaneously, providing real-time monitoring and surveillance capabilities. This feature is essential for proactive monitoring, security, and situational awareness.
Do Lorex cameras have audio?
Lorex 4K (8MP) Smart IP Bullet Security Camera with Listen-in Audio and Real-Time 30FPS Recording – White.
Lorex cameras with audio capabilities can capture and record audio along with the video footage. This can be valuable in situations where audio evidence is necessary or for capturing conversations or sounds in the surveillance area. Audio recording is subject to legal considerations and privacy laws, so it’s important to be aware of and comply with any relevant regulations.
Lorex camera systems usually offer settings to control the audio features. You can typically adjust the audio sensitivity level, choose whether to include audio recording or disable it, and customize audio alerts or notifications. These settings allow you to tailor the audio functionality according to your specific surveillance requirements.
Lorex cameras synchronize the captured audio with the corresponding video footage, ensuring accurate representation and correlation between the two. This synchronization enhances the usability of the captured data for investigation, analysis, or evidence purposes. When reviewing recorded footage, you can playback both audio and video together, providing a comprehensive view of the surveillance event.
When using Lorex cameras with audio capabilities, it is important to be aware of and comply with local laws and regulations regarding audio recording and privacy. In some jurisdictions, obtaining consent from individuals being recorded or displaying signage indicating audio surveillance may be required. Understanding the legal implications and adhering to the applicable laws is essential to ensure compliance and protect individuals’ privacy rights.

Conclusion
During the setup process, it’s important to carefully plan the camera placements to ensure maximum coverage and minimal blind spots. Mount the cameras securely, taking into account factors like lighting conditions and potential obstructions. Make sure to tighten all screws and adjust the camera angles for optimal positioning.
Connecting the cameras to the DVR or NVR using the provided cables is a straightforward process. Lorex camera systems often utilize PoE technology, simplifying the installation by transmitting power and video signals over a single cable. By following the instructions in the manual, you can ensure a proper connection for each camera.
Configuring the network settings for remote viewing is crucial for accessing your camera system from anywhere. Whether through mobile or web applications, Lorex camera provides convenient ways to monitor your cameras using smartphones, tablets, or computers. Follow the instructions to connect the recorder to your local network or configure it for remote access according to your preferences.
Once the hardware connections are complete, take the time to customize the settings based on your requirements. Adjust video quality, enable motion detection, set up email alerts, or create recording schedules. Refer to the instruction manual to access the camera system’s settings interface and make the necessary adjustments.

