Introduction
How To Install A Lorex Camera System: Lorex camera system is a great way to enhance the security of your home or business. Lorex is a trusted brand known for its high-quality surveillance equipment, offering a range of options to suit different needs and budgets. Whether you’re a homeowner looking to protect your property or a business owner wanting to monitor your premises, this guide will walk you through the step-by-step process of installing a Lorex camera system. It’s always a good idea to consult the user manual provided with your Lorex camera system for detailed instructions tailored to your particular model.
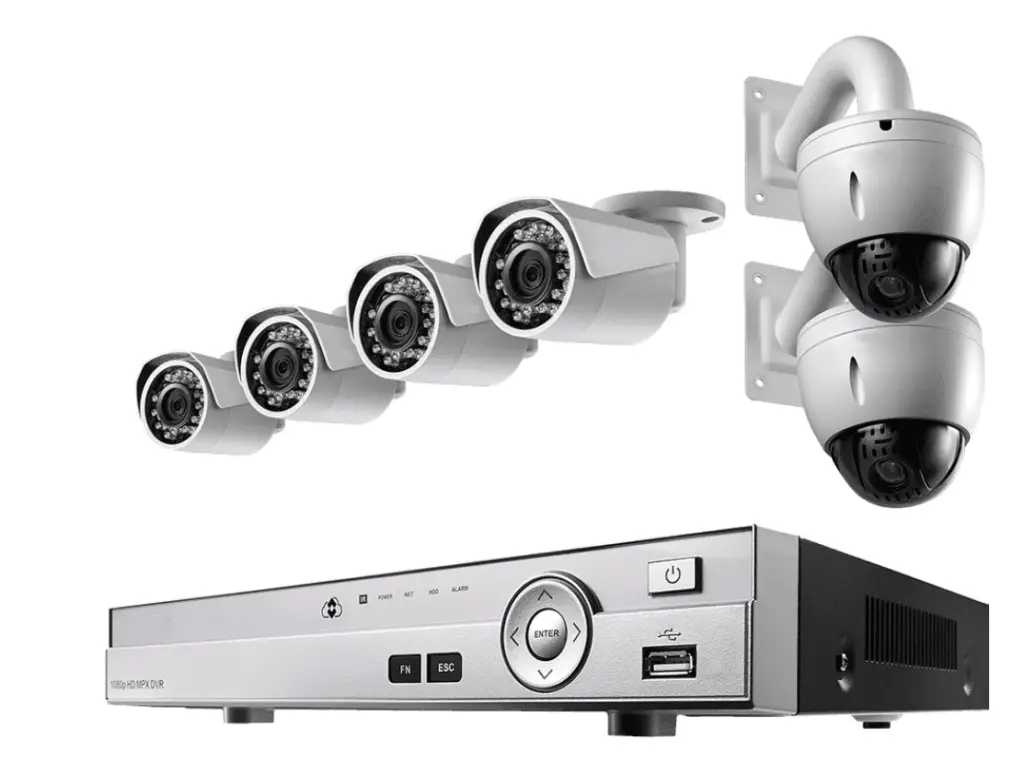
Before you begin the installation process, it’s important to familiarize yourself with the components of the Lorex camera system you’ve purchased. Typically, a Lorex camera system consists of cameras, a digital video recorder (DVR) or network video recorder (NVR), cables, power adapters, and a monitor or mobile device for viewing the camera feeds. You may also need to set up remote access to view the camera feeds on your mobile devices or computer.
To begin the installation, you will need to plan the camera placements based on your security needs and the areas you want to monitor. Consider factors such as entry points, vulnerable areas, and blind spots. Once you have identified the ideal locations for your cameras, you can proceed with the installation process.
The installation process generally involves mounting the cameras, running cables, connecting them to the DVR or NVR, and configuring the system for optimal performance.

How do I set up my Lorex camera?
How to add a camera to the Lorex Smart Home Security Center via the Lorex Home App
- Launch the Lorex Home app.
- Sign up or log in.
- Tap the + icon to add a new camera.
- Scan the QR code located on your camera. .
- Tap Next once the device ID has been recognized.
- When you’ve completed the on-screen instructions tap Next.
Unboxing and Familiarization
Start by unboxing your Lorex camera system and familiarize yourself with the components. Typically, a Lorex camera system includes cameras, a digital video recorder (DVR) or network video recorder (NVR), cables, power adapters, and a monitor or mobile device for viewing camera feeds. Take some time to read the user manual and review the instructions specific to your model.
Camera Placement
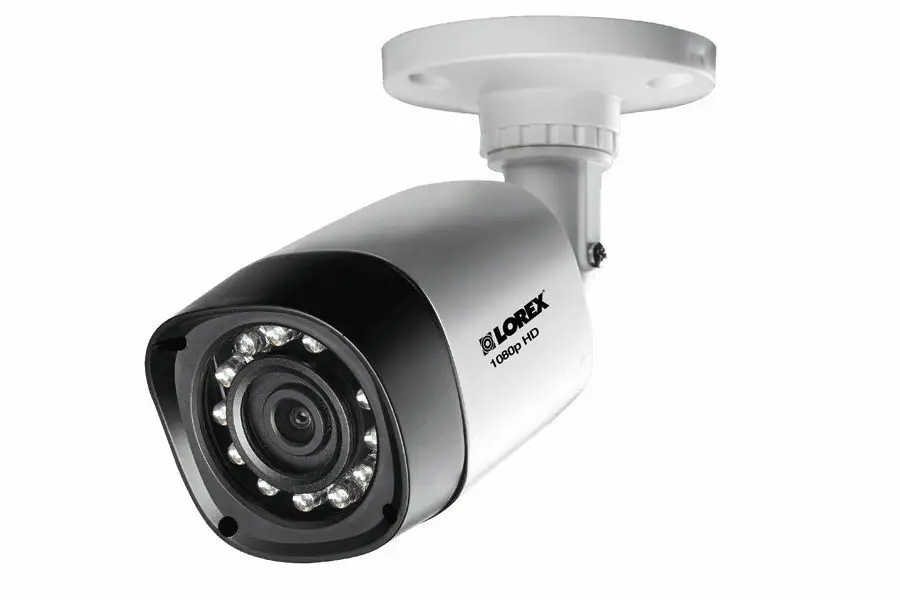
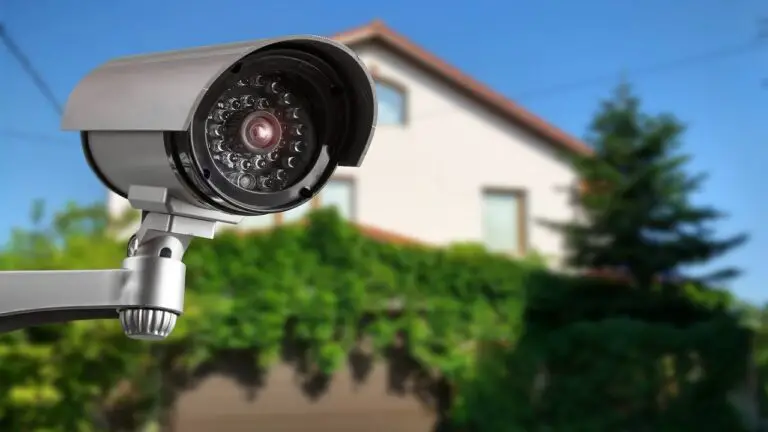
Carefully plan the placement of your cameras to maximize coverage and ensure effective surveillance. Identify the areas you want to monitor, such as entry points, parking lots, or vulnerable spots. Consider the field of view, the camera’s range, and potential obstacles that may hinder visibility. Mount the cameras at appropriate heights and angles, ensuring they are securely fixed.
Running Cables
Connect your cameras to the DVR or NVR by running the cables. Lorex camera systems usually utilize either coaxial cables (BNC connectors) or Ethernet cables (RJ45 connectors). Follow the provided instructions for cable routing, making sure to hide or secure the cables for a clean and professional installation.
How do I connect my Lorex camera to my network?
To connect IP cameras using a router or PoE switch:
- Right-click on the Live View to access the Quick Menu.
- Click Device Search.
- Log in using your administrator login information.
- Select the camera you would like to add.
- Click Add, the status indicator will turn green if the camera is successfully connected.
Camera Configuration
Start by configuring your Lorex camera for network connection. Connect the camera to power and the DVR or NVR using the provided cables. Power on the camera and access the camera’s settings menu either through the connected monitor or using the Lorex mobile app. In the settings, locate the network configuration options.
Wired Connection
Lorex cameras typically support both wired and wireless connections. For a wired connection, use an Ethernet cable to connect the camera to an available Ethernet port on your router. Ensure that the connection is secure and firmly plugged in on both ends.
Wireless Connection
If you prefer a wireless connection, your Lorex camera needs to have Wi-Fi capability. In the camera’s settings menu, navigate to the wireless network settings. Scan for available Wi-Fi networks and select your network from the list. Enter the network password when prompted, and the camera will establish a wireless connection to your network.
IP Address Assignment
To access your Lorex camera over the network, it needs a unique IP address. By default, Lorex cameras are set to obtain an IP address automatically using DHCP (Dynamic Host Configuration Protocol). If your network supports DHCP, the camera should automatically obtain an IP address. However, if you prefer a static IP address, consult the camera’s user manual for instructions on manually assigning an IP address.
How do I add Lorex camera to my existing system?
We’ll start with the LSHSC.
- Tap the + icon in the middle of the screen.
- Tap on the type of device you are adding.
- Tap Next.
- Follow the on-screen instructions.
- The Lorex Home Center will search for available devices.
- Select the device(s) you wish to set up.
- Tap Next.
- Tap on Enter device name to name the camera.
Camera Selection
Choose the Lorex camera that meets your specific requirements and complements your existing cameras in terms of resolution, field of view, and features. Ensure that the Lorex camera you select matches the technology supported by your existing system (e.g., analog, HD-CVI, IP) to ensure seamless integration.
Mounting and Positioning
Decide on the optimal location for the new Lorex camera, considering the areas you want to monitor and any blind spots in your existing coverage. Mount the camera securely, following the provided instructions and any specific requirements for your chosen camera model.
Power Supply
Provide power to the new Lorex camera. If your existing system has spare power outlets or power supply ports, you can connect the camera directly to the existing power source. Alternatively, if the camera requires a separate power source, ensure you have the necessary power adapter and connections available.
Video Connection
Determine the type of video connection your Lorex camera requires and ensure compatibility with your existing system. Common video connection options include BNC connectors for analog systems, coaxial cables for HD-CVI systems, or Ethernet cables for IP systems. Connect the video cable from the new Lorex camera to the corresponding input port on your DVR or NVR.

Do you need Internet for Lorex cameras?
It doesn’t require Wi-Fi or the internet, but you can use it with the Lorex Home app if you want. While Lorex cameras perform well compared to brands like Arlo and Ring, they’re more expensive, and some models require stringing long wires around the house.
If you only intend to view and record footage locally without remote access, an internet connection may not be necessary. Lorex camera systems typically come with a Digital Video Recorder (DVR) or Network Video Recorder (NVR) that allows you to connect and record multiple cameras directly to the device. You can view the camera feeds and recorded footage on a connected monitor or TV without internet connectivity.
To access and monitor your Lorex cameras remotely, an internet connection is required. With an internet connection, you can use Lorex’s mobile app or computer software to view live camera feeds and playback recorded footage from anywhere using your smartphone, tablet, or computer. Remote access allows you to stay connected to your surveillance system, receive alerts, and monitor your property even when you’re not physically present.
Some Lorex camera systems offer cloud storage and backup services, allowing you to store your recorded footage securely in the cloud. Cloud storage provides an extra layer of protection in case your local DVR or NVR is compromised or damaged. If you choose to utilize cloud storage, an internet connection is necessary for the cameras to upload the recorded footage to the cloud.
How does Lorex camera system work?
Most Lorex security camera systems are built around a DVR (digital video recorder) or NVR (network video recorder). Both are central devices that need to sit within Wi-Fi or Ethernet cable range of your router. Those devices process videos from the cameras and then store them in a built-in hard drive.
Transmission and Connectivity
The captured video signals are transmitted through cables to the DVR or NVR. Lorex camera systems offer both wired and wireless connectivity options, allowing the cameras to be connected to the recording device either through coaxial cables (BNC connectors), Ethernet cables (RJ45 connectors), or via a wireless connection using Wi-Fi.
Recording and Storage
The DVR or NVR is responsible for receiving and processing the video signals from the cameras. It records the video footage onto a built-in hard drive or external storage device. The Lorex camera system typically supports various recording modes, such as continuous recording, scheduled recording, or motion-triggered recording, allowing you to customize the system based on your surveillance needs.
Playback and Review
Once the video footage is recorded, you can easily access and review it. Lorex camera systems provide a user-friendly interface on the DVR or NVR, allowing you to search, browse, and playback recorded footage. You can navigate through the timeline or use specific search criteria (time, date, motion events) to find the desired footage for review.
What Internet speed do I need for Lorex camera?
The minimum recommended upload speed is 1Mbps for remote connection on most models. A higher upload speed results to a quicker loading time on the camera and a more reliable connection to…
Remote Access and Mobile Viewing
To access your Lorex camera system remotely and view live camera feeds or playback recorded footage using the Lorex mobile app or computer software, an internet connection is necessary. The recommended internet speed for remote viewing varies depending on the resolution and compression settings of your cameras. However, a minimum upload speed of 2 Mbps is typically sufficient for smooth remote access and mobile viewing. Higher internet speeds will provide a more seamless and responsive experience, especially if you have multiple cameras or plan to stream high-resolution video.
Cloud Storage and Backup
If you choose to utilize cloud storage and backup services offered by Lorex, the internet speed becomes more crucial. Uploading recorded footage to the cloud requires a stable and sufficient upload speed to ensure timely and efficient data transfer. The recommended upload speed for cloud storage and backup can range from 5 Mbps to 10 Mbps or higher, depending on the size and resolution of your recorded footage.
Firmware Updates and Remote Support
To keep your Lorex camera system up to date with the latest features and security enhancements, firmware updates are essential. These updates typically require internet connectivity to download and install the firmware onto your cameras or recording device. A reliable internet connection with reasonable download speeds is necessary for a smooth firmware update process.
Can you view Lorex cameras remotely?
Live View & Playback
Lorex apps allow you to stay connected to your security device or system from virtually anywhere in the world. See exactly what your cameras see, or watch recorded playback of past events, right from your mobile device.
Camera System Configuration
Configure your Lorex camera system for remote access. Ensure that your cameras, DVR or NVR, and network settings are properly set up to enable remote viewing. This typically involves configuring port forwarding on your router and ensuring that your system is accessible from outside your local network.
Account Setup
Create an account within the Lorex mobile app or software. Follow the provided instructions to set up your account, which may involve providing your system’s unique identifier (device ID or serial number) and assigning a username and password. This account will be used to access and manage your Lorex camera system remotely.
Logging In and Connecting
Launch the Lorex mobile app or software on your device. Log in to your account using the assigned username and password. Once logged in, the app or software will search for your Lorex camera system on the internet. It will establish a connection to your cameras, enabling you to view live feeds and access recorded footage remotely.
Remote Viewing Features
Once connected, you can remotely view live camera feeds, play back recorded footage, and manage your Lorex camera system. The app or software typically provides options for selecting specific cameras, adjusting viewing settings, enabling motion alerts, and controlling other system features remotely.
Are Lorex cameras hard wired?
We sell everything from 32-camera professional-grade wired IP security systems to easy-to-install wire-free (battery-operated ) security systems to smart home security products such as Wi-Fi cameras, video doorbells, floodlight cameras, and even security sensors.
Hardwired (Wired) Cameras
Hardwired Lorex cameras require a physical connection to a power source and the recording device (DVR or NVR) using cables. The most common type of hardwired connection for Lorex cameras is through coaxial cables with BNC connectors. These cables transmit both video and power signals from the camera to the recording device. Hardwired cameras provide a reliable and consistent connection, ensuring stable video transmission and power supply.
PoE (Power over Ethernet) Cameras
Some Lorex cameras utilize Power over Ethernet (PoE) technology. PoE cameras are connected to the recording device using Ethernet cables (RJ45 connectors). These cables provide both video transmission and power supply through a single cable. PoE cameras simplify installation as they eliminate the need for separate power adapters and allow for a neater and more organized setup. PoE cameras require a PoE-capable NVR or a separate PoE switch to provide power.
Wireless Cameras
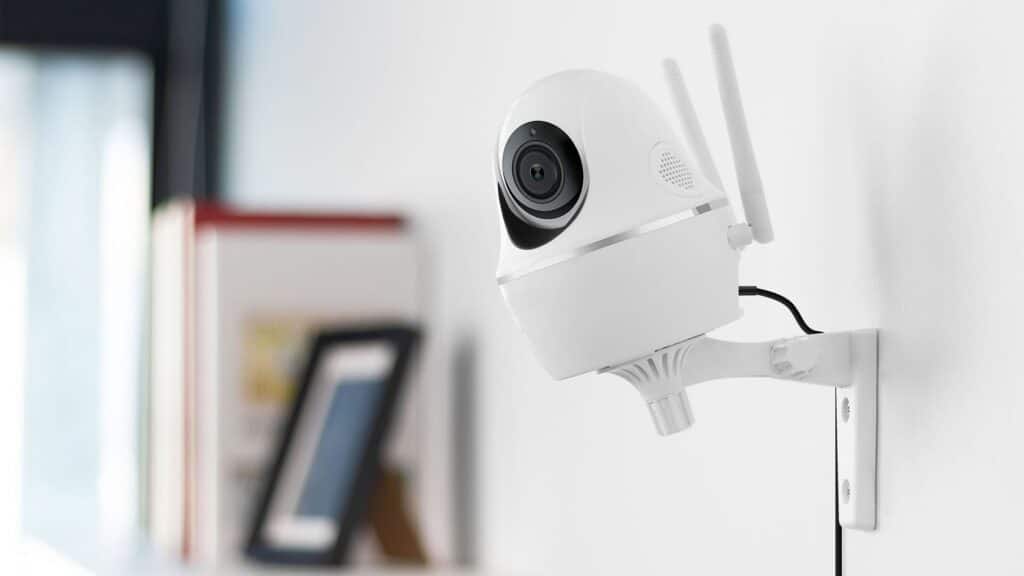
Lorex also offers wireless cameras that do not require a physical cable connection to the recording device. Wireless cameras transmit video signals to the NVR or a wireless receiver using Wi-Fi or other wireless technologies. These cameras still require a power source, typically through a power adapter or battery, but eliminate the need for running video cables. Wireless cameras provide flexibility in terms of installation locations and can be useful for situations where running cables may be challenging or impractical.

Conclusion
A Lorex camera system can be a rewarding experience as it allows you to enhance the security of your home or business. Throughout this guide, we have explored the general steps involved in the installation process, which include planning camera placements, mounting cameras, running cables, connecting to a DVR or NVR, and configuring the system.
It is important to emphasize that while the installation process may require some basic technical skills, Lorex provides comprehensive documentation and support to guide you through each step. Make sure to consult the user manual specific to your model for detailed instructions tailored to your system. By installing a Lorex camera system, you gain the ability to monitor and protect your property, deter potential intruders, and have evidence in case of any incidents.
Additionally, Lorex offers remote access options, enabling you to view camera feeds on your mobile devices or computer, providing convenience and peace of mind. Throughout the installation process, it is crucial to prioritize safety, adhere to local regulations, and respect the privacy of individuals on your property by notifying them about the presence of surveillance security cameras.
Remember, if you encounter any difficulties during the installation, Lorex’s customer support is there to assist you. They can provide further guidance and troubleshooting to ensure that your Lorex camera system is functioning optimally. Installing a Lorex camera system is an investment in the security and protection of your property. By following the steps outlined in this guide and relying on the support provided by Lorex, you can successfully set up a reliable and effective surveillance solution.

