Introduction
How To Mount Blink Camera: Home security has become a primary concern for homeowners and renters alike. In an age where technology continues to advance, smart security systems offer a convenient and effective solution to keep our homes safe. One such system that has gained immense popularity is the Blink camera. Boasting user-friendly features, wireless functionality, and high-definition video recording, Blink cameras are an excellent choice for monitoring your property.
Whether you’re a tech-savvy individual or a novice, setting up your Blink camera doesn’t have to be a daunting task. Focus on pre-installation preparations, including selecting the right location, evaluating Wi-Fi signal strength, and ensuring the camera is adequately charged. Proper planning in this phase is essential for maximizing camera coverage and minimizing potential blind spots.
The actual mounting process. This section will cover the various mounting options provided by Blink, such as screwing the camera onto walls, using magnetic mounts, or opting for outdoor weatherproof enclosures. We will also discuss the importance of camera angles and positioning to capture the most relevant footage. To complement the mounting process, the setup and synchronization of the Blink camera with your smartphone or computer.

What is the best way to mount Blink camera?
The simplest method is to use a screw and anchor system. This requires drilling two holes into the mounting surface and using screws and anchors to secure the camera. If you don’t want to drill holes into your wall, you can also use an adhesive mount.
The best way to mount a Blink camera is to follow a systematic approach that considers factors such as location, visibility, and security. Here’s a step-by-step guide to achieving the optimal mounting setup:
Select the ideal location
Choose a spot that offers a clear view of the area you want to monitor. Ensure it is within the camera’s Wi-Fi range for a stable connection.
Evaluate camera angle
Mount the camera at an angle that covers the desired area while minimizing potential blind spots. The camera should be placed at a height that avoids obstruction and tampering.
Utilize weatherproofing options
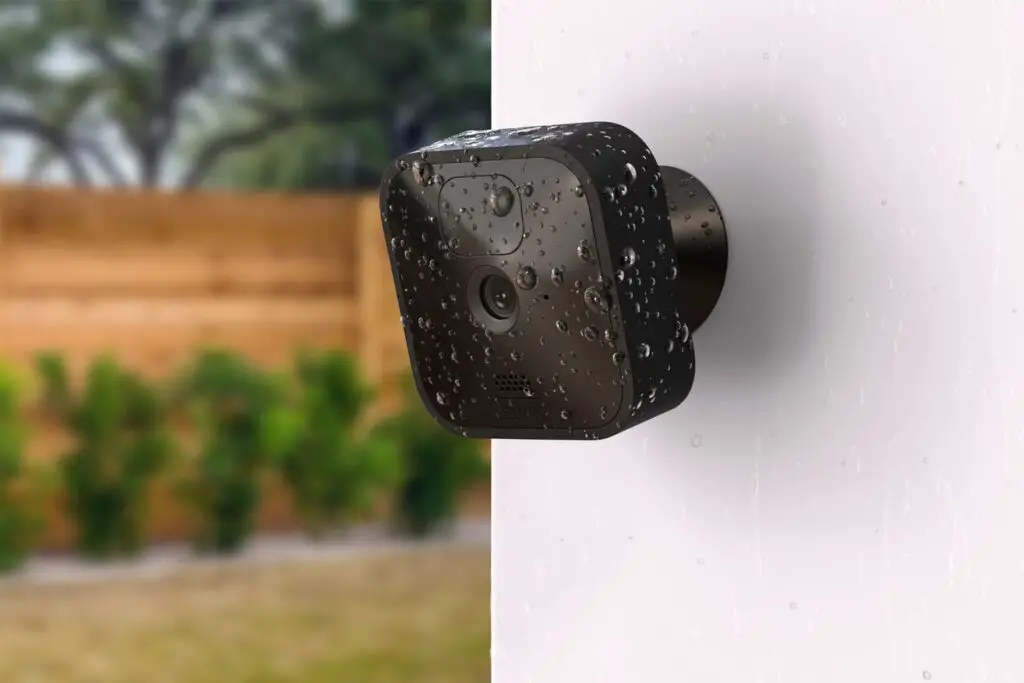
If installing the camera outdoors, consider using weatherproof enclosures to protect the device from the elements.
Mount securely
Use the appropriate mounting option, such as screws or magnetic mounts, based on your location. For higher security, use screws to secure the camera firmly to a wall or ceiling.
Test the view
Before finalizing the installation, check the camera’s live view in the Blink app to ensure it captures the intended area effectively.
Optimize motion detection settings
Adjust the motion detection sensitivity and zone settings in the app to reduce false alarms and focus on critical areas.
Regular maintenance
Periodically clean the camera’s lens to maintain clear video quality and check for firmware updates to ensure the latest features and improvements.
Can you mount Blink camera to wall?
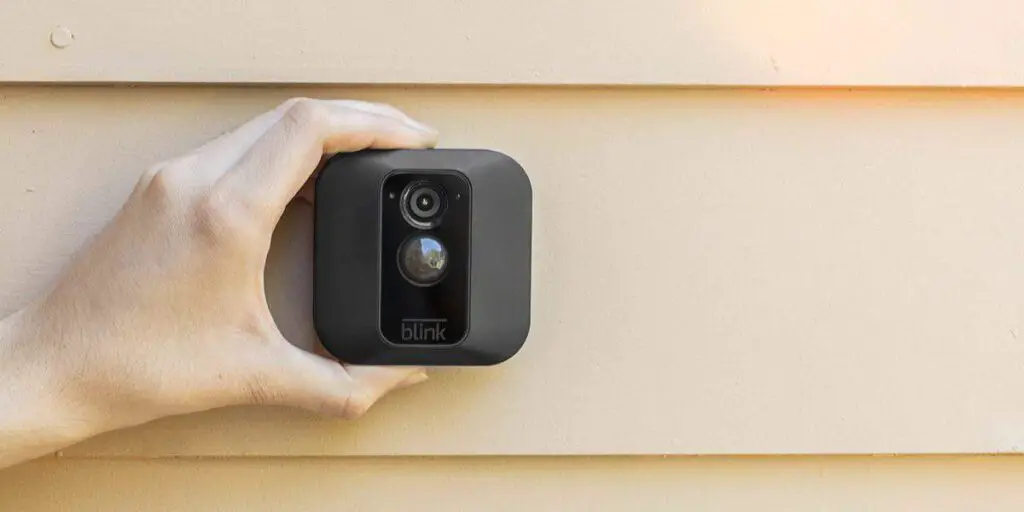
Installation requires no specialized tools, you can install it in a minute by hand. Once mount bracket is fixed on the wall, you can press the blink mini camera to the mounting kit and adjust the angle for a better view. Please adjust your angle before you mount so you know where to mark the installation screws.
Yes, the Blink camera can be easily mounted to a wall, making it a versatile and popular choice for home security setups. Mounting the Blink camera to a wall offers several advantages, such as providing a higher vantage point, better coverage, and reducing the risk of tampering or theft.
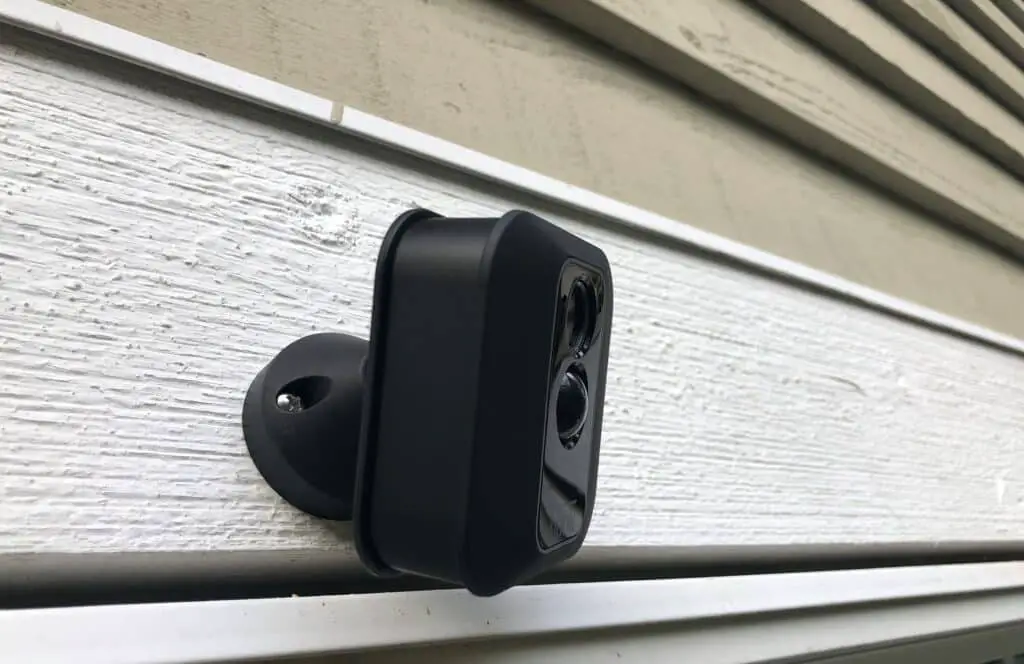
To mount the Blink camera to a wall, you can use the provided mounting bracket and screws. Start by selecting the desired location on the wall, ensuring it offers a clear view of the area you want to monitor. Use a level to make sure the camera will be mounted straight. Next, mark the positions for the screw holes on the wall and drill appropriately sized holes.
Attach the mounting bracket to the wall using screws and make sure it is firmly secured. Then, slide the Blink camera onto the mounting bracket until it clicks into place. The camera’s magnetic base ensures a stable connection to the bracket while allowing for easy adjustments in its viewing angle.
Where do you mount a Blink camera?
The best range of detection is within 5 to 20 feet (about 1.5 to 6m) from the camera. By placing your camera higher off of the ground, you can avoid smaller animals causing motion alerts.
The ideal locations to mount a Blink camera depend on the specific surveillance needs and the layout of your property. Here are some common and strategic areas to consider for mounting a Blink camera:
Entryways
Mounting a Blink camera above the front door, back door, or garage entrance provides a clear view of anyone entering or exiting your home.
Driveway and Parking Area
Placing a Blink camera to monitor your driveway or parking area can help you keep track of vehicles or potential intruders approaching your property.
Backyard
Mounting a Blink camera in the backyard can cover a wide area, including gardens, play areas, and outdoor valuables.
Windows
Mounting the camera near windows facing vulnerable areas can offer additional coverage and visibility.
Staircases and Hallways
For indoor use, consider mounting a Blink camera in hallways or near staircases to monitor movement within your home.
High-Value Item Storage
Mounting a camera near areas where valuable items are kept, such as safes or expensive equipment, can add an extra layer of security.
Blind Spots
Identify any blind spots or areas that are not visible from other camera angles and mount a Blink camera there to ensure comprehensive coverage.
Do you need a mount for Blink camera?
Your Blink XT2 comes with a camera mount, mount riser, and two screws in the box. If you would like to order more, you may do so at amazon.com. The mount riser is used to increase the distance from the mounting surface to the camera, allowing for a wider range of motion when positioning the camera.
The need for a mount for your Blink camera depends on your specific installation requirements and the desired positioning of the camera. While a mount is not always mandatory, it can offer numerous advantages that improve the camera’s functionality and effectiveness.
If you plan to install the Blink camera indoors or on a flat surface, such as a table or shelf, a mount may not be necessary. The camera’s magnetic base allows for easy attachment to metal surfaces or the use of adhesive tape for mounting on flat surfaces.
However, when it comes to outdoor installations or locations with specific angles and coverage requirements, a mount becomes essential. Blink provides various mounting options, including screw mounts for walls and ceilings, as well as magnetic mounts for metallic surfaces.
Using a mount ensures that the camera is securely fixed in the desired position, minimizing the risk of tampering or misalignment. Moreover, it allows you to place the camera at an optimal height and angle to achieve the best view of the area you want to monitor.

How far can I mount Blink camera?
100 ft. away
How far away can camera units be placed? Under normal circumstances, the Sync Module is capable of communicating with Blink cameras up to 100 ft. away in any direction.
In an open area, Blink cameras can be mounted up to 100 feet (30 meters) from the Wi-Fi network with no interference.
Walls, large objects, and electrical equipment can restrict signal range.
To get the optimum performance and coverage, evaluate the Wi-Fi signal strength where you’ll put the Blink camera. You can measure Wi-Fi signal strength at the camera mounting place with your smartphone or other tools.
Can you mount Blink camera sideways?
The camera in the doorbell has a field of view pointing straight out from the mounting surface. If the image does not capture the desired view, a Wedge Mount offers a 5° vertical tilt and a Corner Mount offers 25° horizontal tilt.
Yes, you can mount a Blink camera sideways, which can be advantageous in certain situations to achieve a specific field of view or cover areas that would be difficult to monitor with a traditional upright orientation. Mounting the Blink camera sideways allows you to rotate the camera lens horizontally, altering its viewing angle and expanding its coverage range.
Before mounting the camera sideways, consider the following:
Camera Adjustment
Use the Blink app to adjust the camera’s orientation after mounting it sideways. This ensures that the live view and recorded footage display correctly.
Stability
Ensure that the mount used can securely hold the camera in the sideways position. A sturdy mount will prevent the camera from drooping or moving unintentionally.
Cable Management
If the camera has a power cable, make sure it is managed properly to avoid strain or tangling when mounted sideways.
Location Suitability
Assess the specific area you want to monitor and determine if mounting the camera sideways provides the best vantage point and coverage.
Sideways mounting is particularly useful when covering narrow walkways, fence lines, or long corridors. It can also be helpful when dealing with limited mounting options in confined spaces.
Can a blink camera zoom in?
A Basic mode lets you set zones over the whole field of view, while an Advanced mode allows you to zoom in on areas for more precise detection control.
Traditional cameras with optical zoom can zoom in and out, but blink cameras have a fixed field of view.
The Blink app may offer digital zoom on select Blink cameras. Digital zoom lets you electronically enlarge a captured image on screen. Digital zoom can help you see details, but it may lower image quality because the program is growing pixels.
The Blink app allowed digital zoom on select Blink cameras.Digital zoom lets viewers focus on live or recorded video. As digital zoom increases, software interpolation may lower image quality. Other security cameras with optical zoom lenses may have higher image quality and zoom. These cameras can zoom in on faraway objects without compromising image quality.
How do I hide my blink camera?
Hang It Behind a Mirror
Find a mirror that is large enough to cover the camera and hang it in front so that the Blink camera is behind. Hidden from view, the camera is still able to record through the glass.
Hiding your Blink camera can be a practical approach if you wish to discreetly monitor an area without drawing attention to the camera’s presence. While the purpose of security cameras is often to act as a deterrent, there may be instances where you prefer to keep the camera hidden to maintain a covert surveillance strategy. Here are some tips on how to hide your Blink camera effectively:
Camouflage
Consider using camouflage covers or skins designed to blend the camera with its surroundings. These covers can match the color and texture of nearby objects, making the camera less conspicuous.
Strategic Placement
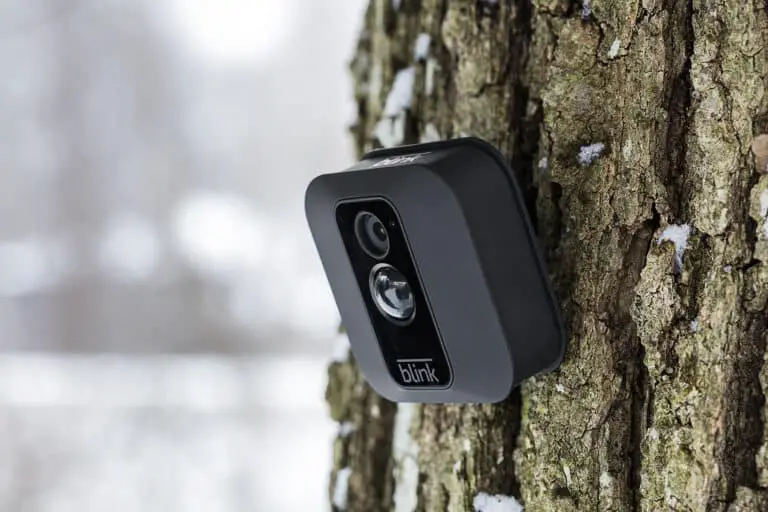
Choose mounting locations that offer natural hiding spots, such as amidst foliage, behind shrubs, or within outdoor fixtures like birdhouses or light fixtures.
Use Accessories
Look for accessories that allow you to disguise the camera further, such as mounting brackets with extensions or flexible arms that can position the camera out of direct sightlines.
Use Decorative Elements
Integrate the camera into decorative elements like flower pots, outdoor sculptures, or ornaments, which can help to conceal the device.
Angle Adjustment
Tilt the camera slightly downwards or sideways to minimize its visibility while maintaining its monitoring capabilities.
Conceal the Cable
If your camera has a visible power cable, ensure it is discreetly hidden or routed along existing structures to avoid drawing attention.
Are Blink cameras waterproof?
Only one Blink camera is water-resistant: the Blink Outdoor, which has an IP65 weather rating. Blink’s indoor cameras are not waterproof, and we don’t recommend leaving them out in a rainstorm or dropping them in a bathtub.
Weather-resistant Blink cameras were not waterproof. Blink offers indoor and outdoor camera types, with the outdoor models designed to endure rain, snow, and heat.
Blink outside cameras are IP65-rated for dust and water resistance. They are water-resistant enough for outdoor use, but they should not be submerged in water or subjected to heavy rain.
Follow the manufacturer’s instructions and place your Blink outside camera in a sheltered position to maximize its lifespan and performance. Weatherproof enclosures or covers can give further protection, especially in places prone to severe rain or extreme weather.

Conclusion
By checking Wi-Fi signal strength and charging, you may improve camera performance and reduce setup issues.
Blink offers wall screws, magnetic mounts, and weatherproof enclosures, so you may customize the installation. To cover your property completely, we stressed camera angles and positioning. This easy-to-use interface integrates into your daily routine, giving you peace of mind away from home.
Maintenance tips and troubleshooting techniques discussed maintain the efficiency and reliability of your Blink camera system over time. Regularly checking for updates, ensuring proper power supply, and keeping the camera lenses clean will contribute to its longevity and consistent performance. By following the guidelines outlined in this guide, you have acquired the knowledge and confidence to mount your Blink camera effectively. Embracing the power of smart security technology, you can now safeguard your home and loved ones with ease.

