Introduction
How To Install Arlo Camera: Installing a security camera system in your home or office is a smart decision to ensure the safety and security of your premises. One popular option in the market is the Arlo camera, known for its advanced features and user-friendly installation process. Whether you are a tech-savvy individual or a beginner, this article will guide you through the step-by-step process of installing an Arlo camera system.
The Arlo camera system is a top choice for many due to its wireless design, high-definition video quality, and advanced motion detection capabilities. With Arlo, you can monitor your property remotely through a smartphone or computer, receive instant alerts for any suspicious activity, and even communicate with individuals near the camera require using the built-in speaker and microphone. Additionally, Arlo cameras are weatherproof, making them suitable for both indoor and outdoor use.
Before diving into the installation process, it is essential to gather all the necessary equipment and familiarize yourself with the components of the Arlo camera system. The basic components typically include the Arlo cameras, a base station, power adapters, Ethernet cable, and mounting hardware. Ensure that you have a stable internet connection and a compatible device to access the Arlo app, which will be used for the setup and management of your camera system.

How do I connect my Arlo camera to Wi-Fi?
Connecting your Arlo camera to Wi-Fi is a simple process that can be done in a few easy steps. By following these instructions, you will be able to set up your camera and start monitoring your home or office in no time.
The first step in connecting your Arlo camera to Wi-Fi is to ensure that you have a stable internet connection. Make sure that your Wi-Fi router is turned on and that you have the correct network name and password.
Next, you will need to download the Arlo app on your smartphone or tablet. The app is available for both iOS and Android devices and can be found in the respective app stores. Once you have downloaded the app, open it and create an Arlo account if you don’t already have one.
After creating an account, you will need to add your Arlo camera to the app. To do this, tap on the “”Add Device”” option and select “”Camera”” from the list of available devices. Follow the on-screen instructions to complete the setup process.
Once your camera is added to the app, you will be prompted to connect it to Wi-Fi. Tap on the “”Connect to Wi-Fi”” option and select your network from the list of available networks. Enter your Wi-Fi password when prompted and wait for the camera to connect.
Once the camera is connected to Wi-Fi, you can customize its settings and preferences through the Arlo app. You can adjust the camera’s motion detection sensitivity, set up activity zones, and enable notifications for any detected motion.
How do I set up Arlo camera app?
Arlo camera app is a popular choice for home security systems, offering users the ability to monitor their property remotely. Setting up the Arlo camera app is a relatively straightforward process that can be completed in just a few simple steps. In this guide, we will walk you through the process of setting up the Arlo camera app, ensuring that you can start monitoring your property in no time.
Arlo app download first.
The Arlo camera app must be downloaded onto your smartphone or tablet before setup. Apple and Android users can download the Arlo app from their app stores. Search for “”Arlo”” and install the app.
Step 2: Register for Arlo
Create an Arlo account after downloading the app. This account lets you control Arlo cameras remotely. Open the Arlo app and select “”New to Arlo”” to register. To register, enter your email address, password, and account information on the page.
Third, install Arlo cameras.
After creating your Arlo account, set up your cameras. Start by connecting the base station to your home Wi-Fi. This is commonly done by following Arlo camera system instructions. After connecting the base station, add cameras. Pairing the camera with your account usually requires scanning a QR code or providing a serial number.
Step 4: Adjust parameters
After installing your Arlo cameras, you can change their settings. Adjust motion detection sensitivity, create activity zones, and enable notifications. The Arlo app’s easy-to-use interface lets you tweak these settings to get only the most important alerts.
How do I reset an Arlo camera?
Arlo cameras are popular wireless security cameras that are known for their ease of use and high-quality video recording capabilities. However, like any electronic device, there may be times when you need to reset your Arlo camera. Whether you are experiencing technical issues or simply want to start fresh, resetting your Arlo camera can help resolve many common problems.
Resetting an Arlo camera is a relatively simple process that can be done in just a few steps. The exact method may vary slightly depending on the model of your Arlo camera, but the general steps are the same.
To reset an Arlo camera, start by locating the reset button on the camera. This button is typically located on the back or bottom of the camera and may be labeled as “”reset”” or represented by a small hole. Once you have located the reset button, use a small, pointed object such as a paperclip or pin to press and hold the button for about 10 seconds.
While holding the reset button, you may notice that the camera’s LED lights start flashing. This is an indication that the reset process has begun. Continue to hold the reset button until the LED lights stop flashing and remain solid. This usually takes about 10-20 seconds.
Once the LED lights have stopped flashing and remain solid, release the reset button. At this point, your Arlo camera has been successfully reset. It is important to note that resetting your Arlo camera will erase all of its settings and configurations, so you will need to set it up again as if it were a new camera.
What do I need for Arlo cameras?
Arlo cameras are a popular choice for home security systems due to their wireless capabilities and easy installation process. If you are considering purchasing Arlo cameras for your home, there are a few essential items you will need to ensure they function properly and provide the level of security you desire.
The first thing you will need for Arlo cameras is a stable internet connection. Since Arlo cameras are wireless, they rely on your home’s Wi-Fi network to transmit video footage and receive commands. Without a reliable internet connection, your Arlo cameras may experience lag or be unable to connect to the Arlo app on your smartphone or computer.
In addition to a stable internet connection, you will also need a compatible device to access and control your Arlo cameras. This can be a smartphone, tablet, or computer that meets the minimum system requirements for the Arlo app. The Arlo app allows you to view live video feeds, adjust camera settings, and receive notifications when motion is detected.
Another essential item you will need for Arlo cameras is a base station or SmartHub. The base station acts as the central hub for your Arlo cameras, allowing them to connect to your home’s Wi-Fi network and communicate with the Arlo app. The base station also provides additional features such as local storage for video recordings and the ability to connect multiple Arlo cameras to a single system.
Lastly, you will need to consider the power source for your Arlo cameras. Arlo cameras are typically powered by batteries, which provide the advantage of easy installation and flexibility in camera placement. However, depending on the location and usage of your Arlo cameras, you may also need to purchase additional batteries or consider alternative power options such as solar panels or outdoor power adapters.
Can I use my Arlo camera without base station?
Arlo cameras can be used without base stations, although there are restrictions. The Arlo camera system uses a base station to connect all its cameras. The base station connects to your home network and lets you control your cameras via the Arlo app or web site.
Also available is an Arlo Go base station-free camera. An integrated SIM card connects the Arlo Go cellular camera to the internet. The Arlo Go camera can be used without Wi-Fi in rural or outdoor regions.
Video and other data are transmitted via cellular data via the Arlo Go camera, requiring a data plan. Without a base station, the Arlo Go camera needs cellular data.
Use an Arlo camera without a base station using the app or internet interface. The new Arlo SmartHub connects chosen cameras to your home Wi-Fi network without a base station. Find Arlo cameras with this feature.
Arlo camera setup is simple. Follow these steps:
Access your Arlo camera and accessories. Examine camera, bracket, screws, and other equipment.
2) Select a camera placement. It should be near your Wi-Fi network and overlook the area you want to monitor.
Mounting bracket screws. Take care to keep it still.
- Mount and adjust camera. Most Arlo cameras have magnetic bases for easy adjustment.
Step 5: Connect the camera to Wi-Fi using Arlo app or manual. This usually involves QR code scanning or network credentials.
Step 6: Adjust Arlo app camera settings after connection. Adjust motion detection sensitivity, create activity zones, and enable notifications.
The Arlo camera should monitor your target after these instructions.
Are there any specific requirements or tools needed for installing an Arlo camera?
Yes, there are specific requirements and tools needed for installing an Arlo camera. Here are the key requirements:
1. Wi-Fi Network: You need a stable Wi-Fi network with a minimum upload speed of 1 Mbps for each Arlo camera. Make sure your Wi-Fi network is within range of the camera’s location.
2. Arlo Base Station: An Arlo camera requires an Arlo Base Station to connect to your Wi-Fi network. The base station acts as a hub for your Arlo cameras and provides the necessary connectivity.
3. Arlo Mobile App: To set up and manage your Arlo camera, you need to download the Arlo mobile app on your smartphone or tablet. The app is available for both iOS and Android devices.
4. Power Source: Arlo cameras can be powered by either batteries or an AC power adapter. Make sure you have the appropriate power source for your camera.
5. Mounting Hardware: Depending on where you want to install your Arlo camera, you may need mounting hardware such as screws, anchors, or magnetic mounts. Check the camera’s packaging for any included mounting accessories.
By ensuring you have these requirements and tools, you can successfully install and set up your Arlo camera for optimal performance and security.
Can you provide a detailed guide on setting up the Arlo camera system?
Setting up the Arlo camera system is a relatively straightforward process. Here is a step-by-step guide to help you get started:
Step 1: Start by unboxing your Arlo camera and all its accompanying accessories. Make sure you have all the necessary components, including the camera itself, the base station, power adapters, and Ethernet cables.
Step 2: Connect the base station to your router using the provided Ethernet cable. Plug in the power adapter for the base station and wait for it to power on. Once the base station is powered on, the LED lights on the front should start blinking.
Step 3: Download the Arlo app on your smartphone or tablet. Create an Arlo account if you don’t already have one. Open the app and follow the on-screen instructions to set up your Arlo system. This will involve scanning the QR code on the base station and connecting it to your Arlo account.
Step 4: Once the base station is connected to your Arlo account, you can start adding your Arlo cameras. Place the camera in the desired location and make sure it is within range of the base station. Press the sync button on the camera and wait for the LED light to blink rapidly. The camera will then be added to your Arlo system.
Step 5: Repeat the process for each additional camera you want to add to your Arlo system. You can add multiple cameras to monitor different areas of your home or property.
By following these steps, you should be able to set up your Arlo camera system quickly and easily. If you encounter any issues during the setup process, consult the Arlo user manual or contact Arlo customer support for further assistance.
Are there any troubleshooting tips for common installation issues with Arlo cameras?
Yes, there are some common installation issues that users may encounter when setting up Arlo cameras. Here are a few troubleshooting tips to help resolve these issues:
1. Poor Wi-Fi signal: If you are experiencing connectivity issues with your Arlo camera, it could be due to a weak Wi-Fi signal. Make sure that your camera is within range of your Wi-Fi router and try moving it closer if necessary. Additionally, check for any potential sources of interference, such as other electronic devices or thick walls, that may be blocking the signal.
2. Camera not detecting motion: If your Arlo camera is not detecting motion properly, first ensure that the camera is positioned correctly and has a clear line of sight to the area you want to monitor. Adjust the camera’s sensitivity settings if needed. If the issue persists, try restarting the camera or performing a factory reset. You can also check for any firmware updates for your camera and install them if available.
Is there a recommended location or positioning for installing Arlo cameras for optimal performance?
Yes, there are recommended guidelines for the location and positioning of Arlo cameras to ensure optimal performance. Here are some key factors to consider:
1. Line of sight: It is important to have a clear line of sight between the camera and the area you want to monitor. Avoid obstructions such as walls, trees, or other objects that may interfere with the camera’s view. This will help ensure that the camera captures clear and unobstructed footage.
2. Height and angle: Mount the camera at a height that provides a good vantage point for capturing the desired area. The ideal height is usually around 7 to 10 feet above the ground. Additionally, consider the angle at which the camera is positioned. Aim it slightly downwards to capture the full view of the area without any blind spots.
3. Wi-Fi signal strength: Arlo cameras rely on a stable Wi-Fi connection to function properly. Therefore, it is important to install the camera within range of your Wi-Fi router. If the signal strength is weak in the intended location, consider using a Wi-Fi extender or relocating the router to improve the connection.

Conclusion
Arlo cameras are a popular choice for home security systems due to their ease of installation and high-quality video monitoring capabilities. Whether you are a tech-savvy individual or a beginner, setting up an Arlo camera can be a straightforward process if you follow the right steps. In this guide, we will walk you through the process of installing an Arlo camera, ensuring that you can enjoy the benefits of a reliable home security system.
The first step in installing an Arlo camera is to determine the ideal location for your device. It is recommended to place the camera in an area that provides a clear view of the desired monitoring area, such as the front door or backyard. Additionally, ensure that the camera is within the range of your Wi-Fi network to ensure a stable connection. Once you have identified the location, you can proceed with the installation process.
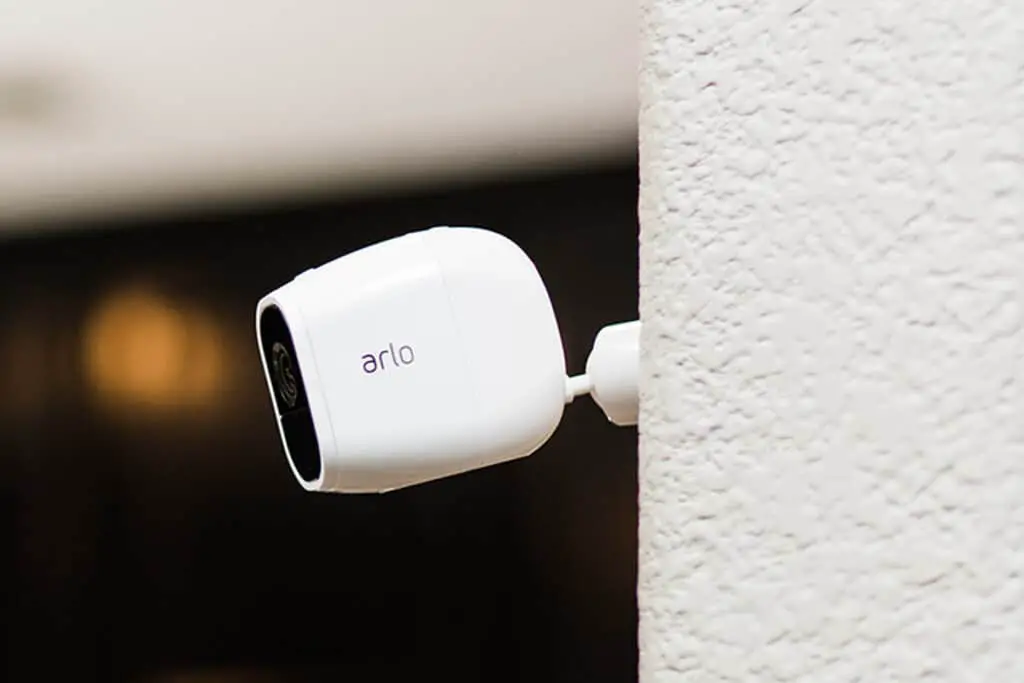
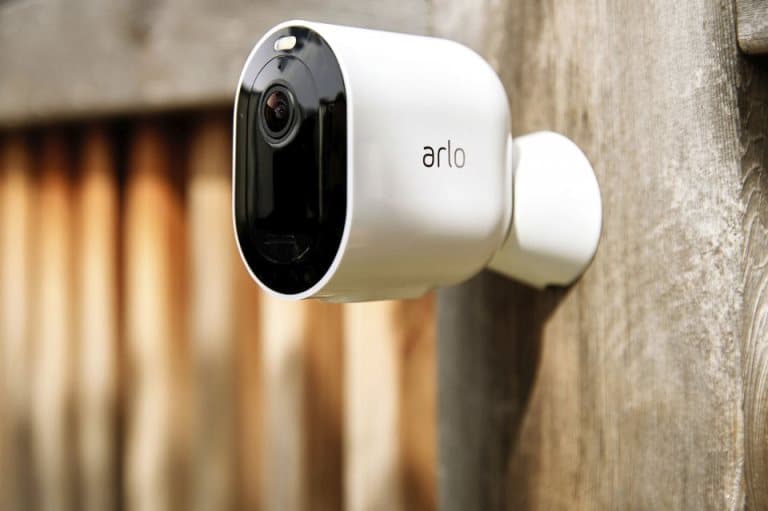
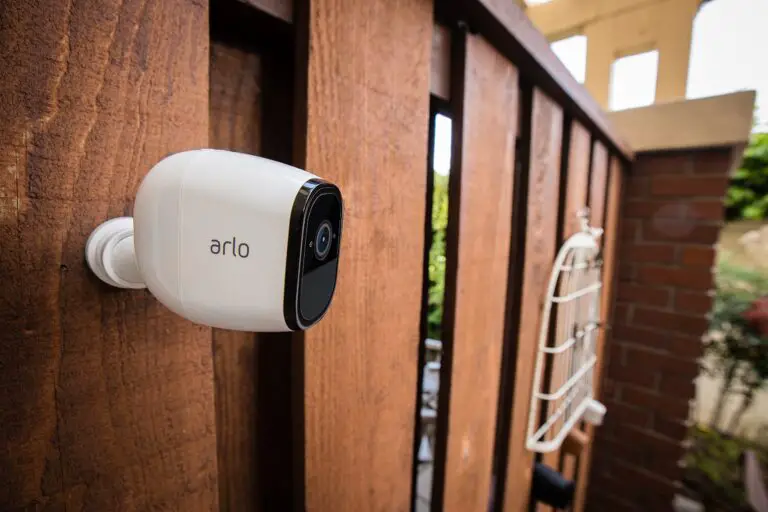
Next, you will need to mount the Arlo camera in the chosen location. Arlo cameras come with a magnetic mount that allows for easy attachment to various surfaces. Simply attach the mount to the desired location using screws or adhesive, and then attach the camera to the mount. This magnetic mount provides flexibility in adjusting the camera’s angle and direction, allowing you to achieve the optimal viewing angle.

