Introduction
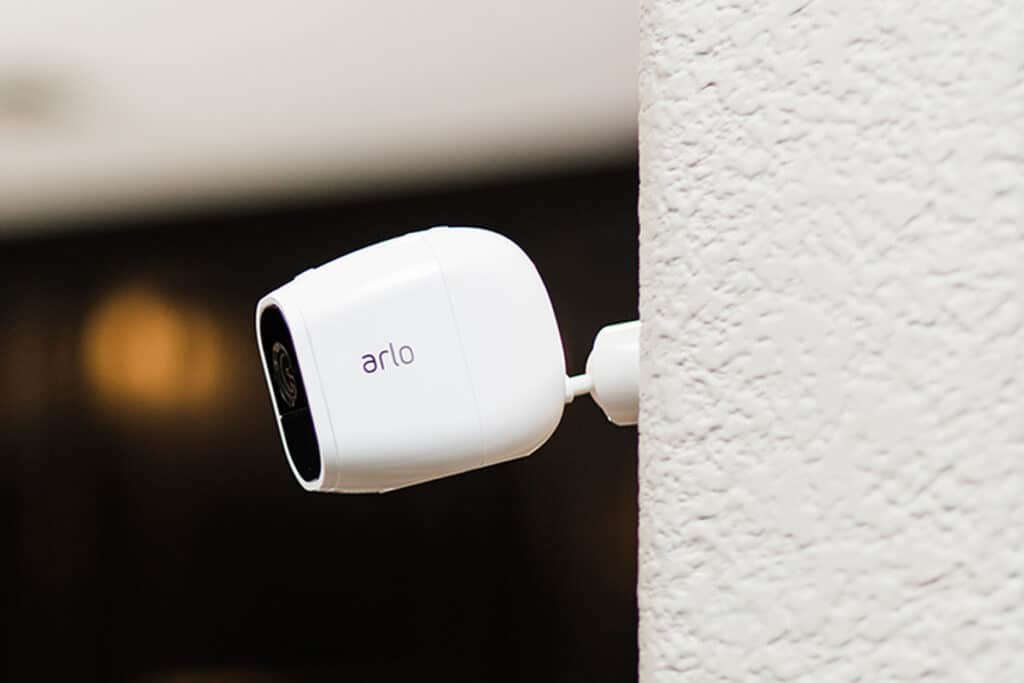
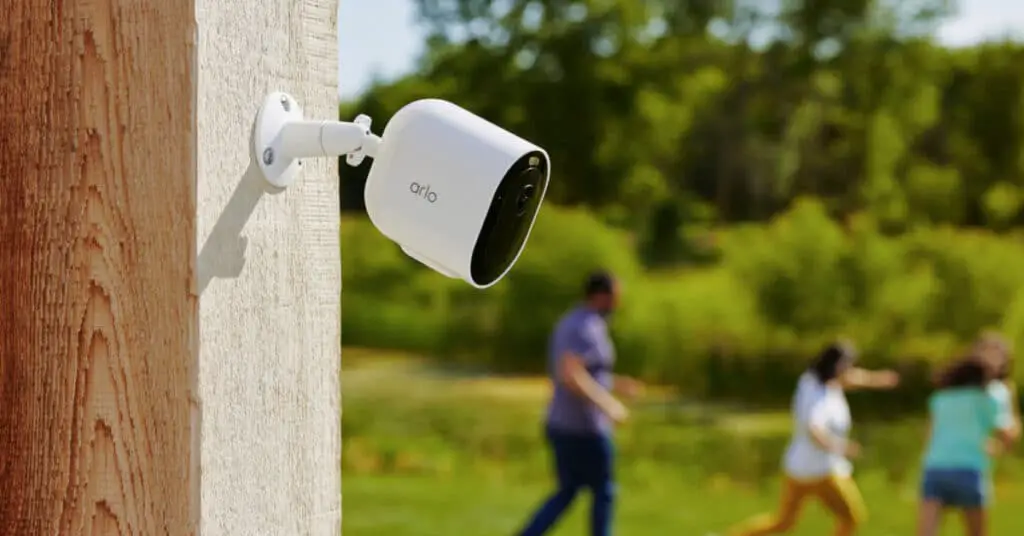
How To Mount Arlo Camera Outside: One effective way to do so is by installing outdoor security cameras. Among the top choices in the market, the Arlo camera stands out for its advanced features and ease of use. In this article, we will guide you on how to mount an Arlo camera outside, ensuring maximum coverage and protection.
Before mounting your Arlo camera, it is crucial to select the right location. Consider areas that are vulnerable to break-ins or where you need to monitor activity closely. Look for spots with a clear line of sight and minimal obstructions. Additionally, ensure that the camera install is within the range of your Wi-Fi network for seamless connectivity.
Once you have identified the ideal location, gather the necessary mounting equipment. The Arlo camera typically comes with a magnetic mount, allowing for easy installation on metal surfaces. However, if you plan to mount it on a non-metal surface, you may need additional hardware such as screws, anchors, or adhesive mounts. Refer to the camera’s user manual for specific instructions on the mounting process.
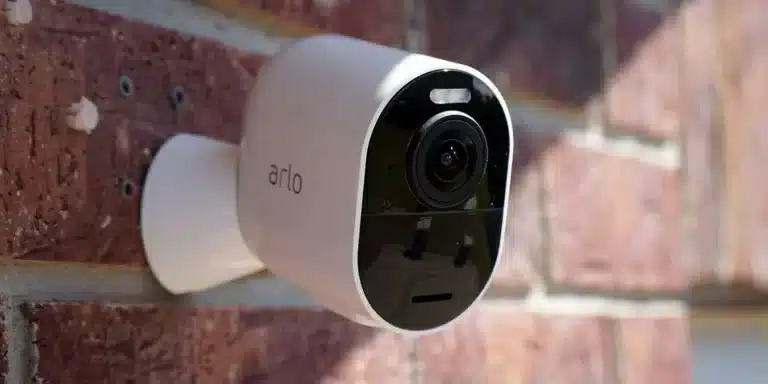
Now that you have everything ready, it’s time to mount the Arlo camera. Start by attaching the magnetic mount to the desired location. Ensure that it is securely fastened to prevent any accidental falls or tampering. If using screws or anchors, follow the provided instructions to affix the mount firmly. Once the mount is in place, attach the camera to it, making sure it is aligned correctly for optimal viewing angles.

What are the tips for mounting Arlo camera?
Mounting an Arlo camera is an essential step in setting up a reliable and effective home security system. Whether you are looking to monitor the front door, backyard, or any other area of your property, proper camera placement is crucial for capturing clear and useful footage. To ensure that your Arlo camera is mounted correctly, there are a few tips that you should keep in mind.
First, carefully select your Arlo camera location. Choose the finest viewing spots for your regions of interest. Look for areas with clear views and little trees, bushes, or walls. Make sure the camera is at a height for optimal coverage.
Second, check the camera’s field of vision before installation. Try temporarily positioning the camera in the appropriate location and watching the Arlo app live stream. Thus, you can ensure the camera captures the desired area without blind areas.
Next, mount the Arlo camera using the right hardware. Arlo cameras come with brackets and screws to fasten them to walls, ceilings, and poles. A sturdy and secure installation requires following the manufacturer’s instructions and using the appropriate hardware.
Additionally, consider local weather before mounting the Arlo camera. If the camera will be exposed to rain, snow, or high temperatures, find a protected location or buy weatherproof housing. This will extend camera life and assure weather resistance.
Finally, after mounting the Arlo camera, modify its position and angle to optimize coverage. Adjust the camera and verify it captures the desired area using the Arlo app’s live broadcast. Make sure the camera hasn’t moved accidently by checking its position often.
Where should I mount my Arlo camera?
When it comes to mounting your Arlo camera, there are a few factors to consider in order to ensure optimal performance and security. The placement of your camera plays a crucial role in capturing clear and useful footage, as well as deterring potential intruders. Here are some key points to keep in mind when deciding where to mount your Arlo camera.
- Height and angle: Arlo camera height and angle drastically affect performance. The camera is best mounted 7–10 feet above the ground for a decent view and protection against tampering. Angle the camera slightly downwards to capture a larger field of vision and reduce sunlight glare.
- Line of sight: Arlo cameras need unobstructed lines of sight to capture reliable footage. Avoid hiding the camera behind trees, bushes, or other obstructions. Distance between the camera and the region to be monitored is also important. Find a spot with a clear view of the desired region to avoid poor image quality.
- Weather resistance: Arlo cameras are weatherproof, but weather can still affect operation. If you live in a place with significant rain or snow, position the camera under an eave or covered porch. This will keep the camera working well and extend its lifespan.
- Accessibility: Mounting your Arlo camera for optimal coverage is vital, but so is ease of maintenance and battery replacement. Pick a convenient spot so you can reach the camera when needed. This will save time and effort over time.
Can Arlo magnetic mount be used outside?
Yes, the Arlo magnetic mount can be used outside. The Arlo magnetic mount is designed to be weatherproof and durable, making it suitable for outdoor use. It is made from high-quality materials that can withstand various weather conditions, including rain, snow, and extreme temperatures. The magnetic mount is also resistant to rust and corrosion, ensuring its longevity and performance even when exposed to the elements.
These versatile cameras may be used indoors and outdoors, thus the Arlo magnetic mount is intended for them. Your Arlo camera can be attached to a metal fence, gate, or car using the magnetic mount. This makes installing and repositioning your camera easy without drilling or complicated mounting solutions.
Additionally, the magnetic mount secures your Arlo camera. The powerful magnets keep your camera in place even in windy or vibrating circumstances. This ensures a quality video feed and prevents camera damage or theft.
The Arlo magnetic mount is waterproof, sturdy, and flexible for camera orientation. The mount supports 360-degree rotation and tilt, making it easy to angle and tilt your camera to get the perfect shot. It lets you monitor specific regions or points of interest outdoors, making it valuable.
How do I hide my Arlo camera outside?
There are several ways to hide your Arlo camera when placing it outside. Whether you want to keep it discreet or protect it from potential theft, hiding your camera can be a smart move. In this article, we will discuss some effective methods to hide your Arlo camera outside.
- Camouflage: Camouflage is a simple technique to hide your Arlo camera. Camouflage skins and covers for Arlo cameras are available. To merge the camera with its surroundings, these skins come in various patterns and hues. Camouflage your camera to make it difficult to spot.
- Concealment: Another way to hide your Arlo camera. Place the camera behind plants, decorations, or birdhouses. You may hide the camera by properly situating it. However, obstructing the camera’s field of view may reduce its usefulness.
- outside Housing: For further security and privacy, consider an outside housing for your Arlo camera. These weatherproof housings can be mounted on walls, trees, or other surfaces. They generally have adjustable angles so you may set the camera for best coverage while being discreet.
- Blending in: Another excellent approach to disguise your Arlo camera is by blending in. The camera can be white for a light wall or black for a dark nook. Blending the camera color makes it harder to spot.
- Strategic Placement: Finally, put your Arlo camera strategically. Hide the camera by placing it high on a wall or behind greenery. Keep the camera out of reach of thieves to prevent theft or tampering.
How far can an Arlo camera be from the base?
An Arlo camera can be placed up to 300 feet away from the base station. This wireless range allows for flexible placement of the camera throughout your home or property, ensuring that you can monitor the areas that matter most to you.
Arlo’s great range comes from a unique wireless connectivity to the base station. To ensure a decent signal, this connection uses a different frequency than your home’s Wi-Fi. With this dedicated connection, the camera and base station can communicate beyond Wi-Fi.
The layout of your home, walls, furniture, and Wi-Fi network strength affect your Arlo camera’s range. Positioning the base station and camera may reduce interference and boost signal strength.
If your camera can’t stay connected to the base station, you can increase range. First, place the base station in a central area of your home away from electronic interference. You may also adjust the camera for base station visibility.
Installing and using an Arlo camera outside only a few simple steps. First, set the camera to get a clear shot of the region to observe. Check camera range, line of sight, and obstacles. Mount the camera to a wall or surface using the bracket after picking a location. Securing the bracket stops movement.
Set the camera angle for adequate vision. Free the camera’s adjustment screws to tilt it. Reduce sun glare and capture more with a lower camera angle. Tighten adjustment screws to secure the camera.
Connect the camera to a power source or battery, depending on model. Wired cameras and power supplies should be safely connected. Fully charge and insert battery into camera. Test and adjust the camera after setup.
Are there any specific tools or equipment required for mounting an Arlo camera outside?
When it comes to mounting an Arlo camera outside, there are a few specific tools and equipment that you will need to ensure a secure and successful installation. Firstly, you will need a power drill with a masonry bit, as most outdoor surfaces will require drilling for the mounting screws. Additionally, you will need a screwdriver or a drill bit that matches the size of the screws provided with the camera.
Furthermore, it is recommended to have a ladder or a step stool to reach higher mounting locations. This will ensure that you can properly position the camera at the desired angle and height. It is also advisable to have a level to ensure that the camera is mounted straight and not tilted.
Are there any recommended locations or angles for mounting an Arlo camera outside?
When it comes to mounting an Arlo camera outside, choosing the right location and angle is crucial for optimal performance and security. Here are some recommended locations and angles to consider:
1. Height and coverage: Mount the camera at a height that provides a clear view of the area you want to monitor. Ideally, it should be placed at least 7 feet above the ground to prevent tampering or vandalism. Ensure that the camera’s field of view covers the desired area without any obstructions.
2. Entry points: It is recommended to position the camera near entry points such as doors, windows, or gates. This allows for better surveillance and can help deter potential intruders. Consider mounting the camera at an angle that captures the approach path to these entry points.
3. Avoid direct sunlight: Direct sunlight can affect the camera’s image quality and may cause glare or overexposure. Therefore, it is advisable to avoid mounting the camera in direct sunlight. Instead, choose a shaded area or use a sunshade accessory if necessary.
How can I ensure that the Arlo camera is securely mounted outside to prevent theft or damage?
Ensuring that your Arlo camera is securely mounted outside is crucial to prevent theft or damage. Here are some steps you can take to ensure its security:
1. Choose a secure location: Select a location that is not easily accessible to potential thieves. Avoid placing the camera within reach or in areas with high foot traffic. Consider mounting it at a higher elevation, such as on a wall or under the eaves of your house.
2. Use tamper-proof mounts: Invest in tamper-proof mounts specifically designed for Arlo cameras. These mounts often come with additional security features like lockable covers or anti-theft screws. They provide an extra layer of protection against unauthorized removal or tampering.
3. Conceal the wiring: Concealing the wiring of your Arlo camera can make it less vulnerable to tampering or cutting. Use cable clips or conduit to hide the wires along the mounting surface or within walls. This will not only protect the camera but also make it aesthetically pleasing.
Are there any additional precautions or considerations to keep in mind when mounting an Arlo camera outside, such as weatherproofing or wiring?
When mounting an Arlo camera outside, there are several additional precautions and considerations to keep in mind to ensure optimal performance and longevity. One important factor is weatherproofing. Arlo cameras are designed to withstand various weather conditions, but it is still recommended to protect them from direct exposure to rain, snow, or extreme temperatures. To weatherproof your Arlo camera, you can use an outdoor housing or enclosure specifically designed for Arlo cameras. These housings provide an extra layer of protection against the elements and help prolong the lifespan of your camera.
Another consideration is wiring. Arlo cameras are wireless and battery-powered, which makes installation and setup easier. However, if you prefer a continuous power source for your camera, you can use an optional Arlo Solar Panel or connect it to an outdoor power outlet using the Arlo Outdoor Power Adapter. This eliminates the need to regularly replace batteries and ensures uninterrupted surveillance. Additionally, when wiring your Arlo camera, make sure to use outdoor-rated cables and connectors to withstand outdoor conditions and prevent any potential damage.

Conclusion
Installing an Arlo camera outside can provide security and peace of mind. Installing an Arlo camera might let you watch your front porch, backyard, or other exterior areas. Following the right steps will guarantee your camera is securely installed and positioned for best performance. Choose the right Arlo camera position first. Choose a position with a clear view of the areas you wish to watch. A broader field of view is achieved by mounting the camera at 7-10 feet. Make sure the camera is out of direct sunlight and weatherproof.
Secondly, you will need to gather the necessary tools and equipment for mounting the Arlo camera. This may include a drill, screws, anchors, and a mounting bracket. Ensure that you have all the required items before you begin the installation process. It is also advisable to read the camera outside instruction manual to understand the specific mounting requirements and guidelines provided by the manufacturer.
Installation begins next. Screw and anchor the mounting bracket to the chosen spot. Secure the bracket to the surface. Install the Arlo camera on the bracket per instructions. To avoid movement, align and tighten the camera. Finally, mount the Arlo camera and adjust its position and angle for the ideal view. Adjust the camera’s mount to tilt or revolve. Test the camera’s field of view by watching the live broadcast on your phone or computer. Adjust the camera to capture the required area.

