Introduction
How To Program Access Master Garage Door Opener: Programming an Access Master garage door opener can be a daunting task for those who are not familiar with the process. However, with the right guidance and instructions, anyone can successfully program their garage door opener and enjoy the convenience and security it provides. In this article, we will provide a step-by-step guide on how to program an Access Master garage door opener, ensuring that you can easily operate your garage door with just a push of a button.
Before diving into the programming process, it is essential to have a basic understanding of Access Master garage door openers. Access Master makes a variety of reliable and durable garage door openers. These openers use rolling code technology, which generates a new code each time the door is opened, improving garage security. Access Master openers work with a variety of remote controls and keypads, so you can choose the finest one.
Garage Door
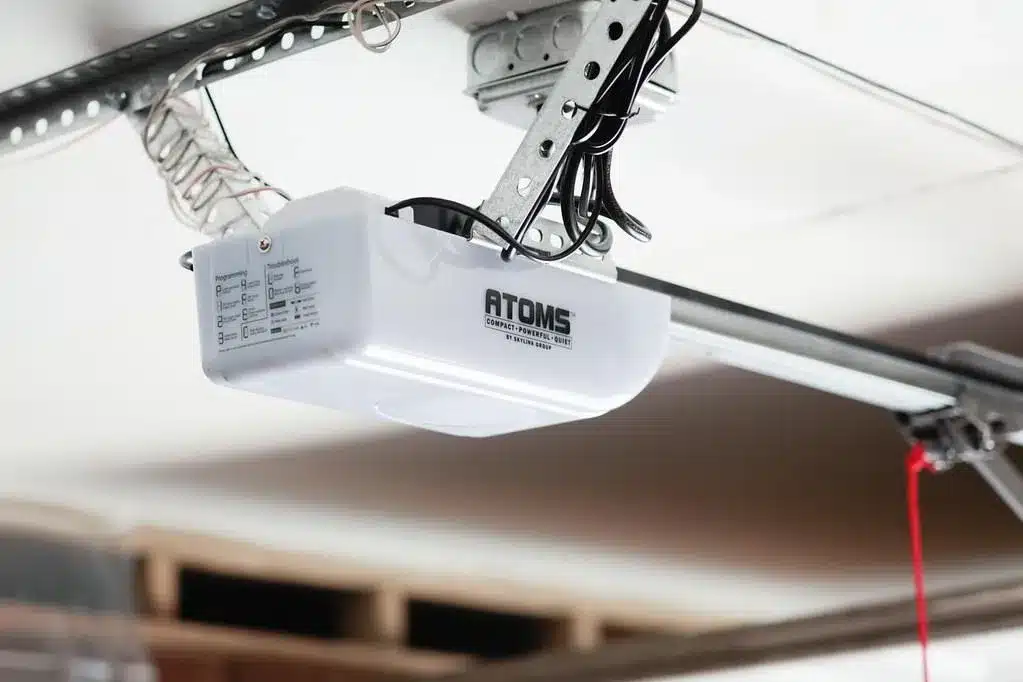
Now that you have a better understanding of Access Master garage door openers, let’s dive into the step-by-step guide on how to program them. The first step is to locate the “”Learn”” button on your garage door opener motor unit. This button is typically found near the antenna wire and is used to initiate the programming mode. Once you have located the button, press and release it to activate the programming mode.
Next, you will need to press the desired button on your remote control or keypad within 30 seconds of pressing the “”Learn”” button. This step is crucial as it allows the opener to learn the code from your remote control or keypad. Once the code is successfully learned, the garage door opener will emit a beep or flash its lights, indicating that the programming was successful.

How do I program my Chamberlain Access Master garage door opener?
If you have a Chamberlain Access Master garage door opener and need to program it, you’re in luck. Programming your garage door opener is a relatively simple process that can be done in just a few steps. By following the instructions provided by Chamberlain, you’ll have your garage door opener programmed and ready to use in no time.
The first step in programming your Chamberlain Access Master garage door opener is to locate the “”Learn”” button on the opener. This button is typically located on the back or side of the opener unit. Once you’ve found the button, press and release it to put the opener into programming mode.
Next, you’ll need to press the button on your remote control that you want to program to the opener. This will send a signal to the opener, which will then learn the code from the remote control. You may need to hold the button down for a few seconds to ensure that the opener receives the signal.
After pressing the button on the remote control, you’ll need to wait for the opener to confirm that it has learned the code. This is typically indicated by a flashing light or a beep from the opener. Once you see or hear this confirmation, you can release the button on the remote control.
Finally, you’ll need to test the programming by pressing the button on the remote control to see if the garage door opens or closes. If the door responds correctly, then the programming was successful. If not, you may need to repeat the steps or consult the Chamberlain Access Master manual for further troubleshooting.
What are the 3 buttons on garage door opener?
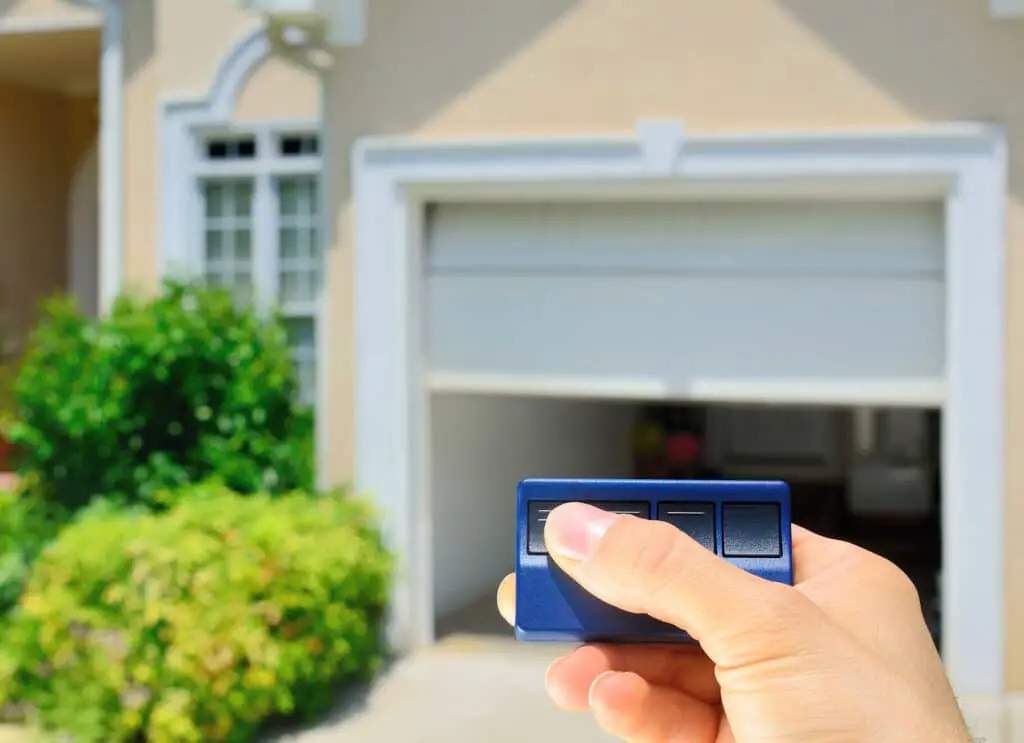
The three buttons on a garage door opener are typically used for different functions and purposes. These buttons are designed to provide convenience and control for the user when operating the garage door. Each button serves a specific function and can be programmed to perform different actions.
The first button on a garage door opener is usually the main button used to open and close the garage door.
This button is typically located in the center of the opener and is easily accessible for the user. When pressed, this button activates the motor and mechanism that raises or lowers the garage door. It is the primary button used for daily operation of the garage door.
The second button on a garage door opener is often used for programming and setting up additional features.
This button is usually located near the main button and is used to access the programming mode of the opener. By pressing this button in combination with other buttons or following specific instructions, the user can program additional remotes, set up security features, or adjust the settings of the opener.
The third button on a garage door opener is commonly used for controlling additional devices or functions.
This button is typically located on the side or bottom of the opener and can be programmed to operate other devices, such as lights or gates. By pressing this button, the user can activate or deactivate these additional devices, providing added convenience and control.
It is important to note that the specific functions and features of the buttons on a garage door opener may vary depending on the brand and model. Some openers may have additional buttons or different configurations to accommodate specific needs or preferences. It is recommended to consult the user manual or manufacturer’s instructions for detailed information on the functions and programming options of the buttons on a specific garage door opener.
Do all garage doors have a Learn button?
Yes, all modern garage doors have a Learn button. The Learn button is a small button located on the garage door opener unit. It is usually found on the back or side of the unit, and it is used to program the garage door opener to work with the remote control or keypad.
The Learn button is an important feature of modern garage doors because it allows for easy programming and reprogramming of the opener. In the past, garage door openers had to be manually programmed by adjusting switches or dials on the unit. This process was often complicated and time-consuming. However, with the introduction of the Learn button, programming a garage door opener has become much simpler.
The opener learns the remote control or keypad code using the Learn button. The opener enters programming mode and waits for a remote or keypad signal when the Learn button is hit. After receiving the signal, the opener remembers the code and may recognize and respond to that remote control or keypad.
It is important to note that the location and appearance of the Learn button may vary depending on the brand and model of the garage door opener. Some Learn buttons may be labeled with the word “”Learn,”” while others may have a different symbol or icon. Additionally, some garage door openers may have multiple Learn buttons for programming different remotes or keypads.
The Learn button is a standard feature on all modern garage doors. It simplifies the programming process and allows for easy reprogramming of the opener. If you are unsure of the location or appearance of the Learn button on your garage door opener, consult the manufacturer’s manual or contact a professional for assistance.
What if my garage door opener has no Learn button?
Older garage door openers without a Learn button have a different programming procedure. Learn buttons allow remote and keypad programming on newer garage door openers, but older models require a separate method.
One common method for programming older garage door openers is to use a series of DIP switches. These switches are located on both the remote control and the opener itself. By setting the switches to the same pattern, you can sync the remote control with the opener. This method requires manual adjustment of the switches and can be a bit more time-consuming than the Learn button method.
Another option for programming older garage door openers is to use a remote control that is specifically designed for that model. These remotes often come with detailed instructions on how to program them to work with your specific opener. While this method may require purchasing a new remote control, it can be a more straightforward solution if you are having trouble programming a universal remote or keypad.
For help programming your garage door opener without a Learn button, consult the owner’s manual or contact the manufacturer. They can provide you model-specific instructions and assist you fix problems.
What is the app for master mechanic garage door opener?
The Master Mechanic garage door opener app lets users control and monitor their opener from their phone or tablet. This program makes opening and closing the garage door easy and secure, plus also sends users status updates.
With a few touches on their phone, the Master Mechanic garage door opener software opens and closes garage doors. This makes garage entrance easier by eliminating the need for a remote control or keypad. Users can open the app and tap the garage door button to activate it from home or away.
In addition to controlling the garage door, the app also provides users with real-time notifications and alerts. This means that users will receive a notification on their mobile device whenever their garage door is opened or closed. This can be particularly useful for users who want to keep track of when their garage door is being used, or for those who want to ensure that their garage is secure at all times.
The Master Mechanic garage door opener app also offers additional features and functionalities. For example, users can set up schedules to automatically open or close their garage door at specific times. This can be useful for users who have a regular routine and want their garage door to open or close automatically without having to manually operate it.
Master Mechanic Garage Door
The Master Mechanic garage door opener software makes mobile garage door control and monitoring easy and secure. Remote control, real-time notifications, and scheduling make garage door operating easy with this app.
Programming an Access Master garage door opener involves several steps. First, locate the “”Learn”” button on the garage door opener motor unit. This button is usually located near the antenna wire. Press and release the “”Learn”” button to put the opener into programming mode.
Next, within 30 seconds, press and hold the button on the remote control that you want to program. Hold the button until the indicator light on the motor unit blinks, indicating that the programming was successful. Release the button and test the remote control to ensure it is working properly.
If you have multiple remotes to program, repeat the above steps for each remote. It is important to note that each remote control must be programmed individually. Additionally, if you have a keypad or wall control panel, consult the instruction manual for specific programming instructions.
Can you provide a detailed guide on programming an Access Master garage door opener?
Programming an Access Master garage door opener involves several steps to ensure proper functionality. Here is a detailed guide to help you through the process:
Step 1: Start by locating the “”Learn”” button on your garage door opener motor unit. This button is usually found near the antenna wire or on the back panel of the unit. Press and release the “”Learn”” button to put the opener into programming mode.
Step 2: Once the opener is in programming mode, you will need to enter a PIN code on your garage door opener keypad or wall console. Consult your Access Master opener’s manual to find the specific PIN code entry procedure for your model.
Step 3: After entering the PIN code, press the “”Learn”” button on the opener motor unit again to confirm the programming. The opener will emit a beep or flash its lights to indicate that the programming was successful.
Step 4: Test the programming by pressing the programmed PIN code on your keypad or wall console. The garage door should open or close accordingly. If the door does not respond, repeat the programming steps and ensure that you are entering the correct PIN code.
By following these steps, you can successfully program your Access Master garage door opener and enjoy convenient access to your garage. Remember to consult your opener’s manual for any specific instructions or requirements that may apply to your model.
Are there any specific instructions or requirements for programming an Access Master garage door opener?
When programming an Access Master garage door opener, there are a few specific instructions and requirements that you need to follow. First, make sure that you have the necessary equipment and tools. You will need a ladder to reach the garage door opener, a screwdriver to remove the cover, and the Access Master remote control that you want to program.
Once you have the necessary tools, you can start the programming process. Begin by climbing the ladder and locating the garage door opener. Remove the cover using the screwdriver and locate the programming button. This button is usually labeled “”Learn”” or “”Program”” and is located near the antenna of the opener.
Press and release the programming button, and then press and hold the button on the remote control that you want to program. Hold the button on the remote control until the garage door opener’s lights flash or you hear a beep sound. This indicates that the programming process is complete. Repeat this step for each remote control that you want to program.
What tools or equipment are needed to program an Access Master garage door opener?
When programming an Access Master garage door opener, there are a few essential tools and equipment that you will need to ensure a successful setup. These tools include a ladder, a screwdriver, and the Access Master garage door opener itself.
The ladder is necessary to reach the garage door opener unit, which is typically installed on the ceiling of the garage. Make sure the ladder is stable and secure before climbing up to avoid any accidents or injuries.
The screwdriver is needed to remove the cover of the garage door opener unit. This will allow you to access the programming buttons and make the necessary adjustments. It is important to use the correct type and size of screwdriver to avoid damaging the unit.
The Access Master garage door opener is, of course, the most important equipment needed for programming. This is the device that will control the opening and closing of your garage door. Make sure you have the correct model and that it is compatible with your garage door system.
Are there any troubleshooting tips or common issues to be aware of when programming an Access Master garage door opener?
When programming an Access Master garage door opener, there are a few common issues that you may encounter. One of the most common issues is the remote control not syncing with the opener. If this happens, make sure that the batteries in the remote control are fresh and properly installed. Additionally, check if there are any obstructions or interference that may be affecting the signal between the remote control and the opener. If the issue persists, try reprogramming the remote control by following the manufacturer’s instructions.
Another common issue is the garage door not responding to the remote control commands. In this case, check if the opener is properly connected to the power source and if the circuit breaker or fuse is not tripped. Also, ensure that the safety sensors are aligned and not blocked by any objects. If the issue persists, it may be necessary to reset the opener by disconnecting it from the power source for a few minutes and then reconnecting it.

Conclusion
Programming an Access Master garage door opener is easy with a few steps. Understanding the opener’s components and the manufacturer’s programming instructions lets consumers customize their garage door opener to their needs.
One important aspect to keep in mind when programming an Access Master garage door opener is to carefully read and follow the instructions provided by the manufacturer. These instructions will typically include step-by-step guidance on how to program the opener remote, as well as any specific requirements or precautions that need to be taken. By following these instructions closely, users can ensure that the programming process is done correctly and that the opener functions properly.
Additionally, it is important to have all the necessary tools and equipment on hand before starting the programming process. This may include a ladder, a screwdriver, and any other tools specified in the manufacturer’s instructions. Having these tools readily available will make the programming process smoother and more efficient.
Programming an Access Master garage door opener is a straightforward task that can be accomplished by carefully following the manufacturer’s instructions and having the necessary tools on hand. By taking the time to properly program the opener, users can ensure that their garage door operates smoothly and securely. Whether it is setting up remote controls, adjusting the opener’s settings, or syncing it with other devices, programming an Access Master garage door opener allows users to customize their garage door experience to fit their specific needs and preferences.

