

Master the basics of answering a home intercom system with our comprehensive guide. Effective communication and enhanced security are crucial aspects of any home, and a home intercom system provides a convenient way to achieve both. Whether you’re looking to set up a new system or simply want to make the most out of your existing one, this guide will walk you through the process step-by-step.
Key Takeaways
- Set up your intercom system using the Home app on your iPhone or iPad
- Send intercom messages using Siri on various Apple devices
- Alternatively, utilize the Home app on your iPhone or iPad to send messages
- Reply to intercom messages using Siri
- Specify the destination for your reply when you have multiple HomePod speakers
Setting Up Your Intercom System
Before answering a home intercom system, it’s essential to properly set up the system using the Home app. By following these steps, you can ensure seamless communication and maximize the functionality of your intercom system.
Manage Your Settings:
Open the Home app on your iPhone or iPad and navigate to the Intercom settings. Here, you can choose when your device receives notifications for intercom messages. Customize your preferences to suit your needs.
Select HomePod Speakers:
If you have multiple HomePod speakers in your home, you can choose which ones are compatible with the intercom feature. This allows you to send and receive messages through specific speakers in different rooms or zones. Simply select the HomePod speakers you wish to use for intercom communication in the settings.
Interact with Siri:
Utilize the power of Siri to send intercom messages effortlessly. Whether you’re using a HomePod, iPhone, iPad, Apple Watch, Air Pods, or CarPlay, simply prompt Siri with commands like, “Hey Siri, intercom ‘It’s time to wake up,'” or “Hey Siri, ask everyone ‘Has the dog been fed?'” Siri will deliver your message to the intended recipients.
Use the Home App:
If you prefer a more hands-on approach, the Home app on your iPhone or iPad allows you to send intercom messages as well. Open the app, tap on the Intercom button, speak your message, and tap Done. This method is particularly useful if you want to send a message while away from your HomePod or other Apple devices.
Setting up your home intercom system effectively improves its effectiveness and makes it easier to connect with family members. Configuring your Home app settings and learning Siri commands will make using the Home app easy.
Table
| Benefits of Setting Up Your Intercom System | Solution |
|---|---|
| Effortless Communication | Configure your settings and use Siri commands to send and receive intercom messages effortlessly. |
| Customizable Options | Select specific HomePod speakers for intercom communication, allowing for targeted messaging within different rooms or zones. |
| Convenience on the Go | Utilize the Home app on your iPhone or iPad to send intercom messages while away from your HomePod or other Apple devices. |
Sending Intercom Messages with Siri
Utilize the power of Siri to send intercom messages easily through your HomePod, iPhone, iPad, Apple Watch, AirPods, or CarPlay. With Siri, you can effortlessly communicate with your family members or interact with different rooms in your home using the intercom feature.
To send an intercom message with Siri, simply activate Siri on your preferred device and speak your command. For example, you can say, “Hey Siri, intercom ‘It’s time to wake up.'” or “Hey Siri, ask everyone ‘Has the dog been fed?'” Siri will instantly broadcast your message to all the designated recipients who have access to the intercom system.
Moreover, you can also send intercom messages using the Home app on your iPhone or iPad. Open the app, tap on the Intercom button, speak your message, and then tap Done. The Home app provides another convenient method for sending messages, particularly when your preferred device is not within reach.
Intercom Message Examples:
“Hey Siri, intercom ‘Dinner is ready!'”
“Hey Siri, ask everyone ‘Who left their shoes in the hallway?'”
“Hey Siri, intercom ‘Movie night in the living room!'”
With Siri’s versatility and the convenience of the Intercom feature, staying connected and broadcasting messages throughout your home has never been easier. Whether you’re using your HomePod, iPhone, iPad, Apple Watch, AirPods, or CarPlay, Siri is always at your service to facilitate seamless communication within your household.
| Supported Devices for Intercom Messages with Siri: | Siri Commands |
|---|---|
| HomePod | “Hey Siri, intercom ‘Message'” |
| iPhone | “Hey Siri, intercom ‘Message'” |
| iPad | “Hey Siri, intercom ‘Message'” |
| Apple Watch | “Hey Siri, intercom ‘Message'” |
| AirPods | “Hey Siri, intercom ‘Message'” |
| CarPlay | “Hey Siri, intercom ‘Message'” |
By harnessing the capabilities of Siri, you can effortlessly send intercom messages and enhance communication within your home, all with a simple voice command.
Sending Intercom Messages via the Home App
If you prefer a visual interface, you can also send intercom messages through the Home app on your iPhone or iPad. The Home app provides a convenient way to interact with your home intercom system and communicate with other family members throughout your house.
How to Send Intercom Messages
Sending an intercom message using the Home app is simple and intuitive. Just follow these steps:
- Open the Home app on your iPhone or iPad.
- Tap on the Intercom button located in the bottom menu.
- Speak your message clearly and tap Done to send.
By using the Home app, you can easily send messages to specific rooms or zones in your home, ensuring that your communication reaches the intended recipients. It’s a convenient way to coordinate activities, relay important information, or simply stay connected with your family members.
Remember to keep your iPhone or iPad handy to access the Home app and send intercom messages with ease.
| Device | Method |
|---|---|
| HomePod | Use Siri voice commands |
| iPhone or iPad | Use the Home app |
| Apple Watch | Use Siri voice commands |
| AirPods | Use Siri voice commands |
| CarPlay | Use Siri voice commands |
With the Home app, sending intercom messages becomes even more accessible and user-friendly. Take advantage of this feature to enjoy seamless communication within your home.
Replying to Intercom Messages with Siri
Respond to incoming intercom messages effortlessly by utilizing Siri’s voice commands. With Siri’s help, you can quickly and conveniently reply to messages without having to manually type or navigate through menus. Whether you’re at home or on the go, Siri makes it easy to stay connected.
When you receive an intercom message, simply activate Siri by saying “Hey Siri” or pressing the Siri button on your device. Then, respond by saying “Reply” followed by your message. For example, say “Reply ‘I’ll be right there'” to let the sender know you’ll be there shortly.
If you have multiple HomePod speakers in different rooms or zones, you can specify which speaker to send your reply to. Just include the room or zone name in your command. For instance, say “Reply to the living room ‘Which movie are you watching?'” to direct your response to the intended location.
By using Siri to reply to intercom messages, you can communicate seamlessly and efficiently, ensuring that your messages are delivered accurately and promptly. Enjoy the convenience of hands-free communication with Siri and make the most out of your home intercom system.
| Command | Action |
|---|---|
| “Reply ‘I’ll be right there'” | Send a reply message stating that you’ll be on your way. |
| “Reply to the living room ‘Which movie are you watching?'” | Specify the destination as the living room when replying and ask a question about the movie being watched. |
Specifying Reply Destination with Multiple HomePod Speakers
If you have multiple HomePod speakers, you can specify which one to reply to by mentioning the room or zone. This allows for more targeted communication within different areas of your home. For example, you can say, “Hey Siri, reply to the living room ‘Which movie are you watching?'” or “Hey Siri, reply to the kitchen ‘What time is dinner?'”
To ensure seamless communication, it is important to properly label and identify your HomePod speakers according to their location or zone. This way, when you want to reply to an intercom message, you can easily direct your response to the specific room or area where the original message was sent from.
Using Siri to specify your reply destination makes it convenient and efficient, especially when you have multiple HomePod speakers installed throughout your home. By mentioning the room or zone in your command, you ensure that your reply reaches the intended recipient without any confusion.
In addition to enhancing communication within your home, specifying the reply destination with multiple HomePod speakers also adds a personalized touch to your intercom system. It allows for tailored communication with family members or specific areas of your home, making it easier to pass along important messages or initiate conversations in different rooms.
By following these steps, you can effectively use your home intercom system with multiple HomePod speakers and ensure that your messages are delivered to the right location. Whether it’s checking on dinner plans in the kitchen or discussing a movie choice in the living room, your intercom system can facilitate seamless communication throughout your home.
Table: Example of Room and Zone Labels for Multiple HomePod Speakers
| Room | Zone |
|---|---|
| Living Room | Zone 1 |
| Kitchen | Zone 2 |
| Bedroom | Zone 3 |
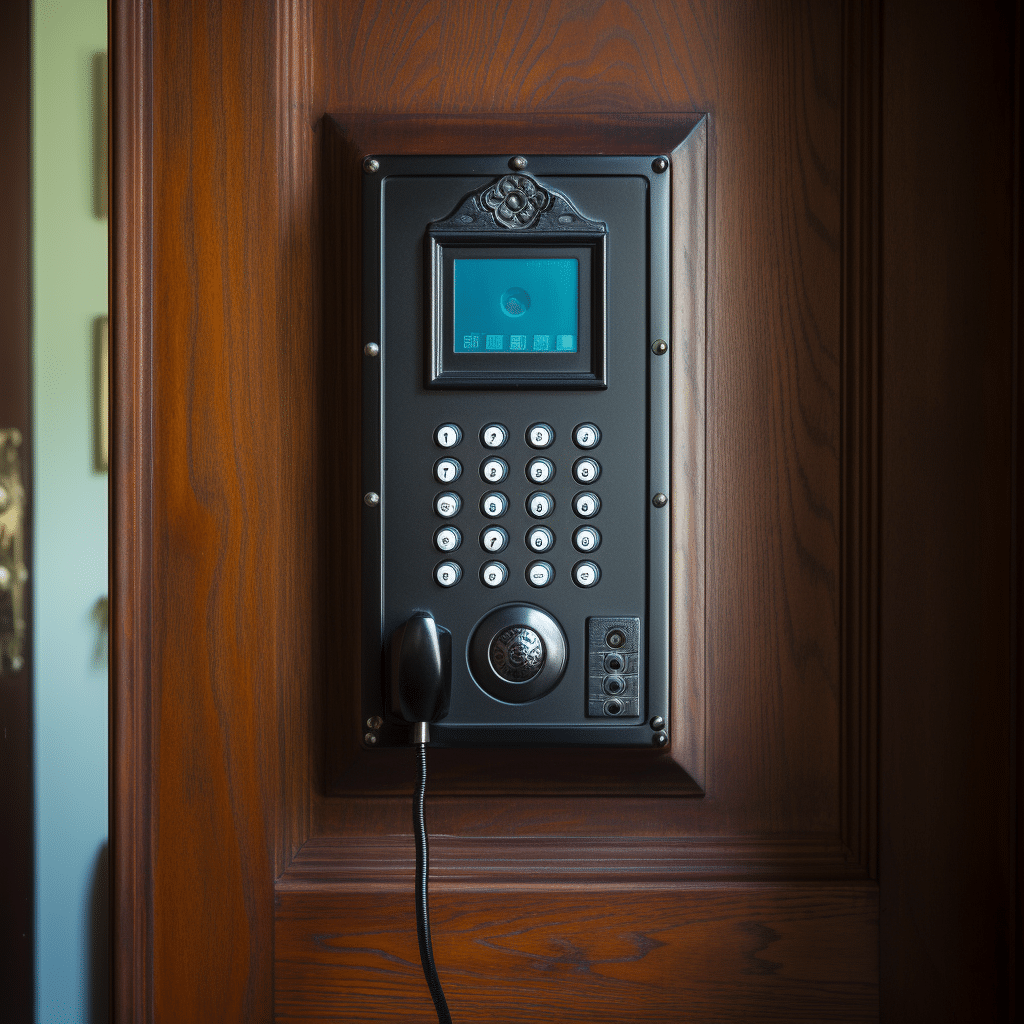
Installing a Home Intercom System
Before you can answer a home intercom system, you need to install it correctly by following a few key steps. Proper installation ensures that your system functions seamlessly and allows for efficient communication throughout your home. Here’s a step-by-step guide on how to install a home intercom system:
Step 1: Inspect the Master Station Box
Start by inspecting the master station box, which serves as the central control panel for your intercom system. Check for any damage or defects and ensure that all necessary components are included.
Step 2: Select a Location
Choose a suitable location for installing the master station. This is typically a central area in your home, such as the living room or hallway. Ensure that it is easily accessible and provides optimal coverage for communication throughout your residence.
Step 3: Cut Openings in the Wall
Using the provided template or measurements, cut openings in the wall for the master station and substations. Take care to follow the recommended dimensions and placement instructions to ensure a proper fit.
Step 4: Run Wiring from Substations to the Master Station
Refer to the wiring diagram provided with your intercom system to determine the appropriate wiring configuration. Run a separate cable from each substation to the master station, making sure to label the cables for easy identification.
Step 5: Connect Wires According to the Diagram
Once the wiring is in place, connect the wires from the substations to the corresponding terminals on the master station. Follow the identification code provided in the wiring diagram to ensure a correct and secure connection.
As you complete the installation, make sure to consult the user manual or installation guide specific to your intercom system for detailed instructions. By following these steps, you can ensure a successful installation and be ready to effectively answer your home intercom system.
Mounting Substations and Testing the System
After wiring the home intercom system, it’s crucial to mount the substations securely and test the system to ensure it works flawlessly. Mounting the substations in the wall is a crucial step that requires precision and attention to detail. Once the substations are securely attached, you can proceed with attaching the trim molding to create a seamless look.
To test the system, follow these steps:
- Activate each substation by pressing the call button to ensure they are properly functioning.
- Ensure that the master station is receiving signals from all substations by testing each one individually.
- Check the audio quality by making an intercom call from each substation to the master station and vice versa.
- Verify that the connection is strong and clear in every room or zone of your home where the substations are installed.
Testing your home intercom system is essential to guarantee a seamless communication experience. If you encounter any issues during the testing phase, refer to the wiring diagram or consult with a professional to troubleshoot and resolve the problem.
| Mounting Substations and Testing the System | Steps |
|---|---|
| Mount Substations | Securely attach the substations to the wall. |
| Attach Trim Molding | Create a seamless look by adding trim molding. |
| Activation Test | Press call buttons on substations to ensure proper functioning. |
| Signal Check | Test each substation individually to verify signals are received by the master station. |
| Audio Quality Test | Make intercom calls between substations and the master station to assess audio quality. |
| Connection Check | Ensure a strong and clear connection throughout all rooms or zones with substations. |

Conclusion
Mastering the process of answering a home intercom system is essential for effective communication and improved security at home. With a few simple steps, you can easily set up and use your intercom system to stay connected with family members in different rooms or even when you’re away from home.
To begin, set up your intercom system by managing your settings in the Home app on your iPhone or iPad. Customize your notifications and select which HomePod speakers you want to use for intercom communication.
Once your system is set up, you can send intercom messages using Siri on various Apple devices or through the Home app. Simply speak your message, and it will be broadcasted to all connected devices in your home. This is especially useful for quick announcements or checking in on loved ones.
When installing a home intercom system, ensure you follow proper procedures such as inspecting the master station box, selecting suitable locations, and running the necessary wiring from substations to the master station. By connecting all wires according to the wiring diagram, you can ensure smooth and reliable communication.
To conclude, by following these steps, you can effectively answer and use a home intercom system. Enjoy enhanced communication and peace of mind knowing that you can easily communicate with your family members and keep your home secure. Invest in a home intercom system today and experience the benefits firsthand.
FAQ
Q: How do I set up a home intercom system?
A: To set up a home intercom system, manage your settings in the Home app on your iPhone or iPad. Choose when your device receives notifications and select which HomePod speakers use Intercom.
Q: How can I send an intercom message?
A: You can send an intercom message using Siri on your HomePod, iPhone, iPad, Apple Watch, AirPods, or CarPlay. Simply say commands like, “Hey Siri, intercom ‘It’s time to wake up.'” or “Hey Siri, ask everyone ‘Has the dog been fed?'” Alternatively, you can use the Home app on your iPhone or iPad to send an Intercom message. Tap the Intercom button, say your message, and tap Done.
Q: How do I reply to an intercom message?
A: After receiving an intercom message, you can reply using Siri. For example, you can say, “Hey Siri, reply ‘I’ll be right there.'” If you have multiple HomePod speakers, you can specify which speaker to send the reply to by stating the room or zone. For instance, “Hey Siri, reply to the living room ‘Which movie are you watching?'”
Q: How do I install a home intercom system?
A: When installing a home intercom system, first inspect the master station box, select a location, and cut an opening in the wall for the master station. Cut similar holes for the substations. Check the wiring diagram and run a separate cable from each substation to the master station. Follow the identification code for connecting the wires to the terminals. Mount the substations in the wall, attach the trim molding, and connect all wires to the master station. Test the system to ensure all substations are working properly.
Q: How can I ensure effective communication with multiple HomePod speakers?
A: If you have multiple HomePod speakers, you can specify the destination for your reply when replying to intercom messages. By stating the room or zone, you can send your reply to a specific speaker, enabling more targeted communication within different areas of your home.
Q: What are the key steps to effectively answer a home intercom system?
A: To effectively answer a home intercom system, you need to set up the system and manage settings in the Home app, send intercom messages using Siri or the Home app, reply to messages using Siri, specify the destination for your reply when multiple HomePod speakers are present, and properly install and test the intercom system.