Introduction
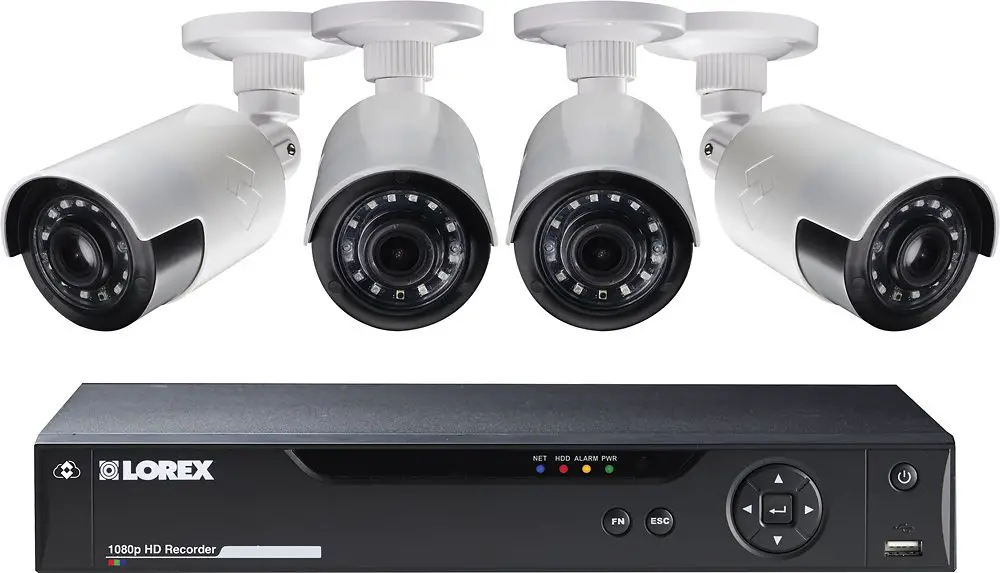
How To Install Lorex 4k Camera System: A Lorex 4K camera system is a powerful and advanced surveillance solution designed to provide high-resolution video monitoring for both residential and commercial settings. With its exceptional image quality and comprehensive coverage, installing a Lorex camera system can significantly enhance the security and peace of mind in your property. While the installation process may seem intimidating at first, this guide aims to simplify the steps and provide you with a clear understanding of how to install your Lorex 4K camera system effectively.
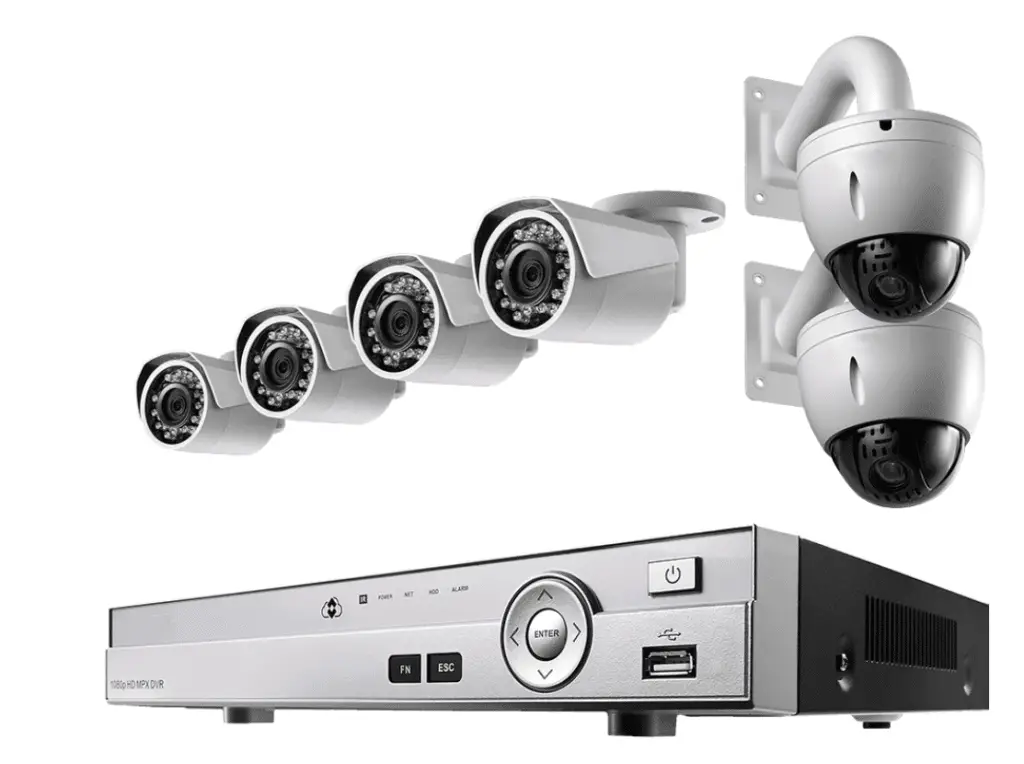
Before starting installation, make sure you have all the parts and tools. Lorex 4K camera systems typically contain cameras, a DVR or NVR, wires, power adapters, and mounting hardware. Learn about and stock these components before installing.
To begin the installation, you should first plan the camera placement. Survey your property and identify the areas that require monitoring, taking into account factors such as entrances, blind spots, and high-traffic areas. Once you have determined the ideal locations for your cameras, consider the type of mounting option that suits each area, whether it’s wall-mounting, ceiling-mounting, or pole-mounting.

How do I add Lorex camera to my existing system?
We’ll start with the LSHSC.
- Tap the + icon in the middle of the screen.
- Tap on the type of device you are adding.
- Tap Next.
- Follow the on-screen instructions.
- The Lorex Home Center will search for available devices.
- Select the device(s) you wish to set up.
- Tap Next.
- Tap on Enter device name to name the camera.
Before purchasing a Lorex camera, it’s crucial to verify its compatibility with your existing surveillance system. Check the specifications of your current system, including the type of recorder (DVR or NVR), the supported camera technology (analog, HD-TVI, HDCVI, or IP), and the video format (analog, HD, or 4K). Compare these specifications with the Lorex camera models you’re considering to ensure they are compatible.
Lorex offers a wide range of cameras with different resolutions, technologies, and features. Consider your specific surveillance needs, such as the desired resolution, viewing angle, night vision capabilities, and environmental factors (indoor or outdoor use, weather resistance, etc.). Select a Lorex camera that aligns with your requirements and is compatible with your existing system.
Once you have the Lorex camera, you’ll need to physically install it in the desired location. Determine the optimal placement for the camera, taking into account the areas you want to monitor and any specific requirements for the new camera. Ensure that the camera is mounted securely and at an appropriate height and angle for optimal coverage. Use the provided mounting hardware and follow the manufacturer’s instructions for installation.
How do I manually add a Lorex camera?
How to add a camera to the Lorex Smart Home Security Center via the Lorex Home App
- Launch the Lorex Home app.
- Sign up or log in.
- Tap the + icon to add a new camera.
- Scan the QR code located on your camera.
- Tap Next once the device ID has been recognized.
- When you’ve completed the on-screen instructions tap Next.
Determine camera compatibility: Ensure that the Lorex camera you want to add is compatible with your existing surveillance system. Check the specifications of your system, including the type of recorder (DVR or NVR), camera technology (analog, HD-TVI, HDCVI, or IP), and video format (analog, HD, or 4K). Verify that the Lorex camera you intend to add aligns with these specifications.
Physical installation: Select the appropriate location for the Lorex camera based on your surveillance needs. Consider factors such as the area you want to monitor, the camera’s viewing angle, and any environmental considerations (indoor or outdoor use, weather resistance, etc.). Ensure the camera is securely mounted using the provided mounting hardware and follow the manufacturer’s instructions for installation.
Establish power connection: Connect the camera to a power source. Depending on the Lorex camera model, you may have different power options. Some cameras require a direct power connection using a power adapter, while others support power-over-Ethernet (PoE), which allows the camera to receive power and data through a single Ethernet cable. Follow the camera’s instructions and connect the power source accordingly.
Do Lorex cameras need wifi?
It doesn’t require Wi-Fi or the internet, but you can use it with the Lorex Home app if you want. While Lorex cameras perform well compared to brands like Arlo and Ring, they’re more expensive, and some models require stringing long wires around the house.
Lorex offers wired camera models that utilize traditional analog or digital connections. These cameras typically require a direct physical connection to a recorder (DVR or NVR) using cables such as coaxial (for analog) or Ethernet (for digital/IP) cables. These wired cameras do not rely on Wi-Fi and can function independently without an internet connection. They are suitable for situations where you want to have a dedicated local surveillance system without the need for wireless connectivity.
Lorex also offers wireless camera models that can transmit video and audio signals wirelessly. These cameras use their built-in wireless transmitters to send the video feed to a compatible receiver or wireless network. Some Lorex wireless cameras connect directly to a Lorex network video recorder (NVR) or a wireless receiver, while others may utilize Wi-Fi for connectivity. If your wireless Lorex camera model supports Wi-Fi, you can connect it to your local Wi-Fi network to enable remote viewing and access through a mobile app or a computer. This allows you to monitor your cameras remotely from anywhere with an internet connection.
Another option from Lorex is Power-over-Ethernet (PoE) cameras. These cameras receive both power and data through a single Ethernet cable. PoE cameras are typically used with a PoE-enabled network video recorder (NVR) or a PoE switch, eliminating the need for separate power adapters or Wi-Fi connectivity.
Can you use Lorex camera without DVR?
Smart Home Cameras simply connect to your local Wi-Fi network and are used through the Lorex Home app. They record to an on-board MicroSD card – so no NVR or DVR is required.
Lorex cameras can also be used with a Network Video Recorder (NVR) without a traditional DVR. An NVR is a specialized device that records and manages IP (Internet Protocol) cameras. Lorex offers NVRs that are compatible with their camera models.
With an NVR, you can connect Lorex cameras to the network and record video footage directly onto the NVR’s built-in storage or external hard drives. This setup allows for centralized recording and management of multiple cameras without the need for a separate DVR.
Lorex cameras can be used with third-party software applications or surveillance systems that are not specifically designed by Lorex. These software solutions may offer advanced features and functionalities for camera management and video recording. By connecting Lorex cameras to such software or systems, you can utilize the cameras without the need for a Lorex DVR.
It’s important to note that while Lorex cameras can operate without a DVR, the absence of a DVR may limit certain features and functionalities that are typically associated with a complete Lorex surveillance system.
DVRs often provide features like advanced video recording options (such as continuous, scheduled, or motion-triggered recording), remote access, and centralized management. However, if these features are not essential to your specific surveillance needs, using Lorex cameras without a DVR can still provide effective video monitoring capabilities.
What app works with Lorex cameras?
A professional app for professional security camera systems. Lorex Cloud keeps you connected no matter where life takes you.
The Lorex Home app is available for both iOS and Android devices. It allows users to view live video feeds from their Lorex cameras, play back recorded footage, control PTZ (pan-tilt-zoom) cameras, configure camera settings, receive motion-triggered notifications, and perform various other functions to monitor their property remotely. The Lorex Home app provides a seamless user experience and is specifically designed to work with Lorex camera systems.
The Lorex Cirrus app is another mobile app developed by Lorex that works with select Lorex camera models. It offers similar features to the Lorex Home app, allowing users to view live video feeds, play back recorded footage, and configure camera settings. The Lorex Cirrus app is primarily designed for older Lorex camera models that may not be compatible with the Lorex Home app.
In addition to the official Lorex apps, Lorex cameras may be compatible with certain third-party apps or software solutions that support IP cameras. These apps can provide alternative ways to access and control Lorex cameras, although the functionality and compatibility may vary. Some popular third-party apps that may work with Lorex cameras include Blue Iris, iSpy, SecuritySpy, and Tinycam Monitor. It’s important to note that Lorex does not officially endorse or provide support for third-party apps, so compatibility and functionality may not be guaranteed.

Can you view Lorex cameras remotely?
Live View & Playback
Lorex apps allow you to stay connected to your security device or system from virtually anywhere in the world. See exactly what your cameras see, or watch recorded playback of past events, right from your mobile device.
Lorex offers the “Lorex Home” mobile app for iOS and Android devices, which allows remote viewing of Lorex cameras. After setting up your Lorex camera system and configuring the network settings, you can install the Lorex Home app on your smartphone or tablet. Once logged in to the app with your account credentials, you can access the live video feed from your Lorex cameras, play back recorded footage, receive motion-triggered notifications, and control camera settings from anywhere with an internet connection.
To enable remote viewing of your Lorex cameras, you need a stable internet connection at both the camera location and the remote viewing device. Ensure that your camera system is connected to the internet either via Ethernet or Wi-Fi. If you are using a Lorex network video recorder (NVR), it will automatically handle the remote access setup for you. However, if you have individual IP cameras, you may need to configure port forwarding on your router to allow remote access to the cameras. Consult the user manual or Lorex’s documentation for detailed instructions on port forwarding.
Lorex also offers cloud-based services that facilitate remote viewing. Some Lorex camera models come with built-in cloud storage capabilities, allowing you to store recorded footage securely and access it remotely. Lorex cloud-based services enable convenient and easy remote viewing without the need for complex network setups or port forwarding. Check with Lorex to determine if your camera model supports their cloud services and how to set them up for remote viewing.
Do Lorex cameras have night vision?
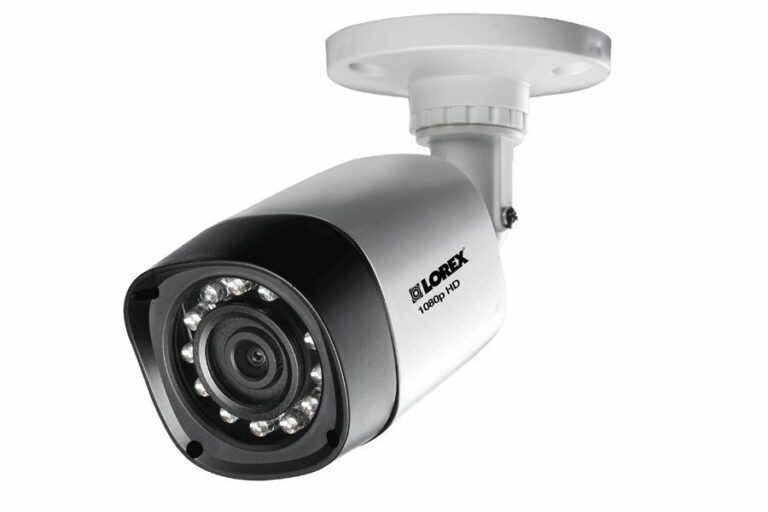
Most security cameras from Lorex use active night vision to see at night. You may have noticed tiny LEDs around the lens of security cameras. These are infrared LEDs (Light Emitting Diode), which act a kind of flood light that bathes the scene in front of the camera in infrared light.
IR Illumination Range: Lorex cameras have varying IR illumination ranges, depending on the specific model. The IR illumination range determines how far the camera can see in the dark. Lorex cameras typically have a range between 80 to 150 feet, although some models may have even longer ranges. When selecting a Lorex camera, consider the desired coverage area and choose a model with an appropriate IR illumination range to suit your specific surveillance needs.
Smart IR Technology: Some Lorex camera models feature Smart IR technology. This technology automatically adjusts the intensity of the IR illumination based on the proximity of objects within the camera’s field of view. It helps to prevent overexposure and glare when objects are too close to the camera, ensuring optimal image quality and visibility in varying lighting conditions.
Color Night Vision: Lorex also offers certain camera models with Color Night Vision technology. These cameras use advanced image sensors and specialized lenses to capture color video footage even in low-light environments. Color Night Vision provides enhanced detail and clarity compared to traditional black-and-white night vision. However, it’s worth noting that Color Night Vision may have limitations in extremely low-light or completely dark conditions.
How does Lorex camera system work?
Most Lorex security camera systems are built around a DVR (digital video recorder) or NVR (network video recorder). Both are central devices that need to sit within Wi-Fi or Ethernet cable range of your router. Those devices process videos from the cameras and then store them in a built-in hard drive.
Recorder: The core component of the Lorex camera system is the recorder, which can be either a Digital Video Recorder (DVR) or a Network Video Recorder (NVR). The recorder receives video signals from the cameras, processes the video data, and stores it for later retrieval and playback. DVRs are typically used with analog cameras, while NVRs are designed for digital/IP cameras. The recorder also manages other system functionalities such as remote access, video playback, and camera configuration.
Video Transmission: Lorex camera systems utilize different methods to transmit video from the cameras to the recorder. Analog cameras connect to the DVR using coaxial cables, while digital/IP cameras can be connected using Ethernet cables or wirelessly via Wi-Fi, depending on the camera model and system setup. Some Lorex systems also support Power-over-Ethernet (PoE) technology, allowing both power and data to be transmitted through a single Ethernet cable.
Video Storage: Once the video footage is received by the recorder, it is stored in various storage options. Lorex camera systems typically offer different storage options, including internal hard drives within the recorder or external storage devices connected to the recorder. The storage capacity varies depending on the specific model and can be expanded by adding additional hard drives or using cloud-based storage options.

Conclusion
Remember to carefully plan the camera placement, considering key areas that require monitoring. Take into account the mounting options and choose the most suitable method for each camera location. Ensure proper connection of the cameras to the DVR or NVR, using the provided cables and following manufacturer instructions.
Powering the system correctly is crucial, whether it involves connecting power adapters to each camera or utilizing a PoE switch. Be diligent in routing and securing the cables to avoid any potential hazards or damage. Once the physical connections are in place, follow the system’s on-screen instructions to configure settings and customize preferences. With its high-resolution video quality and comprehensive coverage, you can gain peace of mind knowing that your premises are under constant surveillance.
Mounting the cameras securely is the next step, taking into consideration height, angle, and coverage area. Utilize the provided mounting hardware to affix the cameras to suitable surfaces, ensuring stability and optimal performance. Lastly, conduct a comprehensive test to verify that the system is functioning properly and make any necessary adjustments. Installing a Lorex 4K camera system can significantly enhance the security and monitoring capabilities of your property.

