Introduction
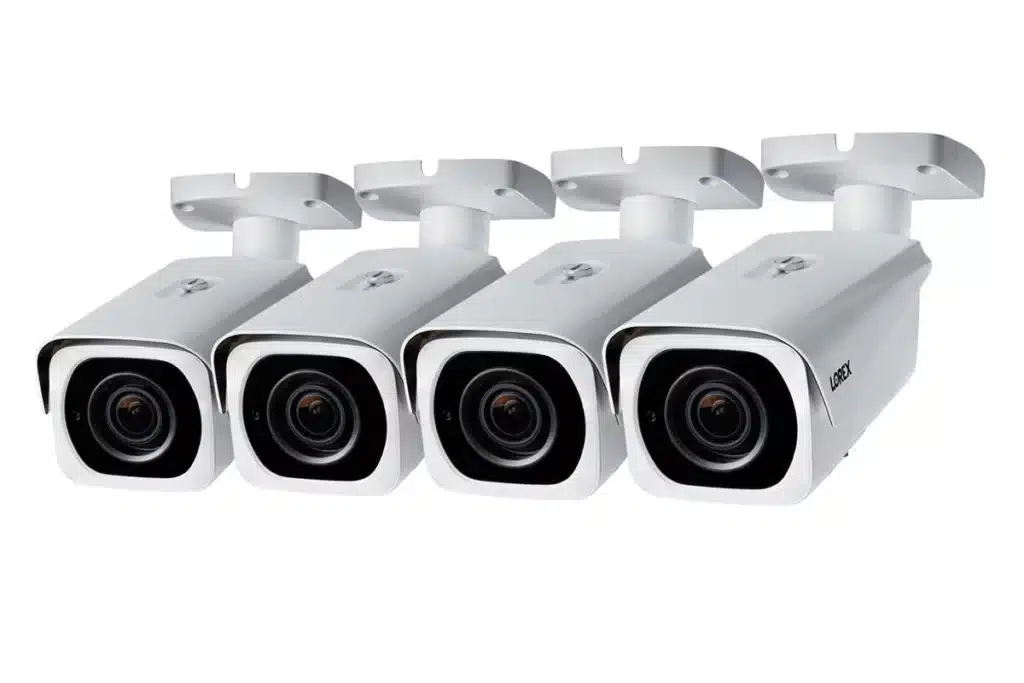
How To Install Lorex Cameras: Before diving into the installation process, it’s crucial to familiarize yourself with the different types of Lorex cameras available and choose the model that best suits your requirements. Lorex offers a wide range of options, including wired, wireless, and IP cameras, each with its own advantages and installation considerations. Assessing your specific surveillance needs will help you determine the most appropriate camera type for your installation.
Additionally, it’s essential to ensure you have all the necessary tools and equipment before starting the installation. Typical requirements may security camera include a power drill, screws, a ladder, a monitor or a smartphone for viewing the camera feed, and network cables if applicable. Lorex cameras is a straightforward process that allows you to enhance the security and surveillance of your home or business. Whether you’re a homeowner looking to monitor your property or a business owner wanting to protect your assets, Lorex cameras provide reliable and comprehensive monitoring solutions.
To install Lorex cameras, including mounting the cameras, running cables (if applicable), connecting the cameras to power sources, and configuring the camera system. We will also discuss some general best practices to optimize camera placement and maximize the effectiveness of your surveillance system. Lorex Technology is a leading provider of video surveillance systems, offering a range of high-quality cameras designed to meet various needs and budgets.

How do I manually add a Lorex camera?
How to add a camera to the Lorex Smart Home Security Center via the Lorex Home App
- Launch the Lorex Home app.
- Sign up or log in.
- Tap the + icon to add a new camera.
- Scan the QR code located on your camera.
- After recognizing the device ID, tap Next.
- When you’ve completed the on-screen instructions tap Next.
Carefully choose the location for your Lorex camera. Consider factors such as the area you want to monitor, the camera’s field of view, and any potential obstructions. The camera should be mounted at a height that maximizes coverage and allows maintenance.
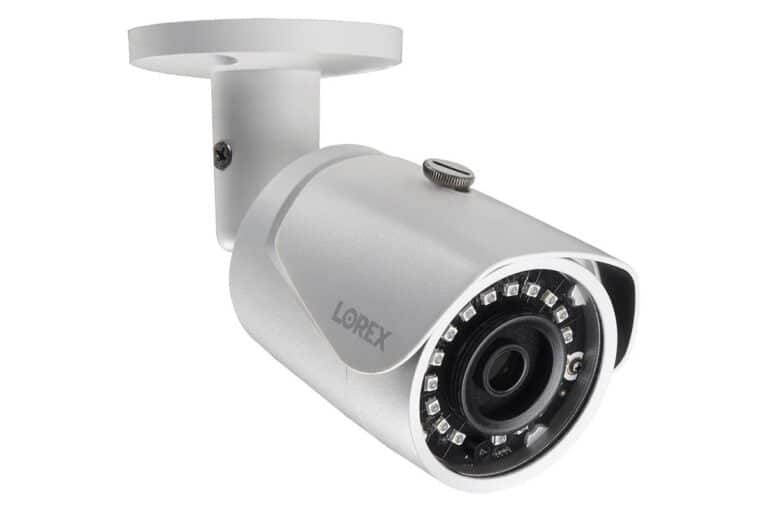
Use the provided mounting bracket and screws to securely attach the Lorex camera to the chosen location. Ensure that the camera is stable and properly aligned to capture the desired field of view. If the camera requires network cables, leave enough slack to allow for future adjustments or maintenance.
Connect the power adapter to the Lorex camera and plug it into a nearby power outlet. Make sure the power source is reliable and stable. Verify that the camera’s power indicator light illuminates, indicating that it is receiving power.
Use a network cable to connect an IP camera or Lorex camera to your router or network switch for remote viewing. Secure the connection and place the cable into the camera and router/switch.
Once powered and connected, you may need to visit the camera’s configuration settings to set network connectivity or alter parameters. The user manual or Lorex material explains how to configure the camera.
How do I connect my Lorex IP camera?
To connect IP cameras using a router or PoE switch:
- Right-click on the Live View to access the Quick Menu.
- Click Device Search.
- Log in using your administrator login information.
- Select the camera you would like to add.
- The status indicator will become green if the camera is connected after clicking Add.
To access and manage your Lorex IP camera, it needs to have a unique IP address on your network. By default, Lorex IP cameras are set to obtain an IP address automatically using DHCP. To find the IP address assigned to your camera, you can use the Lorex Device Discovery Tool, which is available for download from the Lorex website. Alternatively, you can access your router’s DHCP client list to identify the camera’s IP address.
Accessing the Camera
Once you have your Lorex IP camera’s IP address, open a web browser on your computer or phone. Fill the browser’s address bar with the camera’s IP. Lorex will prompt you to log in to the camera’s web interface with the default username and password. Changing default credentials is essential for security.
Configuration
Upon logging in to the camera’s web interface, you can configure various settings, such as network connectivity, video quality, motion detection, and recording schedules. Refer to the camera’s user manual or Lorex documentation for detailed instructions on accessing and adjusting the camera’s settings.
Remote Access
To access your Lorex IP camera remotely, you will need to set up port forwarding on your router. This allows incoming connections to reach your camera from outside your local network. Consult your router’s user manual or the manufacturer’s website for instructions on how to set up port forwarding.
Do Lorex cameras require WIFI?
It doesn’t require Wi-Fi or the internet, but you can use it with the Lorex Home app if you want. While Lorex cameras perform well compared to brands like Arlo and Ring, they’re more expensive, and some models require stringing long wires around the house.
Wi-Fi is not needed for Lorex wired cameras. These cameras transmit power and video through cables. They need power and a coaxial or Ethernet wire to connect to a DVR or NVR. The video recorder centers camera feed recording, storage, and remote access. Wired cameras don’t suffer from Wi-Fi interference or signal loss, making them trustworthy.
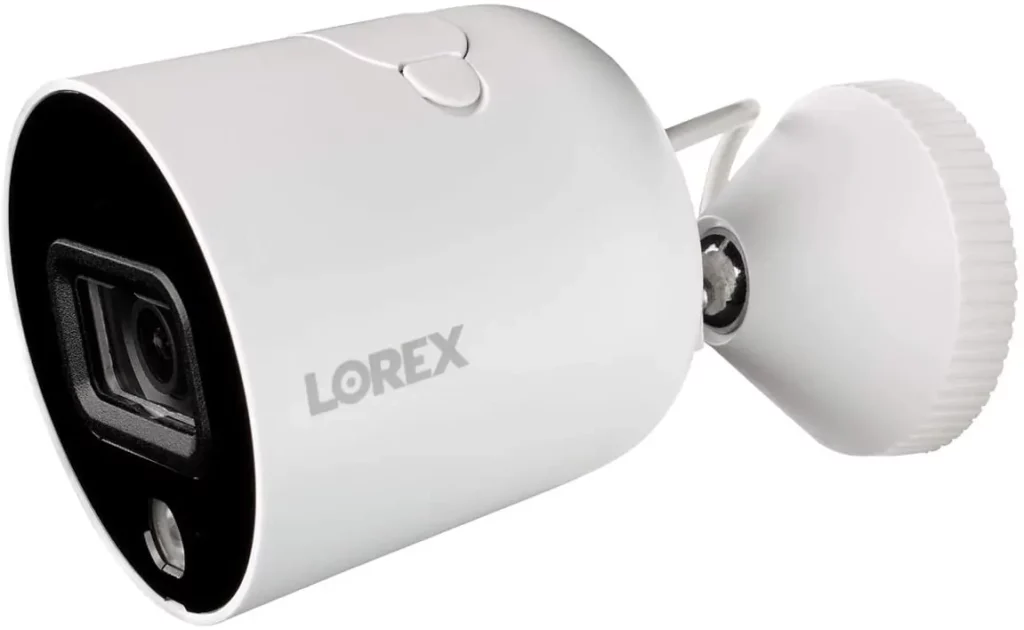
Wi-Fi connects wireless Lorex cameras. These cameras send footage to a recorder or mobile device over your home or office Wi-Fi network for remote viewing. Due to their cable-free installation, wireless cameras are flexible. They install and transport more easily. Wi-Fi signal strength, device interference, and barriers between the camera and the network can influence connection dependability and stability.
Lorex also offers hybrid camera systems that combine both wired and wireless capabilities. These cameras can be connected to a recorder via a wired connection for a stable and reliable connection. Additionally, they can also connect to your Wi-Fi network to provide remote viewing options. Hybrid cameras offer the best of both worlds, allowing you to take advantage of a wired connection while enjoying the flexibility of wireless access.
How does a Lorex camera work?
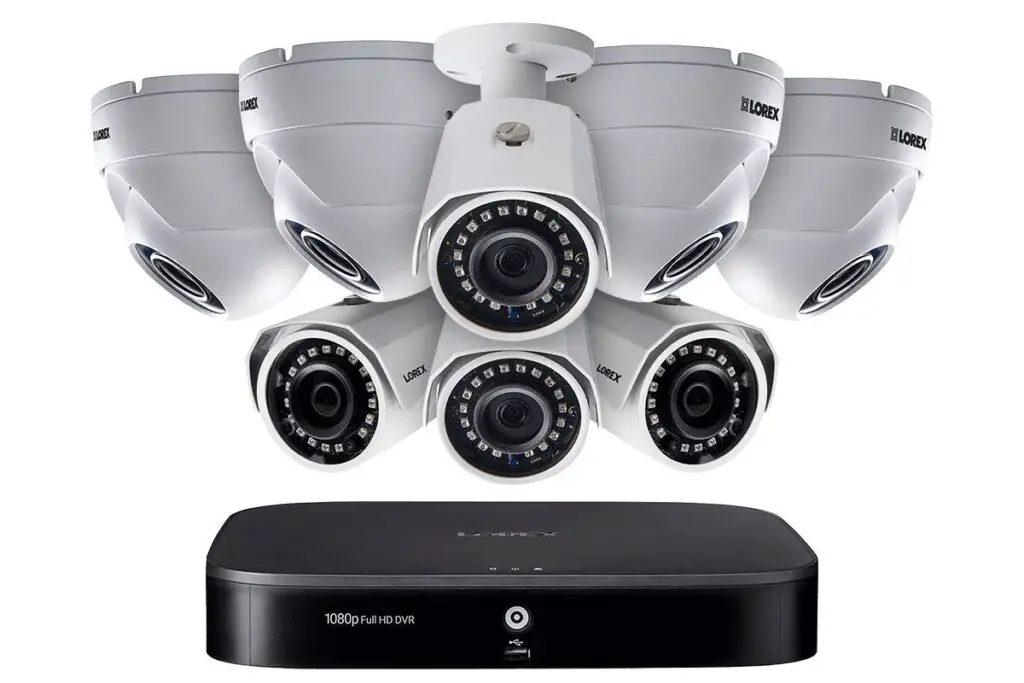
Most Lorex security camera systems use DVRs or NVRs. These core devices must be within Wi-Fi or Ethernet range of your router. These gadgets process camera videos and store them in a built-in hard drive.
Signal Transmission
Lorex cameras transmit video using different methods based on the camera type. Wired cameras typically use coaxial cables or Ethernet cables to transmit the video signal to a digital video recorder (DVR) or network video recorder (NVR). Wireless cameras, on the other hand, utilize Wi-Fi or other wireless protocols to transmit the video signal to a receiver or directly to a mobile device or computer.
Recording and Storage
The DVR, NVR, or similar software on a computer or mobile device processes the transmitted video signal. These devices record and store the video footage for future reference and playback. Lorex offers a range of recorders with different storage capacities, allowing users to store days, weeks, or even months of recorded video.
Remote Access
Lorex cameras allow remote viewing of live and recorded video from a computer, smartphone, or tablet. Users can monitor their property in real time, check for suspicious activity, and investigate historical events with this functionality.
Motion Detection and Alerts
Many Lorex cameras detect motion. The camera warns when it detects movement in its field of view. The camera may send email, push, or text alerts when motion is detected to advise users of security hazards.
Is Lorex camera app free?
Lorex Home is a free mobile app that lets you view live and recorded video from your security cameras and change system settings from anywhere. Enjoy hassle-free remote access from any- where with no monthly fees. The Lorex Home app is compatible with both iOS and Android devices.
The Lorex camera app is available for free download and use. It Lorex camera app allows users to remotely access and monitor their Lorex cameras from their mobile devices, such as smartphones and tablets. With the app, users can view live video feeds, review recorded footage, receive motion detection alerts, and control certain camera functions, depending on the camera model.
The Lorex camera app is typically available for both iOS and Android platforms, making it accessible to a wide range of users. It is free to download from the Apple App Store and Google Play Store.
After installation, users can check in to the app using their Lorex account credentials, usually created during camera setup. A simple UI lets you navigate and control Lorex cameras with the app.
For example, certain storage options or cloud-based services for storing and accessing recorded footage may involve a subscription fee. However, the basic functionality of accessing live video feeds and receiving motion detection alerts is typically available for free.
Lorex regularly updates their camera software with new features, improved performance, and bug fixes. To support the latest Lorex camera models and take advantage of new capabilities, upgrade the app.

Is Lorex camera safe?
However, Lorex security cameras are relatively secure because all of the footage is stored locally on a hard drive instead of in cloud storage where hackers can access them.
Remote Access Security
When accessing Lorex cameras remotely through the mobile app or computer software, it’s crucial to ensure that you are using secure connections. This can be achieved by using secure Wi-Fi networks or enabling virtual private network (VPN) connections for added encryption and privacy.
Firmware Updates
Lorex regularly releases firmware updates for their cameras to address security vulnerabilities and improve performance. It is important to keep your cameras’ firmware up to date by installing the latest available updates. Regularly checking for firmware updates and applying them ensures that your cameras have the latest security patches and features.
Network Security
Proper network security improves Lorex camera system security. This involves password-securing your Wi-Fi network, encrypting it with WPA2 or higher, and updating your router’s software. Set up a separate network or use a guest network to isolate your surveillance system from other devices on your network.
Physical Security
Protecting the physical access to your Lorex cameras is crucial. Ensure that the cameras are mounted securely and placed in locations that are not easily accessible to unauthorized individuals. Additionally, protect the recording device or NVR by placing it in a secure and locked location.
Are Lorex cameras legal?
Lorex goods are for consumers and businesses, not US governmental governments, federally financed programs, or NDAA contractors.
Privacy laws differ from country to country and even from state to state within a country. These laws aim to protect the privacy of individuals and may impose restrictions on where and how surveillance cameras can be used. In some areas, there may be limitations on recording in private areas such as bedrooms, bathrooms, or changing rooms. It’s important to understand the privacy laws applicable to your jurisdiction and ensure compliance when installing and using Lorex cameras.
In many jurisdictions, it is required to obtain consent or provide notification when using surveillance cameras, especially in areas where individuals have a reasonable expectation of privacy. This typically applies to cameras installed in public spaces, commercial establishments, or workplaces. Check the laws in your area to determine if you need to obtain consent or display visible signs indicating the presence of surveillance cameras.
Some jurisdictions have specific regulations regarding audio recording. While Lorex cameras may offer audio capabilities, it’s important to understand the legality of audio recording in your area. In certain cases, consent may be required from all parties involved before recording audio.
If you are recording and storing video footage from Lorex cameras, it’s crucial to comply with data protection laws. These laws govern the collection, use, storage, and sharing of personal data, including video recordings. Ensure that you handle and store the recorded footage securely and in accordance with applicable regulations.
If you are using Lorex cameras in a workplace or business environment, additional regulations may apply. Employment laws or collective agreements may dictate how surveillance cameras can be used in the workplace and the rights of employees regarding privacy.
What is Lorex IP camera password?
The default username and password will both be: admin.
It’s important to choose a strong password that is not easily guessable. A strong password typically includes a combination of uppercase and lowercase letters, numbers, and special characters. Avoid using common words, personal information, or easily guessable sequences (e.g., “123456” or “password”). Creating a unique and complex password helps protect your camera from unauthorized access.
To maintain the security of your Lorex IP camera, it’s recommended to periodically change your password. Regularly updating your password can help mitigate the risk of unauthorized access. Additionally, avoid reusing passwords across multiple accounts or devices, as this can lead to vulnerabilities if one account is compromised.
If you forget your Lorex IP camera password, you may need to reset the camera to its factory default settings. This typically involves pressing a reset button on the camera or using a pin or paperclip to reset the camera to its initial state. However, it’s important to note that resetting the camera will erase all existing settings and configurations, including any recorded footage. Consult the camera’s user manual or Lorex documentation for specific instructions on how to reset your camera.
Ensure that you store your Lorex IP camera password securely. Avoid sharing the password with unauthorized individuals and refrain from writing it down in easily accessible locations. Consider using password management tools or applications to securely store and manage your passwords.

Conclusion
By carefully planning the camera placement and considering factors such as coverage area, lighting conditions, and potential obstacles, you can optimize the effectiveness of your surveillance system. Following the manufacturer’s instructions and guidelines ensures a smooth installation process and helps you avoid common pitfalls.
The necessary tools and equipment before starting the installation, and if needed, seek assistance from a professional for more complex setups. Additionally, it’s essential to regularly maintain Lorex camera system to ensure it continues to function optimally and provides reliable monitoring. Installing Lorex cameras allows you to monitor your property remotely, access live video feeds, and even receive alerts on your smartphone or computer, providing you with real-time surveillance and the ability to respond promptly to any security concerns.
Safety and privacy must be prioritized throughout installation. Maintain compliance with local surveillance system legislation and protect your neighbors’ and workers’ privacy. Lorex cameras provide trustworthy and comprehensive monitoring solutions for protecting your family, business, or critical assets.

