

Introduction
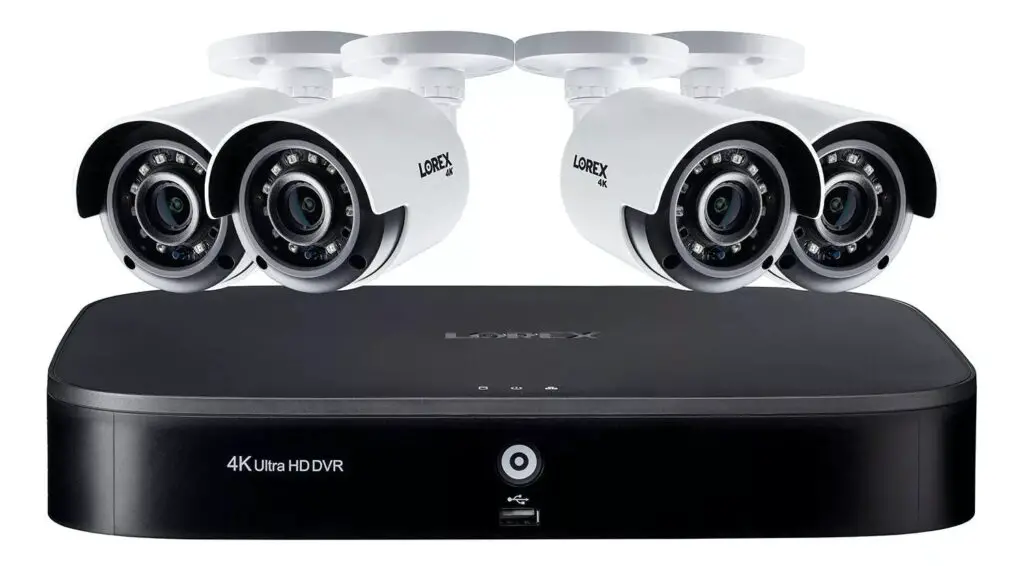
How To Reset Lorex Camera To Factory Default: Lorex cameras are popular for their high-quality video surveillance capabilities and advanced features. However, there may be instances where you need to reset your Lorex camera to its factory default settings. Whether you want to troubleshoot technical issues, reconfigure your camera’s settings, or prepare it for a new installation, performing a factory reset can be a useful step.
Resetting your Lorex camera to factory default will revert all settings, configurations, and customizations back to their original state, erasing any personalised changes you may have made. It is important to note that this process will also remove any recorded footage or data stored on the camera’s internal storage.
Instructions on how to reset your Lorex camera to its factory default settings. Please keep in mind that the reset process may vary slightly depending on the specific model and firmware version of your Lorex camera. It is recommended to consult the user manual or Lorex support documentation for your specific camera model for detailed instructions.
How do I factory reset a Lorex camera system?
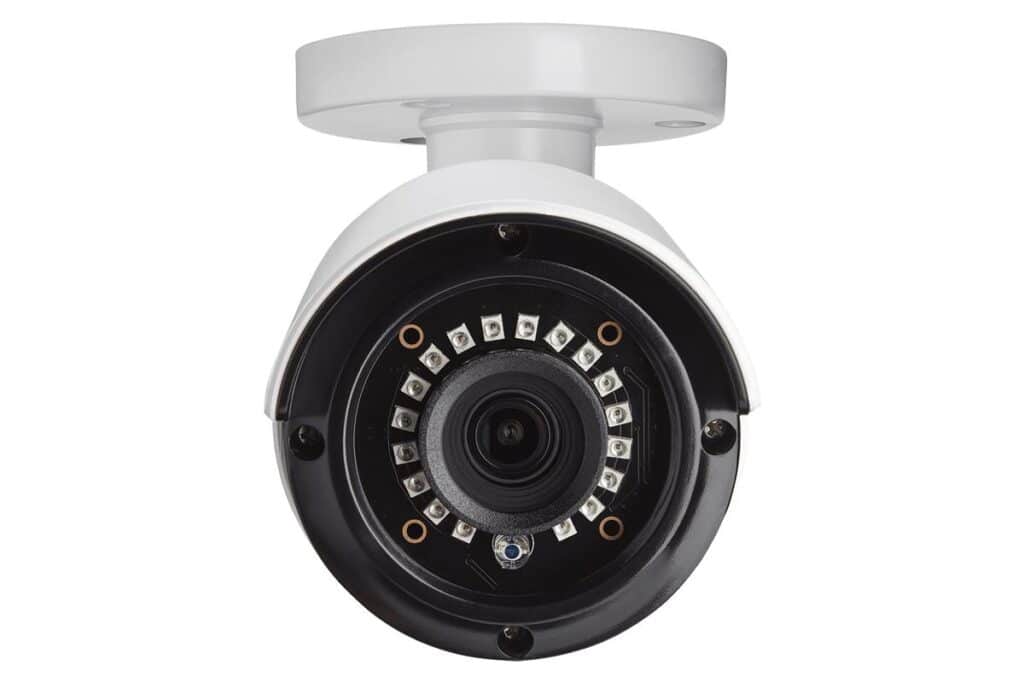
Follow these procedures to restore the Lorex W261AS camera to its factory settings: Search for the reset button. The reset button for the W261AS Series is found on the camera’s back. Reset the camera, depress and hold the reset button for 10 seconds until the chime plays.
Prepare for the Reset
Ensure that your Lorex camera system is powered on and connected to a stable power source. Locate the user manual or documentation that came with your Lorex camera system. This will provide specific instructions tailored to your camera model.
Access the Camera System’s Menu
Use the provided remote control or access the camera system’s menu through the connected monitor or mobile app. Navigate to the settings or configuration menu of your Lorex camera system.
Locate the Factory Reset Option
Look for a “Factory Reset” or “Default Settings” option within the settings menu. Depending on your camera model, this option may be located under a sub-menu or advanced settings section. Refer to your user manual if you’re having trouble finding it.
Initiate the Factory Reset
Once you’ve located the Factory Reset option, select it to begin the reset process. You may be prompted to confirm the reset action. Follow the on-screen instructions and proceed with caution, as this action cannot be undone.
Refer to the User Manual
Consult the user manual or Lorex’s official documentation for your specific camera model to guide you through the reconfiguration process. The user manual will provide detailed instructions on how to set up your Lorex camera system to meet your specific requirements.
How do I reset my Lorex camera to a new WIFI?
How to change wifi network on Lorex camera:
- First, ensure that your Lorex camera is connected to the current wifi network.
- Next, disconnect the camera from the current wifi network.
- Once the camera has restarted, press and hold the reset button on the back of the camera for about 10 seconds.
Locate the Network Settings
Look for an option related to network settings, such as “Wi-Fi Settings” or “Network Configuration.” Depending on your camera model, this option may be found in a sub-menu or advanced settings section.
Reset the Wi-Fi Settings
Within the network settings, look for an option to reset or clear the current Wi-Fi settings. Select this option to initiate the Wi-Fi reset process.
You may be prompted to confirm the action before proceeding. Follow the on-screen instructions.
Prepare the Camera for New Wi-Fi Setup
After resetting the Wi-Fi settings, the camera will be disconnected from the current Wi-Fi network. It may take a few moments for the camera to complete the reset process.
Connect to the New Wi-Fi Network
Once the Wi-Fi reset is complete, follow the camera’s setup process to connect it to the new Wi-Fi network. This typically involves selecting the desired Wi-Fi network from a list of available networks and entering the network’s password.
Complete the Setup
After successfully connecting the camera to the new Wi-Fi network, follow any additional setup instructions provided by the camera’s interface or user manual. This may include configuring network settings, enabling features, or customizing camera preferences.
How do I reset my Lorex offline camera?
You can put the antennas upright to increase the range of the Lorex Smart Home Security Center (LSHSC). If needed, unplug the camera from power and leave it unplugged for about 30 seconds to 1 minute. Plug it back in and wait a few moments while the camera comes back online.
Power Cycle the Camera
Disconnect the camera from its power source by unplugging the power cable.
Wait for about 10-15 seconds before plugging the camera back in. Power cycling the camera can help resolve temporary connectivity issues.
Verify Network Connection
Ensure that the camera is properly connected to your network. Check the Ethernet cable or wireless connection to make sure it is secure and functioning correctly.
Reboot the Router or Switch
If other devices on your network are also experiencing connectivity issues, try rebooting your router or switch.Unplug the power cable, wait for a few seconds, and then plug it back in to restart the network device.
Perform a Camera Reset
Locate the reset button on the camera. It is usually a small, recessed button that requires a pin or paperclip to press. Use a pin or paperclip to press and hold the reset button for about 10-15 seconds. Release the reset button and wait for the camera to reboot.
Reconfigure the Camera
After the camera has reset, you will need to reconfigure it. Follow the initial setup process, which typically includes connecting the camera to your network and configuring settings such as Wi-Fi credentials and IP address.
What is the default admin for Lorex camera?
For Lorex, the default password is ‘000000’ and the username is ‘admin’. This means that anyone with this knowledge can have access to your security system.
To ensure the security of your Lorex camera system, it is highly recommended to change the default admin username and password after setting up your cameras. This helps protect your camera system from unauthorized access and potential security breaches.
When setting up your Lorex camera for the first time, you will typically be prompted to create a new admin account with a unique username and password. This step is crucial to ensure that only authorized individuals have access to the camera’s settings, live video feeds, and recorded footage.
It is important to choose a strong and secure password that combines letters, numbers, and special characters. Avoid using easily guessable or commonly used passwords to enhance the security of your Lorex camera system.
If you have forgotten or misplaced the admin username and password for your Lorex camera, there are a few steps you can take to regain access. First, try referring to the camera’s user manual or documentation provided by Lorex for any default login credentials specific to your camera model.
If the default credentials are not available or do not work, you can attempt a password reset. This usually involves locating the reset button on the camera itself and pressing it for a certain duration. The reset process will vary depending on the camera model, so it’s important to consult the camera’s manual or contact Lorex customer support for detailed instructions.
How do I remove Lorex camera from my account?
How to remove a device
- Launch the Lorex Home app, then tap the Device Settings of the camera you wish to remove.
- Scroll all the way down, and tap Remove Device.
- You will get an on-screen prompt asking if you want to remove the device from your account. Tap Remove to continue.
Log in to the platform or app that you use to manage your Lorex camera system. This could be the Lorex app, the web-based interface, or a third-party app that integrates with Lorex cameras.
Navigate to the settings section within the app or platform. Look for the option that allows you to manage or configure your camera devices.
Identify the specific camera you want to remove from your account. It may be listed by its name, model number, or a unique identifier.
Once you have located the camera you wish to remove, select it to access its individual settings and configuration options.
Within the camera settings, search for an option to remove or delete the camera from your account. This option is typically located under a “Remove,” “Delete,” or “Unlink” section.
When you choose to remove the camera, you will likely be prompted to confirm the action. Ensure that you have selected the correct camera and confirm the removal process.
Depending on the platform or app you are using, there may be additional steps or instructions to follow in order to complete the removal process. These instructions may involve physically disconnecting the camera from the power source or performing a factory reset on the camera.
Do Lorex cameras have an app?
App Compatibility
Important: Lorex apps are optimized for the newest iOS and Android versions on mobile phones and 64-bit platforms.
The Lorex app has many features that improve user experience and control the security camera system. The Lorex camera app on your smartphone or tablet lets you see live video, playback recorded film, and adjust settings.
Remote camera access is a helpful Lorex app function. The app lets you securely connect to Lorex cameras from work, on vacation, or elsewhere. This function gives consumers peace of mind by letting them check on their homes or loved ones anytime.
Besides live viewing, the Lorex app lets users review stored footage. This is helpful in emergencies and for reviewing past events. The program can help you find certain moments in recorded footage and export or share them with its simple UI.
The Lorex app also has motion detection notifications. The software can deliver push notifications to your phone when the camera detects motion. This function is useful for home and business owners who want real-time alerts for suspicious activity.
Lorex has an easy-to-use app. Users may easily connect Lorex cameras to the app with its simple setup. Connected cameras may be readily divided into groups or zones, making it easier to handle several cameras in different locations.
How do I change the user on my Lorex camera?
Open the Device Settings page in the Lorex Home App for one of your Lorex devices. Tap Shared Users. Tap Add Shared User. Enter the email address of the person you want to add as a Shared User, enable or disable certain permissions, and then tap Confirm.
Locate the user management section within the app or platform. This is where you can add, remove, or modify user accounts associated with your Lorex camera system.
Identify the specific user account that you want to change. This could be the admin account or any other user account that has access to the camera’s settings.
Once you have located the user account you wish to change, select it to access its individual settings and configuration options.
Within the user account settings, look for an option to edit or modify the user details. This may include the username, password, and other associated information.
Update the username and password fields with the new information you want to assign to the user account. If there are additional settings or permissions that you want to modify, do so accordingly.
Do Lorex cameras need wifi?
It doesn’t require Wi-Fi or the internet, but you can use it with the Lorex Home app if you want. While Lorex cameras perform well compared to brands like Arlo and Ring, they’re more expensive, and some models require stringing long wires around the house.
Lorex also offers wired camera options that do not require Wi-Fi connectivity. These cameras are typically connected to a network video recorder (NVR) or a digital video recorder (DVR) through Ethernet cables. The NVR or DVR acts as a central hub for video storage and management. These wired cameras provide a reliable and secure connection for transmitting video footage. While they do not require Wi-Fi, they may still require a network connection to enable remote access or allow the cameras to be viewed and managed through a computer or mobile app.
Some Lorex camera models offer hybrid functionality, combining both wired and wireless connectivity options. These cameras can be connected directly to an NVR or DVR using Ethernet cables, but they also have the capability to connect to a Wi-Fi network for added flexibility. This allows users to choose the most suitable connection method based on their specific needs and the camera’s location.
It’s important to note that while Lorex cameras may not always require Wi-Fi for local viewing or recording, remote access and control typically rely on an internet connection. If you want to access your Lorex cameras remotely, receive motion alerts, or view recorded footage while away from your home or business, a stable internet connection, either through Wi-Fi or a wired network, is necessary.
Conclusion
A Lorex camera to its factory default settings is a straightforward process that can help resolve various issues or prepare the camera for a fresh setup. By following the proper steps, users can restore their Lorex cameras to their original state, erasing any customized settings or configurations that may have been causing problems. Resetting a Lorex camera typically involves accessing the camera’s settings menu or using a physical reset button on the device itself.
It is essential to refer to the camera’s user manual or Lorex’s official documentation for specific instructions on how to reset a particular camera model. Before initiating the reset process, it is important to understand that performing a factory reset will erase all user-defined settings, including network configurations, recording preferences, and customized presets. Therefore, it is crucial to backup any necessary data or note down the camera’s current settings if desired.
Once the reset is completed, the reset Lorex camera will revert to its default settings, allowing users to start anew. This can be particularly useful when encountering technical difficulties, experiencing connectivity issues, or preparing the camera for a different installation or user. Remember, if you encounter any difficulties during the reset process or need further assistance, it is recommended to reach out to Lorex’s customer support or consult their online resources for detailed guidance.