Introduction
Start by selecting the optimal location for your outdoor camera. Doors, windows, driveways, and outdoor living spaces are vulnerable entrance points to monitor. Look for places with a clear line of sight and good coverage of the desired area. Before installing the camera, ensure that the chosen location has a strong Wi-Fi signal. This will guarantee a stable connection and smooth operation. You can use your smartphone or tablet to test the Wi-Fi signal strength in that area.
SimpliSafe outdoor cameras typically come with a mounting bracket or plate. Use the provided screws and anchors to securely attach the mounting bracket to a wall, ceiling, or other desired surface. Make sure the camera is level and positioned correctly. Once the camera is mounted, you’ll need to connect it to your SimpliSafe system. Start by opening the SimpliSafe outdoor mobile app or accessing your SimpliSafe web portal.
Follow the instructions to add a new camera to your system. This typically involves scanning a QR code on the camera or entering its unique identification number. After the camera is connected, you can adjust various settings according to your preferences. These settings may include motion detection sensitivity, notification preferences, recording options, and more. Take some time to explore the available options and customize them to suit your needs.

How does a SimpliSafe outdoor camera attach to house?
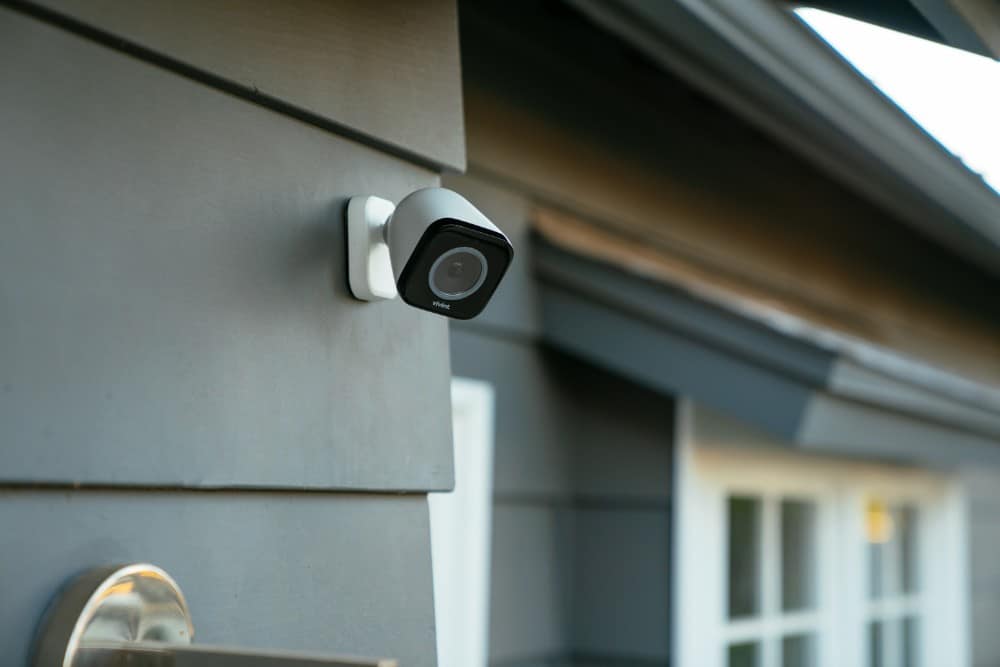
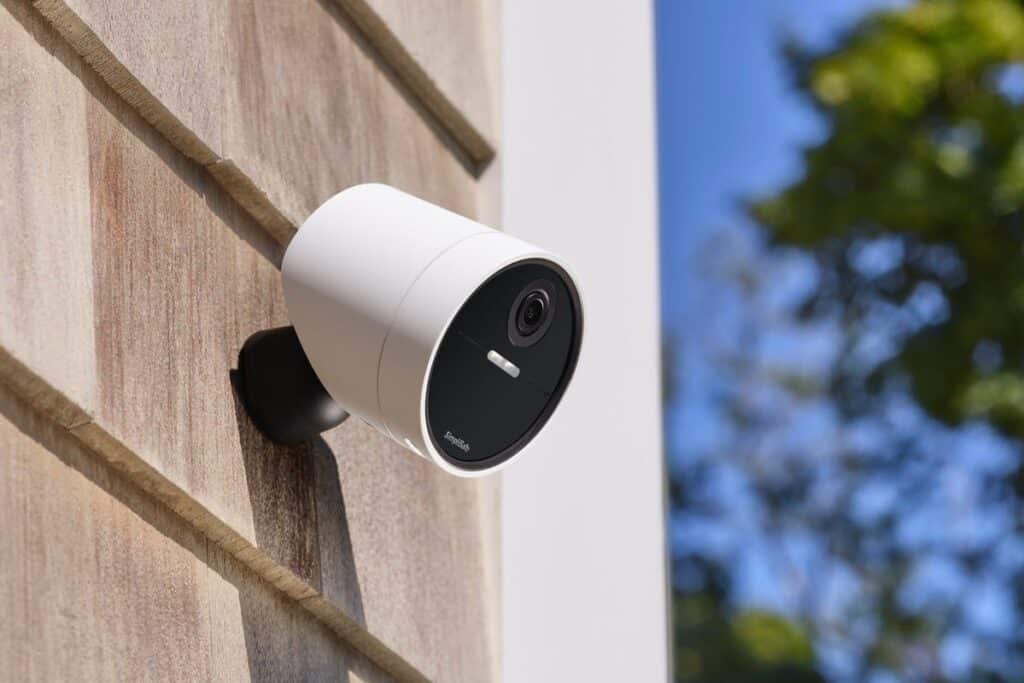
Drill two holes into the wall with a 7/64” drill bit and use the included wall anchors. Twist off the cap on the camera dome (the black dome shaped magnet that the camera attaches to) and screw the cap to the wall using a screwdriver. Twist the dome back onto the cap and you’ll hear it click into place.
Before you start the installation process, make sure you have the necessary tools handy. These typically include a drill, screwdriver, screws, and anchors.
Check the SimpliSafe camera package for any extra tools or parts:
Mounting Bracket Preparation: SimpliSafe outdoor cameras come with a mounting bracket or plate. Begin by preparing the bracket for installation. Depending on the camera model, you may need to attach the bracket to the back of the camera or adjust it as per the provided instructions. Ensure that the bracket is securely fixed to the camera.
Marking the Mounting Holes: Hold the camera’s mounting bracket against the chosen location on your house, aligning it according to your preferred angle and field of view. Use a pencil or marker to mark the spots where you’ll drill the mounting holes. Make sure the marks are level and symmetrical.
Drilling the Mounting Holes: With the marked spots as a guide, use an appropriate-sized drill bit to create the mounting holes on the wall or surface. Make sure to drill to the appropriate depth to accommodate the screws and anchors for a secure mount.
Inserting Anchors and Mounting Screws: Once the holes are drilled, insert the appropriate anchors into each hole. Anchors provide additional stability and support for the screws. Then, place the camera’s mounting bracket over the anchors and align the screw holes. Insert the mounting screws through the bracket and into the anchors, tightening them securely to affix the camera in place.
Attaching the Camera: After mounting the bracket to your residence, install the camera. Depending on the camera model, you may need to slide or snap the camera onto the bracket. Ensure that the camera is firmly attached and properly aligned.
What is the best placement of SimpliSafe outdoor camera?
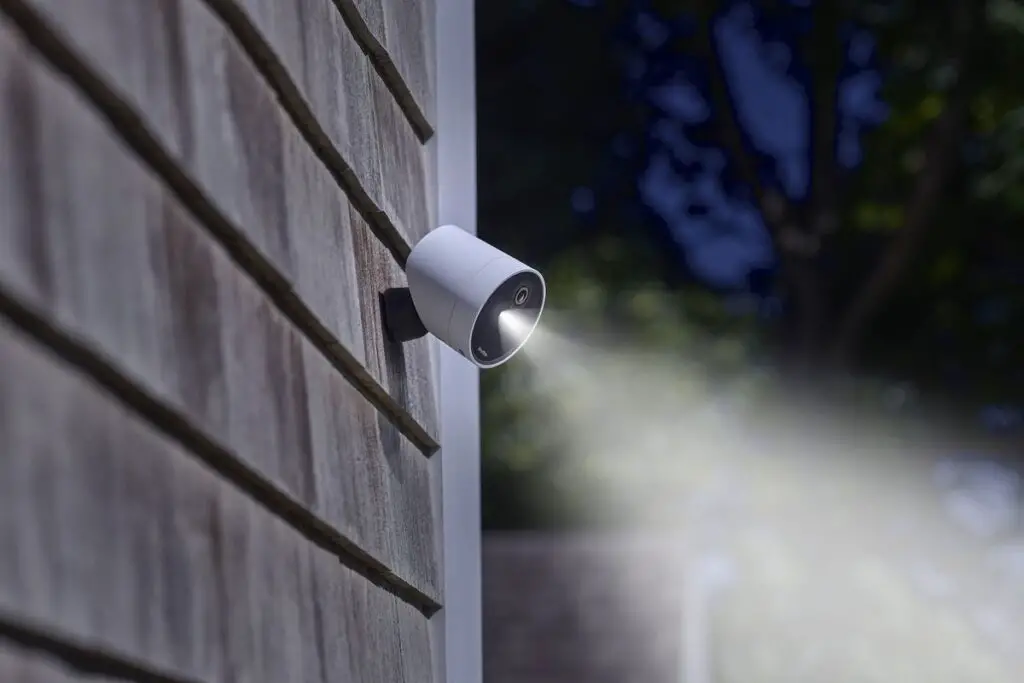
As an example, SimpliSafe typically recommends placing our Wireless Outdoor Security Camera 6-8 feet above the ground at about a 30-degree downward angle. Either way, make sure there’s nothing that can obstruct the view of your camera.
Clear Line of Sight: Ensure that the chosen location for the camera provides a clear line of sight to the area you want to monitor. Avoid obstructed views by trees, shrubs, or any other objects that could hinder the camera’s field of view. A clear line of sight ensures that the camera captures unobstructed footage.
Height and Angle: Mount the camera at a height that allows for a broad and comprehensive view of the area. Consider mounting the camera high enough to prevent easy tampering or interference. Angling the camera slightly downwards can help capture facial features and other important details.
Cover Multiple Entry Points: If possible, position the camera to cover multiple entry points simultaneously. This could be achieved by placing the camera strategically to monitor a front door, driveway, or a side entrance. By covering multiple areas, you enhance the overall security of your property.
Lighting Considerations: Take into account the lighting conditions of the intended placement. Ideally, position the camera in an area with adequate lighting during both day and night. Avoid pointing the camera directly at bright light sources, as it may cause lens flares or wash out the image quality.
Weather Resistance: SimpliSafe outdoor cameras are designed to withstand various weather conditions. However, it is still advisable to mount the camera in a location that provides some level of protection against direct exposure to heavy rain, snow, or extreme weather elements. This can help prolong the camera’s lifespan.
Can you install SimpliSafe yourself?
Some companies, SimpliSafe included, offer professional installation if you need help (though the DIY setup is easy enough for most customers to handle it on their own).
Unbox and Organize Components: Start by unboxing your SimpliSafe system and organizing its components. Familiarize yourself with the different devices, including the base station, keypad, sensors, and any additional accessories you may have purchased.
Choose a Location for the Base Station: Select a central location in your home to place the SimpliSafe base station. This acts as the central hub for your security system and should be located near a power outlet and a stable internet connection.
Connect the Base Station: Connect the base station to a power outlet and plug it into your router using the provided Ethernet cable. The base station will power on and establish a connection to the SimpliSafe server.
Install and Configure the Keypad: Install the keypad near your main entryway for convenient access. Follow the provided instructions to mount it on the wall or use the included adhesive strips for temporary placement. The keypad will guide you through the setup process, prompting you to create a PIN and configure system settings.
Install Entry Sensors and Motion Sensors: SimpliSafe provides wireless entry sensors and motion sensors to detect activity and protect your home. Install these sensors on doors, windows, and other entry points according to the instructions. Pair each sensor with the base station using the keypad’s menu to ensure they communicate effectively.

How far can a SimpliSafe outdoor camera see?
30 feet
The range of the SimpliSafe Outdoor Camera depends on the features you’re using: Motion detection range: 30 feet. Infrared night vision range: 30 feet. Color night vision range: 10 feet.
Distance Range: The distance range of a SimpliSafe outdoor camera refers to how far it can see and effectively capture details. This range can vary depending on factors such as lighting conditions, camera resolution, and environmental factors. SimpliSafe outdoor cameras generally have a range of up to 50 feet, allowing for clear video capture within that distance.
Night Vision Range: In low-light or nighttime circumstances, SimpliSafe exterior cameras have IR night vision. The night vision range of these cameras can vary, but it typically extends up to 65 feet, ensuring visibility and clarity within that distance.
Zooming Capabilities: Some SimpliSafe outdoor camera models offer zooming capabilities to focus on specific areas or objects. These cameras can zoom in digitally to provide enhanced details and allow for closer inspection of specific areas of interest. The zoom level can vary depending on the camera model.
Lens and Image Quality: The lens quality and image resolution of a SimpliSafe outdoor camera significantly impact its ability to capture clear and detailed footage. SimpliSafe cameras are designed to provide high-definition (HD) video quality, typically with resolutions ranging from 720p to 1080p, ensuring sharp and detailed images.
Where should I put my outdoor camera?
Place exterior cameras above or near any doors leading into your home. Off-street windows. Windows that don’t directly face a street may be more prone to break-ins due to their privacy. Install exterior cameras above these windows, or use interior cameras that face the windows in question.
High-Traffic Areas: Identify areas with high foot traffic or frequent activity around your property. Placing the camera in such locations provides a wider coverage area and a better chance of capturing any suspicious or unauthorized activities.
Vulnerable Areas: Determine vulnerable spots that may be appealing to intruders, such as side gates, balconies, or basement windows. Focusing on these areas can help prevent potential break-ins and protect your property effectively.
Visibility and Line of Sight: Ensure that the camera has a clear line of sight and an unobstructed view of the desired monitoring area. Avoid placing the camera behind objects like trees, bushes, or fences that may obstruct its field of view. A clear line of sight enhances the camera’s ability to capture relevant footage.
Height and Angle: Mount the camera at a sufficient height to capture a broader view and minimize the risk of tampering. An elevated position can also help reduce the chance of vandalism or theft. Angle the camera downward slightly to optimize the field of view and capture facial features of individuals in the frame.
Lighting Conditions: Consider the lighting conditions in the intended placement area. Avoid placing the camera directly towards bright light sources, as it may result in washed-out or overexposed footage. Position the camera in areas with adequate lighting during both day and night for clearer video capture.
What is the Wi-Fi range of SimpliSafe outdoor camera?
The camera can sometimes perform poorly if it’s placed too far away from the required base station or Wi-Fi router. Six to eight feet is usually the maximum distance;3 any farther away and you might experience delays in loading the camera’s live stream and preparing motion-activated clips.
The SimpliSafe outdoor camera has a Wi-Fi range of
Standard Wi-Fi Range: SimpliSafe outdoor cameras typically operate on standard Wi-Fi frequencies (2.4 GHz or 5 GHz) used by most home networks. The typical Wi-Fi range for these cameras is around 100 to 200 feet in an open space without significant obstructions or interference.
Environmental Factors: The Wi-Fi range can be influenced by environmental factors such as walls, floors, and other physical barriers between the camera and the Wi-Fi router. Thick walls or other structures may reduce the effective range of the Wi-Fi signal. The presence of other electronic devices or appliances that emit wireless signals can also potentially affect the range.
Signal Strength and Quality: To ensure a reliable connection and optimal performance, it is important to have a strong and stable Wi-Fi signal in the area where you plan to install the SimpliSafe outdoor camera. A weak or intermittent Wi-Fi signal can result in reduced range or intermittent connectivity issues.
Wi-Fi Signal Boosters and Extenders: If you require an extended Wi-Fi range for your SimpliSafe outdoor camera, you can consider using Wi-Fi signal boosters or extenders. These devices amplify or extend the reach of your Wi-Fi network, allowing you to cover larger areas and overcome signal limitations.
The Wi-Fi range you experience may vary based on your specific home setup, including the location of your Wi-Fi router, the presence of signal interference, and the layout of your property. If you encounter connectivity issues or experience limited range, you may need to optimize your Wi-Fi network setup or consider adding additional networking equipment to extend the range.
Does SimpliSafe outdoor camera detect motion?
The SimpliSafe outdoor camera can detect motion up to 30 feet away. Does the SimpliSafe outdoor camera need to be plugged in?
Passive Infrared (PIR) Sensors: SimpliSafe outdoor cameras use passive infrared (PIR) sensors to detect motion. PIR sensors detect changes in heat signatures within the camera’s field of view. When an object or person moves within the monitored area, the PIR sensor senses the change in temperature and triggers the camera to start recording or send an alert.
Adjustable Sensitivity: SimpliSafe outdoor cameras typically offer adjustable sensitivity settings for motion detection. This allows you to customize the camera’s response to movement within its field of view. You can set the sensitivity level based on your preferences, environmental factors, and the specific area you are monitoring.
Real-Time Alerts: When motion is detected by the SimpliSafe outdoor camera, it can send real-time alerts to your smartphone or other connected devices. These alerts notify you of the detected motion, allowing you to take immediate action or review the recorded footage to assess the situation.
Motion Zones: SimpliSafe outdoor cameras often allow you to define specific motion zones within the camera’s field of view. This feature enables you to focus on specific areas of interest and ignore motion in less relevant areas. By customizing the motion zones, you can reduce false alerts and ensure that you receive notifications for relevant activity.
Recording and Playback: When motion is detected, SimpliSafe outdoor cameras typically start recording video footage. The recorded footage can be accessed later through the SimpliSafe mobile app or web portal for review and investigation. This feature provides valuable evidence in the event of a security incident or helps monitor activity in and around your property.

Conclusion
Choosing the right location, ensuring a strong Wi-Fi signal, securely mounting the camera, and connecting it to your SimpliSafe system are all crucial steps in the installation process. Additionally, customizing camera settings and conducting thorough testing will ensure that the camera functions optimally and provides the desired level of security. Once installed, your SimpliSafe outdoor camera will offer round-the-clock surveillance, monitoring vulnerable areas, and providing you with peace of mind. Whether you’re keeping an eye on your front door, backyard, or any other outdoor space, the camera’s motion detection and live feed capabilities will help keep you informed of any suspicious activity.
Remember to periodically check and clean the camera lens to maintain clear video footage. Additionally, regularly update your SimpliSafe system and camera firmware to access the latest features and security enhancements. With your SimpliSafe outdoor camera in place, you can confidently protect your property, deter potential intruders, and have an extra layer of security for your home. Enjoy the benefits of increased safety and monitoring that the camera provides, ensuring the well-being of your loved ones and valuables.
Properly mounting the camera is essential for optimal performance and durability. Follow the manufacturer’s instructions and securely attach the camera’s mounting bracket or plate to a wall, ceiling, or other desired surface. Take care to ensure the camera is level and positioned correctly for optimal coverage. Once the camera is mounted, you’ll need to connect it to your existing SimpliSafe security system. Using the SimpliSafe mobile app or web portal, follow the provided instructions to add the camera to your system. This typically involves scanning a QR code or entering the camera’s unique identification number.

