Introduction
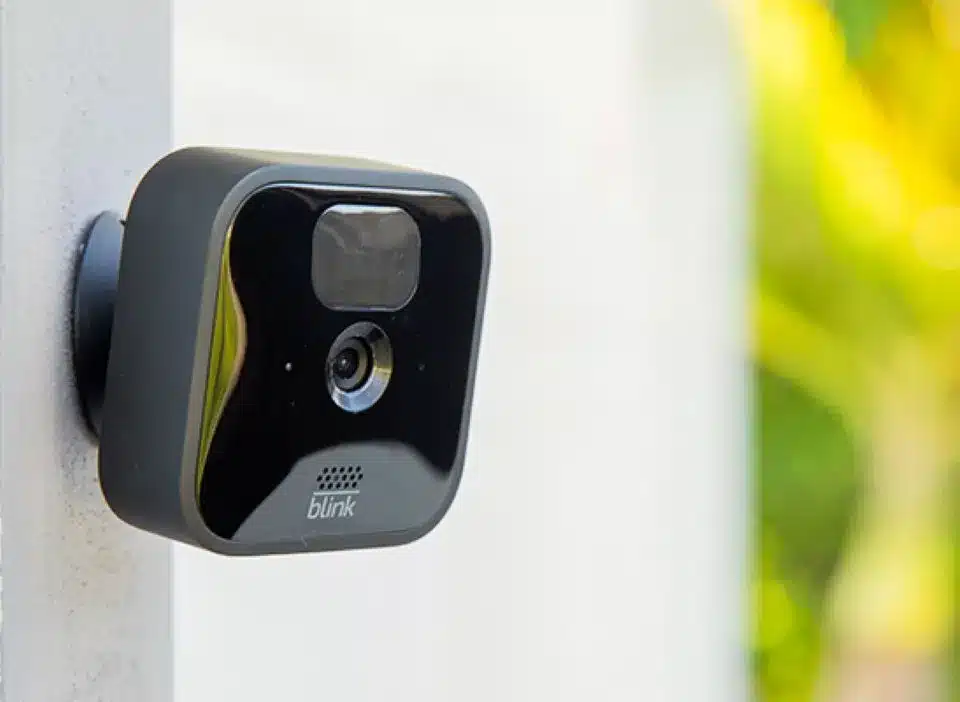
The Blink Outdoor Camera provides convenience, reliability, and security. This small, wireless camera lets you monitor your home, family, and valuables indoors and outside.
Mounting your Blink Outdoor Camera appropriately ensures best performance and coverage. This article will show you how to attach your Blink Outdoor Camera with ease and precision, whether you’re a tech pro or new to smart home gadgets. These instructions will help you set your camera properly, enhance its performance, and increase home security.
High-definition video recording, motion detection, two-way audio, and weather resistance make this wireless camera excellent for inside and outdoor surveillance. The Blink Home Monitor app lets you control and see your camera’s footage from your smartphone or tablet. Long battery life and clever power management ensure uninterrupted operation.

Do you need mounts for Blink outdoor cameras?
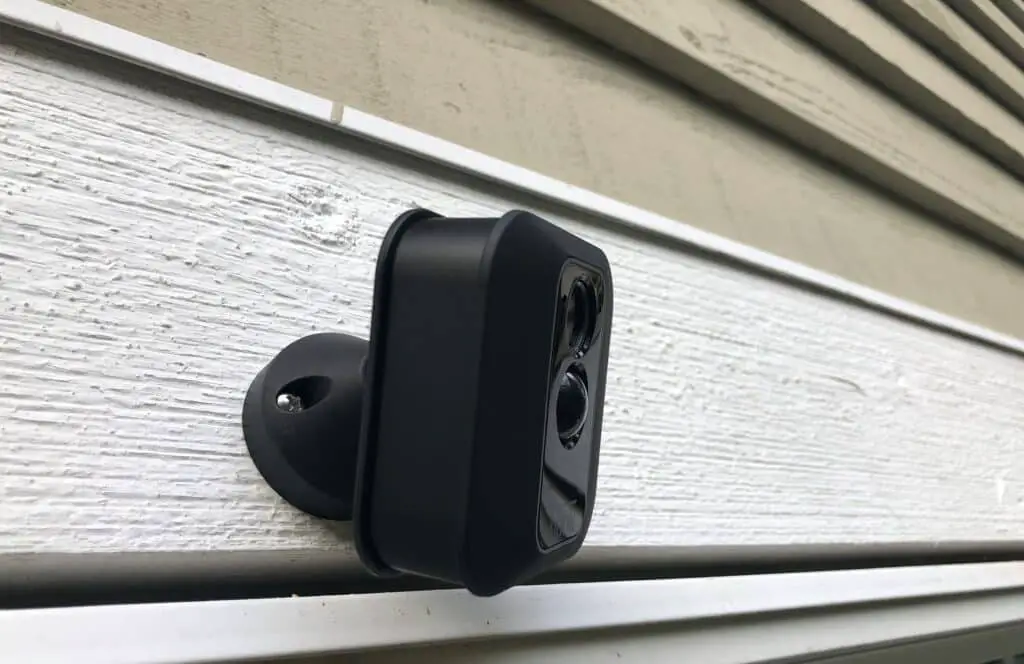
Your Blink XT2 comes with a camera mount, mount riser, and two screws in the box. If you would like to order more, you may do so at amazon.com. With the mount riser, the distance from the mounting surface to the camera can be made greater. This gives the camera more room to move when it is being set up.
Optimal Placement
Mounts give you the freedom to put your Blink Outdoor Camera where you think it will work best. By attaching the camera to a mount, you can place it at the right height and angle to get a clear view of the area you want to keep an eye on. If you want to shoot images of your front porch, garden, or driveway, a mount will help you achieve the finest possible viewing angle while eliminating the camera’s blind zones.
Stability and Security
Mounts make it easy to put your Blink Outdoor Camera somewhere stable and safe. Mounts provide a stable perch for your camera, eliminating the need for glue or other temporary solutions. This makes sure that your camera stays put, even if bad weather comes along or someone tries to mess with it. A secure mount keeps the camera in the same place and makes sure that spying is always going on.
Adjustable Angles
Some mounts are made so that you can easily tilt or turn your Blink Outdoor Camera to get the perfect view. This function is especially helpful when you want to keep an eye on certain areas or change the camera’s field of view to fit your needs. With an adjustable mount, you can quickly change the angle of the camera to keep an eye on more than one area with just one device.
Weather Resistance
Like Blink Outdoor Cameras, many mounts are weatherproof. They can tolerate rain, snow, and severe temperatures. You may safely use your Blink Outdoor Camera outside with a weatherproof mount.
Can you mount Blink camera to wall?
Depending on the orientation of where the camera will live, you will use one of the two mounting points: The vertical mounting point (for walls or other vertical surfaces) is located above the USB port at the rear of the camera.
Enhanced Field of View: Wall mounting your Blink camera allows you to position it at an optimal height and angle to achieve a clear and unobstructed field of view. By mounting it higher up on a wall, you can capture a broader area and minimize any potential blind spots. This ensures comprehensive coverage of the space you want to monitor, whether it’s your front door, hallway, or any other area of concern.
Stability and Security: When you fix your Blink camera to a wall, you give it a solid place to stand. Wall mounting makes sure that your camera stays in place, unlike temporary places or using adhesive mounts. It gets rid of the chance of the camera being moved or messed with by mistake. This makes sure that the camera is always working properly. This stability is especially important when the camera is outside, where strong winds or other outside forces could move it.
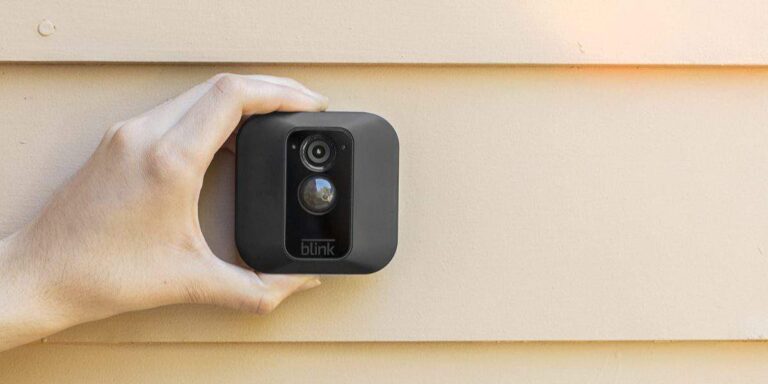
Easy Installation: Mounting a Blink camera to a wall is a relatively straightforward process. The camera comes with a mounting bracket and the necessary screws for wall installation. The bracket is designed to securely hold the camera while allowing for easy adjustment and positioning. With a few basic tools and the provided hardware, you can quickly and easily mount your Blink camera to a wall.
How far can I mount Blink camera?
100 ft. away
How far away can camera units be placed? Under normal circumstances, the Sync Module is capable of communicating with Blink cameras up to 100 ft. away in any direction.
Wi-Fi Signal Strength: The first and most important factor to consider is the strength of your Wi-Fi signal at the location where you plan to mount your Blink camera. The signal strength determines the distance over which your camera can effectively communicate with the Blink Sync Module or the Wi-Fi router. It is recommended to conduct a signal strength test using a Wi-Fi analyzer app or device to identify any potential weak spots or dead zones in your home.
Obstructions: The presence of physical obstructions, such as walls, floors, or large furniture, can significantly impact the range of your Wi-Fi signal. These obstructions can weaken the signal or create interference, reducing the distance over which your Blink camera can be mounted effectively. Thick walls or multiple walls between the camera and the Wi-Fi router may require you to mount the camera closer to ensure a reliable connection.
Blink Camera Model: Different models of Blink cameras have varying Wi-Fi capabilities, which can affect the maximum mounting distance. For example, newer models may feature improved Wi-Fi antennas or utilize more advanced wireless technology, enabling a longer range compared to older models. Consult the specifications and documentation provided by Blink to determine the specific range limitations for your camera model.
Do I need a Blink mount?
Moving the camera a short distance away from a reflective surface can make a big difference. Using a Blink Camera Mount or Blink Camera Stand is recommended to lift the camera off of surfaces like a shelf and improve image clarity. The image below is from the same camera on a mount.
Optimal Placement: A Blink mount provides you with the flexibility to choose the perfect location for your camera. By securely attaching the camera to a mount, you can position it at the ideal height and angle to achieve a clear and unobstructed view of the area you want to monitor. This ensures maximum coverage and minimizes blind spots, allowing you to capture important footage and enhance the security of your home.
Stability and Security: Using a mount offers a stable and secure installation for your Blink camera. Instead of relying on temporary placements or adhesive mounts that may be prone to dislodging or tampering, a dedicated mount provides a solid base for your camera. This stability is particularly crucial in outdoor environments where strong winds or potential interference may impact the camera’s positioning. A securely mounted camera ensures consistent surveillance and minimizes the risk of accidental misalignment or tampering.
Versatile Placement Options: Blink mounts come in various types and designs, providing you with versatile placement options. Whether you prefer a wall mount, magnetic mount, pole mount, or ceiling mount, there are options available to suit your specific needs and the layout of your home. This versatility allows you to select the most suitable mounting solution for the location you want to monitor, enabling you to achieve the desired field of view and coverage.
Does Blink Outdoor come with a mount?
Your Blink Outdoor and Indoor (3rd Gen) camera comes with the following accessories: A back cover opening tool/right angle adapter. A cone-shaped swivel mount matching the color of your camera body.
The Blink Outdoor camera securely holds and moves the camera. Its sturdy materials can be utilized indoors and out. It lasts longer and resists weather. It works with wall, magnetic, pole, and ceiling mounts. This lets you pick the one that suits your needs and property.
The fact that the Blink Outdoor camera comes with a mount is helpful in many ways. It makes installation easier because it comes with all the tools you need, so you don’t have to buy extra mounting equipment separately. This saves time, energy, and maybe even money. With the mount that comes with the Blink Outdoor camera, you can safely attach it to a wall or ceiling, for example, to make sure that it stays in place.
Also, the Blink Outdoor camera comes with a mount, which gives you the freedom to put it in the best place to record the field of view you want. By attaching the camera securely to the mount, you can quickly change the angle and tilt to keep an eye on the area you want to watch. This lets you change the camera’s position to cover more than one area with a single device or adapt it to your changing security needs.
What is the best placement for Blink Outdoor?
Answer: Some suggested locations for mounting a Blink outdoor camera include the front door or porch, the backyard or patio, the driveway or garage, and the side of the house.
Coverage Area: Start by identifying the areas you want your Blink Outdoor camera to cover. Common locations include entryways, driveways, backyards, and other points of potential vulnerability. Take into account the potential paths of intruders and areas where valuable items are kept. Consider both the front and back of your home, as well as any side entrances or secondary access points.
Line of Sight: When selecting a placement, ensure that the camera has a clear line of sight to the areas you want to monitor. Avoid obstructions such as trees, bushes, or large objects that could block the camera’s view or create shadows that trigger false motion alerts. A clear line of sight will help ensure that the camera captures accurate and useful footage.
Height and Angle: Mounting the Blink Outdoor camera at an appropriate height and angle is important for capturing the desired field of view. Position the camera high enough to minimize the risk of tampering or vandalism, but not so high that it compromises the camera’s ability to capture useful details. Aim for a downward angle to ensure the camera covers the intended areas effectively.
Can you mount Blink camera sideways?
The camera in the doorbell has a field of view pointing straight out from the mounting surface. If the image does not capture the desired view, a Wedge Mount offers a 5° vertical tilt and a Corner Mount offers 25° horizontal tilt.
Coverage Expansion: Mounting a Blink camera sideways can help expand the camera’s coverage area and capture a wider field of view. Depending on the specific location and layout, a sideways mount can offer a different perspective compared to a traditional forward-facing placement. This can be particularly useful in situations where you want to monitor a larger area or capture movement from different angles.
Monitoring Specific Areas: Sideways mounting can be advantageous when you want to focus on specific areas or objects. For example, if you want to monitor a hallway, a sideways-mounted camera can effectively capture the entire length of the hallway without the need for multiple cameras. This approach can also be helpful for monitoring narrow paths, corridors, or other areas where a sideways view provides better coverage.
Flexibility and Adaptability: Sideways mounting provides flexibility in adapting to the unique layout of your property. It allows you to position the camera in a way that suits your specific surveillance needs. By adjusting the angle and tilt of the sideways-mounted camera, you can fine-tune the field of view to cover the desired areas effectively.
How do I hide my outdoor blink camera?
Camouflage with trees, leaves, and bushes
A great trick to hide outdoor security cameras is by placing them behind trees, bushes, or even within a fake hanging potted plant. The leaves can hide the camera’s body to make it less noticeable. Just make sure the lens itself is not covered with branches or leaves.
Camouflage with Surroundings: One of the simplest and most effective ways to hide your outdoor Blink camera is to camouflage it with its surroundings. Consider the color and texture of the camera’s surroundings and choose a mounting location that allows the camera to blend in seamlessly. For example, if you have a brick wall, mount the camera against the brick surface to minimize its visibility. Similarly, if you have foliage or shrubs nearby, position the camera in a way that it is partially hidden by the vegetation.
Strategic Placement: Thoughtful placement of the camera can help conceal it while maintaining its functionality. Look for areas with natural obstructions such as trees, plants, or architectural features that can partially block the camera’s view from casual observers. By positioning the camera strategically, you can take advantage of existing structures to keep it hidden.
Use Housing or Enclosures: Another option to hide your outdoor Blink camera is to use housings or enclosures specifically designed for that purpose. These accessories can provide additional camouflage and protection for your camera. Look for housings that mimic common outdoor objects such as birdhouses, planters, or electrical boxes. These disguises can help the camera blend in seamlessly with its surroundings.

Conclusion
The Blink Outdoor Camera is designed to withstand various weather conditions, thanks to its weather-resistant construction. This means you can mount it outside without worrying about rain, snow, or extreme temperatures affecting its performance. Whether it’s monitoring your front porch, backyard, or driveway, the camera will continue to operate reliably, ensuring continuous surveillance regardless of the weather. The Blink Outdoor Camera’s wireless design eliminates the need for complicated wiring or installation processes.
This makes it incredibly easy to set up and mount in various locations around your property. You can choose to mount it on a wall, fence, or any other suitable surface using the provided mounting hardware, ensuring flexibility and adaptability to your specific needs. Another advantage of the Blink Camera is its long-lasting battery life. With efficient power management, the camera’s batteries can last for up to two years under normal usage.
This eliminates the hassle of frequently changing batteries and ensures uninterrupted monitoring of your home for an extended period. The Blink Home Monitor app provides a user-friendly interface that allows you to control and customize your camera’s settings effortlessly. From adjusting motion detection sensitivity to creating activity zones, you have the ability to tailor the camera’s functionality to suit your preferences and specific security requirements.

