Introduction
How To Mount Blink Indoor Camera: Home security has become a top priority for homeowners and renters alike. With the increasing popularity of smart home devices, one prominent solution that has gained significant recognition is the Blink Indoor Camera. These sleek and compact cameras offer a seamless way to monitor your living space, ensuring peace of mind and enhancing overall security.
Although the Blink Indoor Camera is easy to operate and mount, first-time users may find it difficult. This article shows you how to mount your Blink Indoor Camera for optimal location and operation.
Whether you plan to mount it on a wall, place it on a shelf, or attach it to a magnetic surface, the knowledge to make an informed decision and successfully install your camera. We will discuss the essential tools and materials needed for mounting, explore the key factors to consider when choosing the perfect location, and walk you through the process of securely mounting your Blink Indoor Camera.

Can you mount Blink indoor camera to wall?
Installation requires no specialized tools, you can install it in a minute by hand. Once mount bracket is fixed on the wall, you can press the blink mini camera to the mounting kit and adjust the angle for a better view. Please adjust your angle before you mount so you know where to mark the installation screws.
Choose the location: Select a suitable location on the wall where you want to mount the camera. Consider factors such as the camera’s field of view, proximity to power outlets, and optimal viewing angles.
Mark the mounting holes: Use a pencil or marker to mark the spots where you will drill holes for the mounting bracket. Ensure that the marks align with the holes on the bracket.
Drill pilot holes: Using a power drill and an appropriate drill bit, carefully drill pilot holes at the marked spots. Make sure the holes are slightly smaller than the provided screws.
Attach the mounting bracket: Align the mounting bracket with the pilot holes and use the provided screws to securely attach it to the wall. Ensure that the bracket is level and firmly in place.
Mount the camera: Once the bracket is securely attached, align the camera’s mounting plate with the bracket and slide it into place. It should click into position, indicating a secure fit.
Adjust the camera angle: After mounting the camera, adjust its angle to achieve the desired view. The Blink Indoor Camera allows for flexible positioning, so you can tilt and swivel the camera to capture the desired area.
Connect the camera: Lastly, connect the camera to a power source and complete the setup process according to the manufacturer’s instructions. Once the camera is powered on and connected to your Blink system, you can start monitoring your home.
Do you need a mount for Blink camera?
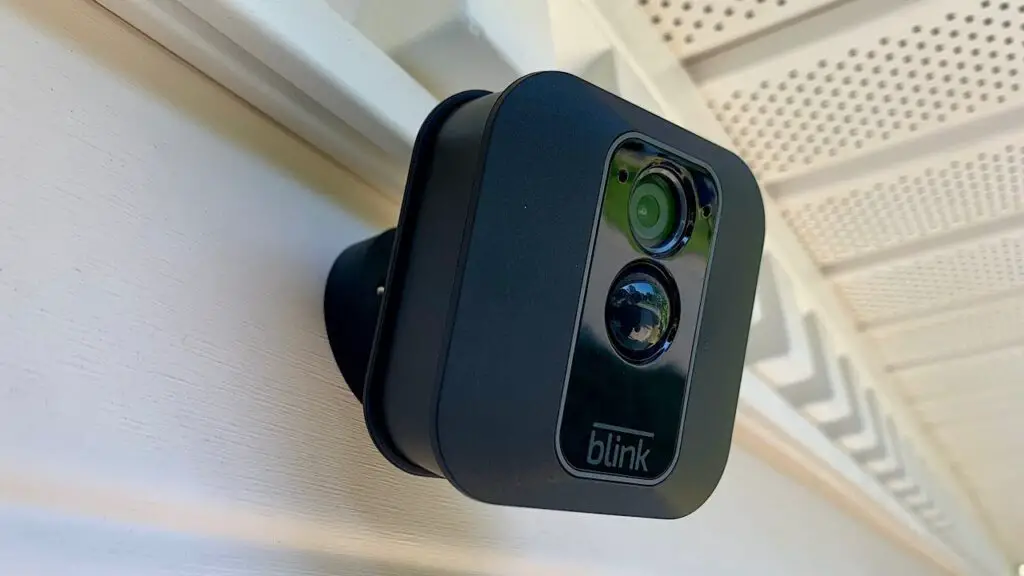
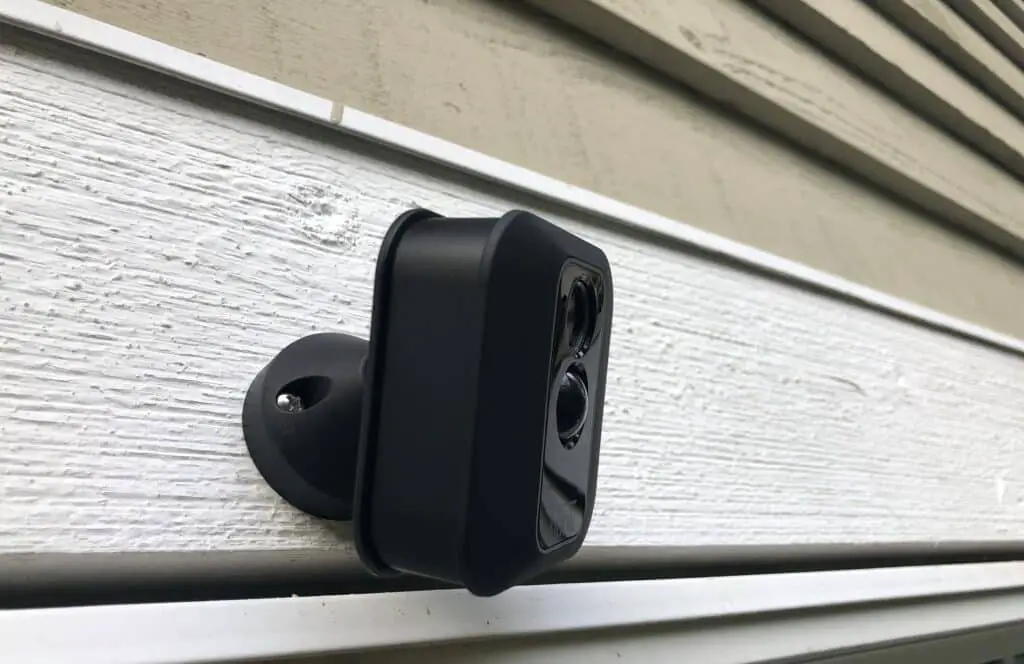
Your Blink XT2 comes with a camera mount, mount riser, and two screws in the box. If you would like to order more, you may do so at amazon.com. The mount riser is used to increase the distance from the mounting surface to the camera, allowing for a wider range of motion when positioning the camera.
Optimal positioning: Mounting your Blink camera allows you to position it at the ideal height and angle for capturing the desired area. By mounting the camera on a wall or ceiling, you can achieve a wider field of view and effectively monitor larger spaces.
Enhanced security: Mounting the Blink camera to a wall or ceiling helps protect it from accidental damage or tampering. It prevents the camera from falling or being lost.
Better coverage: When mounted, the Blink camera can be strategically positioned to cover specific areas or entry points, maximizing its surveillance capabilities. You can adjust the camera’s angle and tilt to ensure comprehensive coverage of your home.
Improved aesthetics: Mounting your Blink camera can provide a more polished and streamlined appearance. It helps eliminate clutter on surfaces and creates a cleaner and more professional look.
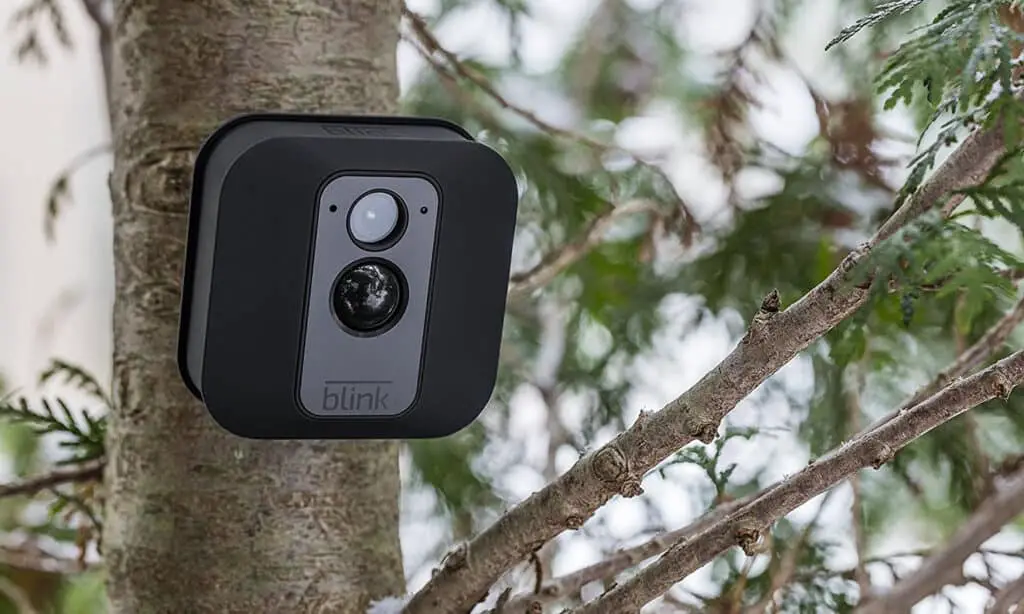
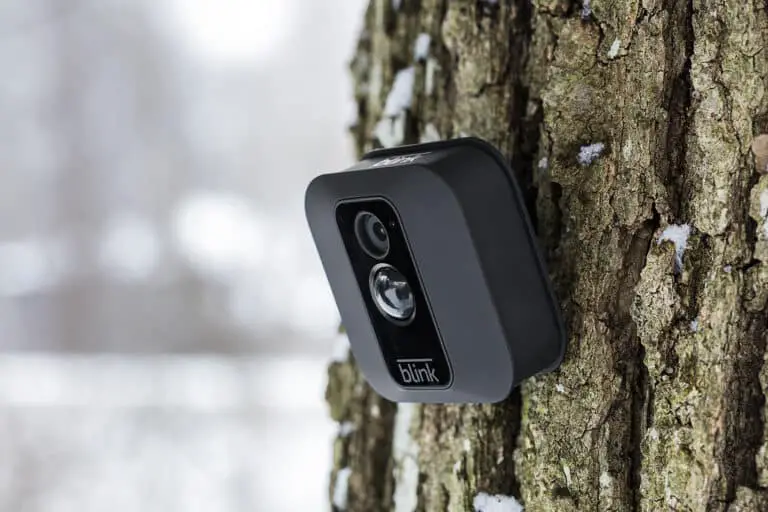
Magnetic mount: There are magnetic mounts available in the market specifically designed for Blink cameras. These mounts utilize strong magnets to hold the camera in place, making it easy to adjust and reposition as needed.
Tripod mount: Some Blink camera models are compatible with standard tripod mounts. This allows you to use a tripod or other similar accessories to mount the camera on various surfaces.
How is Blink mounted?
The Camera Mount includes a right-angle adapter. The mounting point fits directly into the back cover of Blink cameras. At first, the fit can be tight and you may have to press firmly to connect the mount. It also fits into the right-angle adapter and Blink accessories.
Assess the mounting location: Before mounting your Blink camera, carefully choose the location where you want to install it. Consider factors such as the area you want to monitor, the camera’s field of view, and proximity to power outlets or Wi-Fi signals.
Prepare the necessary tools: Gather the tools you will need for the installation. This typically includes a screwdriver, screws, and any additional mounting equipment specific to the type of mount you are using.
Select the mounting option: Blink offers various mounting options to suit different installation scenarios. These include wall mounts, magnetic mounts, and tripods. Choose the mounting option that best fits your needs and the location where you plan to install the camera.
For a wall mount: Align the mounting bracket with the pre-marked holes on the wall. Use a screwdriver to secure the bracket in place using the provided screws and anchors. Once the bracket is firmly attached, slide the camera onto the bracket or mount it using the specified method.
For a magnetic mount: Simply place the magnetic mount on a suitable metal surface and ensure it is securely attached. The Blink camera will magnetically adhere to the mount.
For a tripod mount: Attach the camera to the tripod mount using the provided screw or attachment mechanism. Make sure the camera is securely fastened to the tripod.
Adjust the camera position: Once the Blink camera is mounted, adjust its position to achieve the desired view. Tilt, swivel, or rotate the camera as needed to cover the desired area and ensure optimal surveillance coverage.
Where is the best place to mount a blink indoor camera?
The best range of detection is within 5 to 20 feet (about 1.5 to 6m) from the camera. By placing your camera higher off of the ground, you can avoid smaller animals causing motion alerts.
Entry points and high-traffic areas: One of the most crucial areas to monitor is the entry points of your home, such as doors and windows. Placing the Blink camera near these entry points provides a clear view of anyone entering or exiting your home. Additionally, consider mounting the camera in high-traffic areas like hallways or common living spaces to capture movement and activities throughout the house.
Line of sight and coverage: Ensure that the camera has an unobstructed line of sight to the areas you want to monitor. Avoid placing it behind objects like furniture, curtains, or plants that could obstruct the camera’s view or create blind spots. Aim for a position that allows the camera to capture a wide field of view to monitor larger areas effectively.
Height and angle: Mount the Blink camera at an appropriate height and angle to capture the desired view. Mounting it higher on a wall or ceiling provides a broader perspective and minimizes the risk of tampering or obstruction. Consider the camera’s tilt and swivel capabilities to adjust the angle for optimal coverage.
Power source and Wi-Fi signal: Ensure that the chosen mounting location has access to a power outlet or consider using extension cords or outlets nearby. Additionally, ensure that the camera’s mounting position allows for a strong Wi-Fi signal connection to maintain a reliable connection with the Blink system.
Vulnerable areas: Identify areas in your home that may be more susceptible to potential security threats, such as storage rooms, valuable item showcases, or home offices. Placing the Blink camera in these areas can help deter intruders and provide valuable evidence in case of a break-in or theft.

Does Blink come with a mount?
Your Blink Outdoor and Indoor (3rd Gen) camera comes with the following accessories: A back cover opening tool/right angle adapter. A cone-shaped swivel mount matching the color of your camera body. Two screws for the mount.
Blink outdoor cameras typically come with a mounting bracket or plate that enables you to securely attach the camera to a wall, ceiling, or other surfaces. This mounting option ensures stability and provides a broader field of view for monitoring outdoor areas. These accessories allow you securely mount your Blink camera.
Blink cameras come with a mount, but there are additional options. Some users choose third-party mounts and accessories for specialized uses.
Before installing your Blink camera, carefully review the contents of the package and ensure that you have the necessary components for the chosen mount. Follow the manufacturer’s instructions or any provided guides to correctly attach the camera to the mount and securely position it in your desired location.
How far can I mount Blink camera?
How far away can camera units be placed? Under normal circumstances, the Sync Module is capable of communicating with Blink cameras up to 100 ft. away in any direction. We recommend keeping the Sync Module near your wireless router for the best signal strength.
Blink cameras communicate with the Blink sync module or Wi-Fi network wirelessly. The wireless range can vary depending on the specific model and version of the Blink camera. Generally, Blink cameras have a wireless range of up to 100 feet (30 meters) in open spaces without interference.
Thick walls or materials such as concrete or metal can weaken the signal and reduce the effective range of the camera. Interference from neighboring Wi-Fi networks or electronic devices can also impact the wireless performance.
Strength of Wi-Fi Signal: The strength of your Wi-Fi signal is crucial for maintaining a reliable connection between the Blink camera and your Blink sync module or Wi-Fi network. The strength of the Wi-Fi signal can vary depending on the distance between the camera and the Wi-Fi router, as well as any obstructions or interference in the environment.
Position the Blink sync module: Place the Blink sync module in a central location within your home, preferably close to your Wi-Fi router. This helps minimize the distance and potential obstacles between the camera and the module.
Wi-Fi extender or access point: Installing a Wi-Fi extension or more access points to your network may boost connectivity in Blink camera-equipped rooms.
What is the best way to mount Blink camera?
The simplest method is to use a screw and anchor system. This requires drilling two holes into the mounting surface and using screws and anchors to secure the camera. If you don’t want to drill holes into your wall, you can also use an adhesive mount.
Assess the mounting options: Blink cameras offer various mounting options depending on the model and version. These options may include wall mounts, magnetic mounts, or tripod mounts. Evaluate the pros and cons of each option and choose the one that suits your specific requirements.
Wall mount: Use the screws and anchors to secure a wall mount. Place the bracket at a suitable height and angle for optimal coverage. Slide or attach the Blink camera to the bracket, making sure it is secure and level.
Magnetic mount: If utilizing a magnetic mount, identify a suitable metal surface and ensure the mount is securely attached. The magnetic force will hold the Blink camera in place. Test the stability and adjust the angle as needed to achieve the desired view.
Tripod mount: Some Blink camera models are compatible with standard tripod mounts. If using a tripod mount, attach the camera securely to the tripod using the provided screw or attachment mechanism. Ensure the tripod is stable and positioned in the desired location.
Angle and tilt adjustment: Once mounted, adjust the angle and tilt of the Blink camera to capture the desired view. Tilt the camera up, down, or sideways to achieve the best coverage. Consider testing the camera’s view and adjusting the angle before finalizing the installation.
How do you mount a camera in your house?
Install the Cameras
- If your Wi-Fi cameras require batteries, install them first.
- If using a wired system, connect the cable extending from the wall to the camera.
- Attach the camera to the power source, if needed.
- Secure the camera onto the mount and then adjust to the desired angle.
- Repeat at each camera location.
Choose the camera and mounting location: Select a camera that suits your specific needs and the purpose of installation. Consider factors such as resolution, field of view, connectivity, and any specific features required. Then, identify the best location to mount the camera. Determine the areas you want to monitor, such as entry points, hallways, or specific rooms, and select a suitable mounting spot.
Gather the necessary tools and materials: Before starting the installation process, ensure you have all the tools and materials required. This may include screws, anchors, a drill, screwdriver, level, measuring tape, and any specific mounting brackets or accessories provided with the camera.
Plan and mark the mounting holes: Once you have chosen the mounting location, use a pencil or marker to mark the spots where you will drill holes for the mounting brackets or screws. Ensure that the marks are level and aligned with the camera’s mounting holes.
Drill pilot holes and install anchors (if necessary): If you are mounting the camera on a wall or a hard surface, use a drill with an appropriate bit size to create pilot holes at the marked spots. If needed, insert anchors into the pilot holes to provide additional stability and support for the screws.

Conclusion
To mount your Blink Indoor Camera in a location that suits your specific needs. Whether you choose to mount it on a wall, place it on a shelf, or attach it to a magnetic surface, understanding the key factors to consider and following the recommended installation steps will result in an effective and secure setup.
The camera’s field of view, proximity to power outlets, and optimal viewing angles when selecting the ideal mounting location. Taking the time to plan and assess these aspects will contribute to the camera’s ability to capture clear and relevant footage, thereby enhancing the overall security of your home.
This will enable you to overcome potential challenges and ensure your Blink Indoor Camera continues to function optimally. By mounting your Blink Indoor Camera correctly, you can gain peace of mind, knowing that your home is under surveillance and protected from potential security threats. Whether you’re away on vacation, at work, or simply sleeping at night, the Blink Indoor Camera will provide you with a reliable and comprehensive view of your surroundings.

