

Introduction
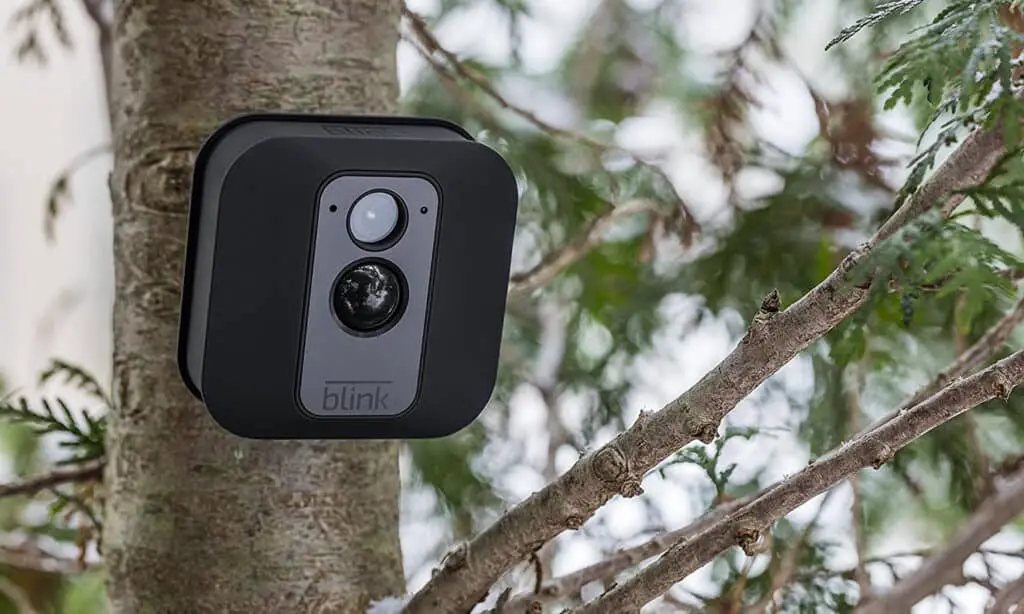
The Blink Outdoor Camera has become popular because it is both flexible and easy to use. It gives people peace of mind and good surveillance. But there may come a time when you need to take the camera off its stand, such as when you need to fix it, move it, or get a new model. If you want to safely remove the Blink Outdoor Camera from its base, you should read this first.
By following our directions, you’ll be able to remove your Blink Outdoor Camera from its mount. This will let you do any needed maintenance, move the camera to a different spot, or replace it with a new unit. Remember that proper use and following the instructions are important to avoid accidents and keep your gadget working for as long as possible.
Usually, there are only a few easy steps to the removal process. You’ll need to find the fixing bracket and figure out how to get it off. Then, carefully remove the camera from the stand by following the instructions. We’ll show you exactly how to remove the camera’s clips and screws without risking any damage to the device.
How Do I Remove Blink Camera From Mounting?
To remove the camera, simply press the front cover of the camera again and the LOCK SWITCH of the bottom case will release the Blink camera and remove it.
To remove a Blink camera from its mounting, follow these steps:
Turn off the camera: Before removing the Blink camera, it’s important to ensure that it’s turned off. This prevents any accidental triggering or unwanted recordings during the removal process.
Disconnect the camera: Locate the power source or battery compartment of the Blink camera. If it’s powered by batteries, remove them. If it’s connected to a power source, unplug the power adapter.
Remove the camera from the mounting bracket: The Blink camera is typically attached to a mounting bracket or magnetic mount. Depending on the specific model, you may need to use a small screwdriver or other tool to remove any screws or clips securing the camera to the mount. Carefully detach the camera from the mount, ensuring you don’t damage the device or its components.
Detach any cables: If your Blink camera is connected to any cables, such as an Ethernet cable or a USB power cable, gently disconnect them from the camera. Take care not to pull on the cables forcefully to avoid causing damage.
Store or relocate the camera: Once the Blink camera is removed from its mounting, decide whether you want to store it for later use or relocate it to a different area. If storing, consider using the original packaging or a protective case to keep it safe. If relocating, find a new suitable spot and follow the mounting instructions provided by Blink to secure the camera in its new position.
How Far Away Can I Mount A Blink Camera?
100 ft. away
How far away can camera units be placed? Under normal circumstances, the Sync Module is capable of communicating with Blink cameras up to 100 ft. away in any direction.
Factors like as camera model, Wi-Fi signal quality, and installation location all affect how far away from a router a Blink camera may be placed. You should consider the following:
Wi-Fi signal strength: In order to send video and voice data, Blink cameras need a stable Wi-Fi connection. The strength and stability of the Wi-Fi signal in the area affect how far away you can place a Blink camera. The signal can be weakened by things like thick walls, being far from the router, or interference from other electronics. Most of the time, it’s best to have a good Wi-Fi signal where you want to put the camera.
Line of sight: If there are walls, trees, or other big things between the camera and the Wi-Fi router, the signal strength and range can be affected. If there are a lot of obstacles in the way, you might not be able to put the camera as far away.
Environmental conditions: Extreme weather conditions, such as heavy rain, snow, or strong winds, can affect how well the camera’s Wi-Fi link works and how far it can reach. When figuring out the best distance, take into account the environmental factors of the mounting spot.
Before firmly installing the camera, test the Wi-Fi signal strength at different distances from the router in the area where it will be mounted. This will make sure that the connection is reliable and stable. With a Wi-Fi tester app or device, you can find out how strong the signal is in different places.
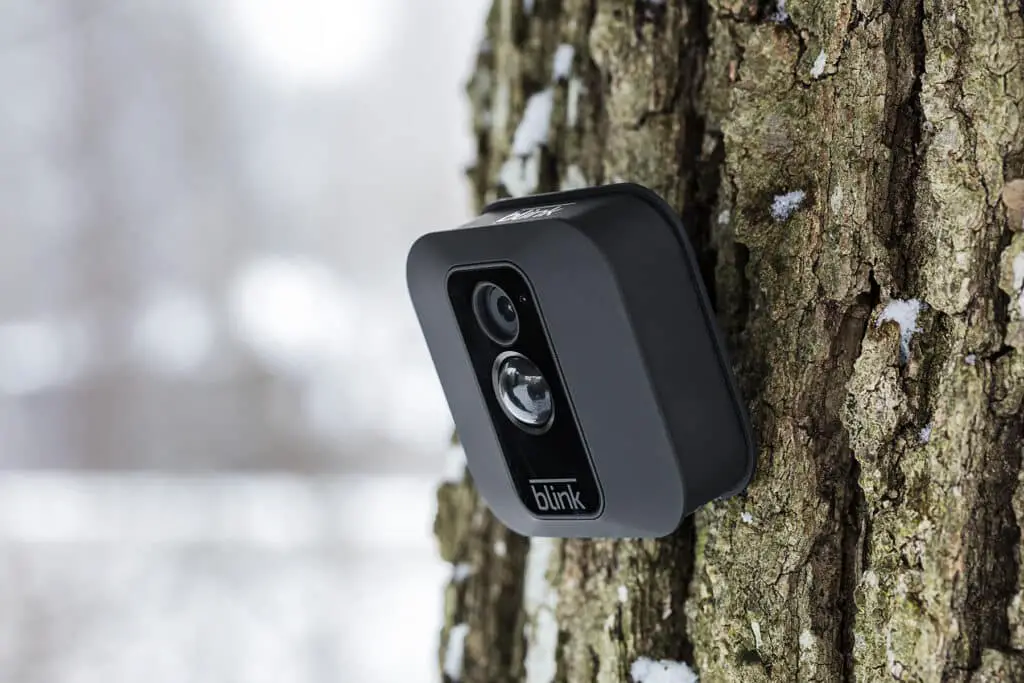
How Do I Remove The Blink Camera From The Outside Mount?
To remove the camera, hold the mount still and pull the bottom of the camera away from the mount. The mount fits very tightly so your camera is safe and secure, don’t be afraid to pull the camera off the mounting bracket. Our FAQ page about battery life and usage can be found here.
To remove a Blink camera from an outside mount, you can follow these steps:
Prepare for removal: Before you begin, ensure that the camera is turned off. This helps prevent any accidental triggering or unwanted recordings during the removal process. Also, have any necessary tools such as a screwdriver or Allen wrench ready, depending on the type of mount used.
Locate the mount: Identify the specific type of mount used for your Blink camera. It could be a screw-on bracket, a magnetic mount, or any other type of attachment mechanism.
Remove screws or clips: If your Blink camera is secured by screws, carefully unscrew them using the appropriate tool. Keep track of the screws to avoid losing them. If your camera is attached using clips or a magnetic mount, you may simply need to detach it by gently pulling it away from the mount.
Disconnect any cables: If your Blink camera is connected to any cables, such as an Ethernet cable or a power cable, gently disconnect them from the camera. Be cautious not to pull on the cables forcefully to prevent any damage.
Remove the camera: Once the camera is detached from the mount, gently lift it away from the mount or bracket. Take care not to drop the camera or apply excessive force that could potentially damage it.
Store or relocate the camera: Decide whether you want to store the camera for later use or relocate it to a different area. If storing, consider using the original packaging or a protective case to keep it safe. If relocating, find a new suitable spot and follow the mounting instructions provided by Blink to secure the camera in its new position.
Can You Mount Blink Camera To Wall?
Depending on the orientation of where the camera will live, you will use one of the two mounting points: The vertical mounting point (for walls or other vertical surfaces) is located above the USB port at the rear of the camera.
Yes, Blink cameras can be mounted to a wall. In fact, wall mounting is one of the most common and recommended methods for installing Blink cameras. Mounting the camera to a wall provides a stable and secure position for optimal coverage and surveillance.
To mount a Blink camera to a wall, follow these general steps:
Choose the mounting location: Select a suitable spot on the wall where you want to install the camera. Consider factors such as the desired field of view, accessibility for maintenance, and the availability of a power source or Wi-Fi signal.
Prepare the camera: Ensure that the camera is turned off before proceeding with the installation. If your Blink camera is battery-powered, make sure the batteries are inserted correctly and fully charged.
Mounting bracket or adhesive: Depending on the model and mounting options provided, you can attach a mounting bracket to the wall using screws or adhesive. Follow the instructions provided by Blink to securely affix the bracket to the wall.
Attach the camera: Once the mounting bracket is in place, you can attach the Blink camera to it. Most Blink cameras have a magnetic base that allows for easy attachment to the bracket. Simply align the camera with the bracket and let the magnet hold it in place. Some camera models may require additional steps such as tightening screws or clips to secure the camera to the bracket.
Adjust the position: After attaching the camera, adjust its position and angle to achieve the desired view. Ensure that the camera is level and pointed in the direction you want to monitor.
Test and finalize: Turn on the Blink camera and perform a test to ensure that it’s functioning correctly and capturing the desired area. If needed, make any further adjustments to the camera’s position.
What Is The Best Way To Mount Blink Camera?
The simplest method is to use a screw and anchor system. This requires drilling two holes into the mounting surface and using screws and anchors to secure the camera. If you don’t want to drill holes into your wall, you can also use an adhesive mount.
The best way to mount a Blink camera depends on various factors such as the specific camera model, the desired coverage area, and the layout of your property.
Here are some general tips to help you determine the best way to mount a Blink camera:
Location selection: Choose the mounting location carefully. Consider the areas you want to monitor, such as entrances, driveways, or backyards. Ensure that the location provides an optimal view of the desired area while also considering factors like Wi-Fi signal strength and power source availability.
Wall or ceiling mounting: Mounting the Blink camera on a wall or ceiling is often the most effective way to ensure stability and proper coverage. The camera’s field of view and angle can be adjusted easily when mounted on a wall or ceiling.
Mounting height: Consider the ideal height for the camera. Placing the camera at a height of 7 to 10 feet is generally recommended. This height allows for a broader view and reduces the risk of vandalism or tampering.
Mounting brackets: Utilize the mounting brackets provided by Blink. These brackets are designed to securely hold the camera in place and offer flexibility in adjusting the camera’s position and angle.
Wi-Fi signal strength: Ensure that the mounting location has a strong and stable Wi-Fi signal to maintain a reliable connection between the camera and the Blink sync module. You may need to test the signal strength in different locations before finalizing the mounting position.
Test the camera’s field of view: Before finalizing the mounting position, perform a test by temporarily placing the camera in the desired location. Check the camera’s field of view and adjust the angle as needed to capture the desired area.
What Size Screws For Blink Outdoor Camera?
What are the screw sizes that come with these mounts ? #6 (based on my screws & bolts threads guide), 1″ wood screws.
Depending on the mounting bracket or accessories, Blink outdoor cameras require different screw sizes. However, Blink cameras usually use #8-32 screws.
Screw size and thread count are #8-32. The screw’s diameter is 8 and its threads per inch are 32. Most Blink cameras utilize this screw size for installing tiny to medium-sized electronics.
Choose screws long enough to secure your Blink outdoor camera to the mounting bracket or surface. If you’re putting the camera to a thicker surface or utilizing mounting accessories, you may require longer screws. Outdoor screws prevent rust and corrosion. Find rust-resistant screws.
Can I Reuse The Mount After Removing A Blink Outdoor Camera?
Yes, the Blink Outdoor camera mounts are designed to be reusable. Once you have removed the camera, you can reattach another camera to the mount or store it for future use.
In most cases, you can reuse the mount after removing a Blink Outdoor camera. The mounting system for Blink cameras is designed to be versatile and reusable, allowing you to easily reattach the camera or use the mount with a different camera.
To reuse the mount after removing a Blink Outdoor camera, follow these steps:
Inspect the mount: Check the mount for any damage or wear. Ensure that the mounting bracket or adhesive is still intact and in good condition.
Clean the mount: If necessary, clean the mount to remove any dirt, debris, or adhesive residue. Use a soft cloth or mild cleaning solution, if needed, to gently wipe the surface.
Attach a new camera or reattach the same camera: Depending on your requirements, you can either reattach the same Blink Outdoor camera or use the mount with a different Blink camera model. Follow the mounting instructions provided by Blink to securely attach the camera to the mount.
Adjust the position: Once the camera is reattached, adjust its position and angle to ensure optimal coverage and desired field of view. Ensure that the camera is level and securely attached to the mount.
By following these steps, you can reuse the mount after removing a Blink Outdoor camera. However, always inspect the mount and follow the manufacturer’s instructions for your specific model to ensure proper installation and functionality.
Can I Remove A Blink Outdoor Camera From Its Mount Without Pressing The Release Button Or Tab?
No, pressing the release button or tab is typically necessary to disengage the camera from its mount. Attempting to remove the camera without using the release mechanism may damage the camera or the mount.
Removing the camera without utilizing the release button or tab may damage the camera or mount. Blink Outdoor cameras are locked to their mounts by their release buttons. Disengage the lock by pressing the button or releasing the tab to remove the camera smoothly.
Without the release mechanism, forcing the camera off the mount can cause damage. It may damage the camera’s housing or mounting bracket, loosen the connection, or damage its internal components.
Always follow the manufacturer’s instructions and utilize the release button or tab when removing your Blink Outdoor camera from its mount to prolong its life. Blink’s user manual or customer support can help with release mechanism issues. They can guide you through safe camera mount removal.
Conclusion
Removing the Blink Outdoor Camera from its mount is simple. You can safely detach the camera by following the steps. We stressed the need of studying your device’s user manual to get all the details for your model.
Finding the mounting bracket and release mechanism for a smooth removal. We advised taking care to unclip or unscrew the camera from the mount. Follow these steps to safely remove the camera.Remember that properly removing the Blink Outdoor Camera lets you perform maintenance, move it, or upgrade to a newer model.
Understanding and following the removal process properly keeps your equipment in good shape and increases its lifespan. Always be careful with electronics. Taking measures and following the manufacturer’s instructions will ensure a successful removal and optimal Blink Outdoor Camera performance.