Introduction
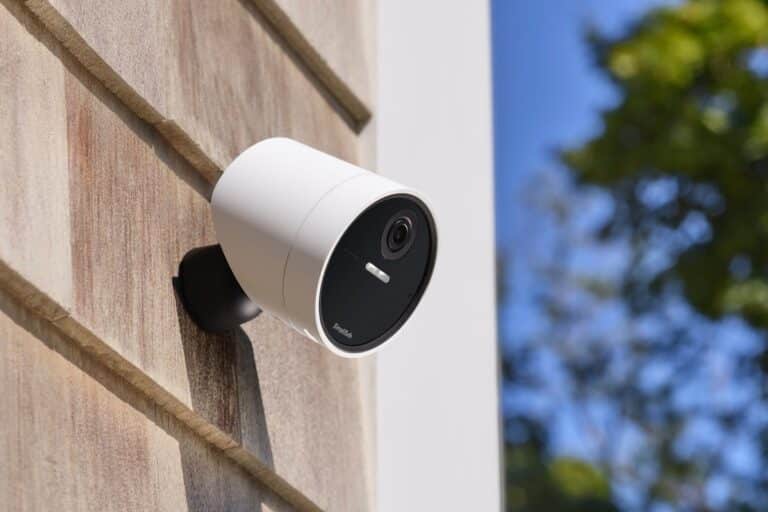
How To Mount SimpliSafe Outdoor Camera: Carefully choose where to put your SimpliSafe Outdoor Camera. Look for places that give you a good view of the area you want to watch while avoiding things like trees and walls. Think about things like the camera’s field of view, its range, and the best angles for taking pictures. Before you start, make sure you have all the tools you need. Depending on the height of the mount, these usually include a power drill, drill bits, a screwdriver, and either a ladder or a step stool.
Start by attaching the camera bracket to the desired location. Using a power drill and the appropriate drill bit, create pilot holes for the mounting screws. Align the bracket with the holes and secure it using the provided screws. Once the bracket is securely mounted, connect the SimpliSafe Outdoor Camera to the bracket. Follow the manufacturer’s instructions to ensure a proper and secure attachment.
Once you’ve attached the camera, you can tilt it to get the best shot. Check that the camera’s field of view is clear and that it is pointed in the direction of surveillance. This is a necessary step to get the footage you need and make sure the camera works right. Once you’ve attached the camera, you can tilt it to get the best shot. Check that the camera’s field of view is clear and that it is pointed in the direction of surveillance. This is a necessary step to get the footage you need and make sure the camera works right.

Where is the best place to put a SimpliSafe outdoor camera?
As an example, SimpliSafe typically recommends placing our Wireless Outdoor Security Camera 6-8 feet above the ground at about a 30-degree downward angle. Either way, make sure there’s nothing that can obstruct the view of your camera.
Entry Points: One of the primary considerations is to position the camera near entry points such as doors, windows, and garage entrances. Placing the camera in these areas helps monitor potential access points and can act as a deterrent for intruders.
Line of Sight: Ensure that the camera has a clear line of sight to the areas you want to monitor. Avoid obstructions like trees, bushes, or walls that may obstruct the camera’s view or provide hiding spots for intruders. The camera should have an unobstructed view to capture accurate footage.
High Traffic Areas: Identify high-traffic areas on your property, such as driveways, walkways, or common gathering spots. Positioning the camera to cover these areas increases the likelihood of capturing any suspicious activity or identifying individuals.
Backyard and Patio: If you have a backyard or patio, consider placing a camera in this area as well. Backyards are often vulnerable to break-ins or trespassing, and having a camera monitoring this space provides an extra layer of security.
Perimeter Coverage: Depending on the size of your property, it may be beneficial to position the camera to cover the perimeter. This helps to eliminate blind spots and deter trespassers by recording every activity throughout the property’s perimeter.
Can SimpliSafe cameras be mounted?
The Outdoor Camera has two ways to mount it, with the included hardware or with the permanent mount, which is better suited for overhangs. You can find the permanent mount as an accessory on the product page for Outdoor Camera.
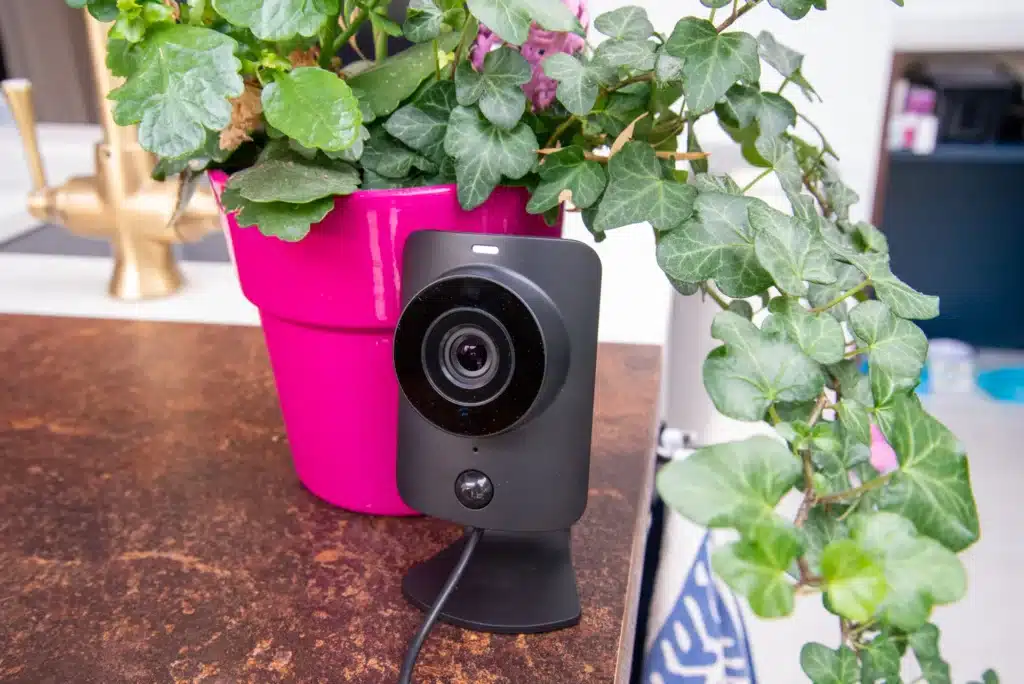
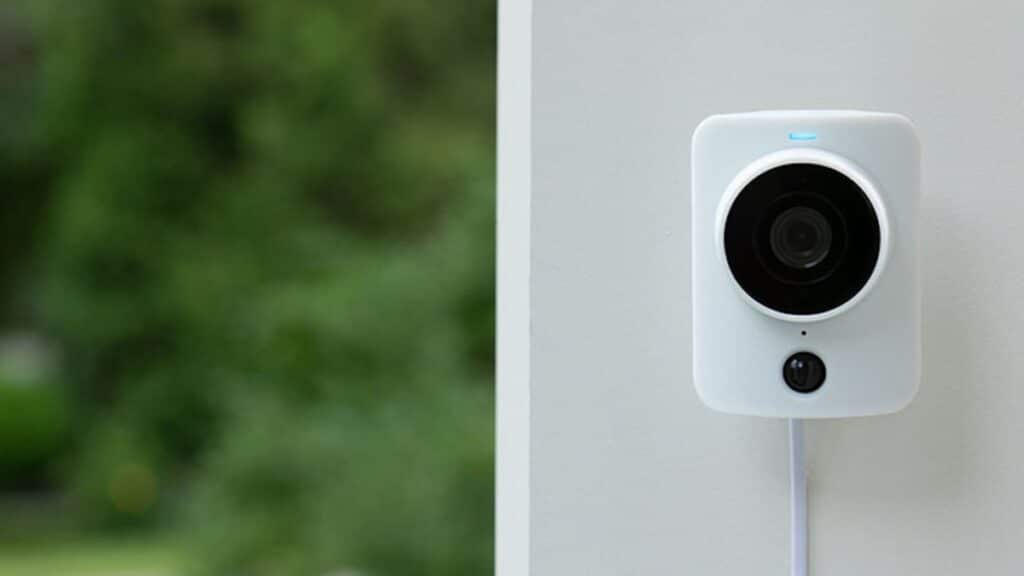
Camera Types: SimpliSafe offers different camera models, including the SimpliCam, SimpliCam Outdoor, and SimpliSafe Outdoor Camera. Each model has specific features and mounting requirements. It’s essential to choose the camera that best suits your needs and follow the manufacturer’s instructions for mounting.
Mounting Options: SimpliSafe cameras come with various mounting options to accommodate different installation scenarios. These options may include magnetic mounts, adhesive mounts, or mounting brackets. Carefully read the instructions provided with your camera to understand the specific mounting options available.
Indoor Camera Placement: For indoor cameras such as the SimpliCam, choose a location that provides a comprehensive view of the room or area you want to monitor. Consider mounting the camera on a wall or ceiling for an optimal vantage point. Position the camera to cover the target region and reduce blind spots.
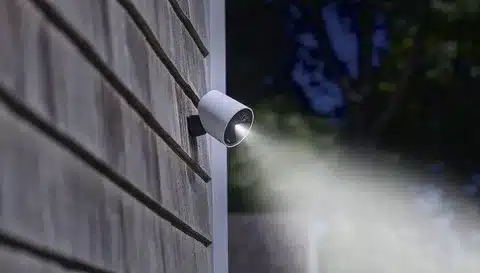
Outdoor Camera Placement: Mount SimpliSafe outside cameras in a place that permits property exterior surveillance. Consider covering range, angle of view, and weatherproofing. Weatherproof, multipurpose SimpliSafe Outdoor Camera should be safeguarded.
How do you mount a SimpliSafe outdoor camera upside down?
emily_s
- In the SimpliSafe mobile app, tap on “Cameras” on the bottom of the app screen.
- Tap the gear icon in the top right corner.
- Select the camera that you want to rotate the view of.
- In the camera’s settings screen, the option to “Rotate Image 180°” option will be under the “General” section.
Check Compatibility: Before attempting to mount a SimpliSafe outdoor camera upside down, ensure that the camera model you have supports this orientation. Refer to the camera’s user manual or contact SimpliSafe customer support to confirm compatibility.
Identify the Mounting Surface: Determine the surface on which you plan to mount the camera upside down. It should be suitable for securely holding the camera and providing a clear view of the desired surveillance area.
Prepare the Mounting Surface: Clean the mounting surface thoroughly to ensure proper adhesion or secure attachment. Remove any dirt, dust, or debris that may hinder the camera’s placement.
Mounting Bracket Adjustment: If your SimpliSafe outdoor camera comes with a mounting bracket, you may need to adjust it before proceeding. Consult the camera’s user manual for instructions on adjusting the bracket to accommodate an upside-down installation.
Attach the Mounting Bracket: Securely attach the mounting bracket to the upside-down position on the chosen surface. Use screws or adhesive mounts provided with the camera to ensure a stable and secure attachment. Follow the manufacturer’s instructions for proper installation.
How far can SimpliSafe outdoor camera be from base station?
6 to 8 feet
Simplisafe requires the outdoor camera be mounted 6 to 8 feet from the base station.
Obstructions: Walls, doors, furniture, and other physical barriers can attenuate the wireless signal and reduce the effective range. Thick walls or multiple walls between the camera and the base station can significantly impact the signal strength and limit the distance.
Interference: Other wireless devices operating on the same frequency or in close proximity can cause interference, leading to a weaker signal. Devices such as routers, cordless phones, or microwaves may affect the camera’s range.
Environmental Factors: Environmental conditions, such as electromagnetic interference, radio frequency interference, or atmospheric conditions, can affect the wireless signal. These factors can include nearby power lines, electrical equipment, or even extreme weather conditions.
Placement of the Base Station: The location of the base station also plays a role in the camera’s effective range. Positioning the base station in a central location within the property can help maximize the wireless signal coverage.

What is the angle of SimpliSafe outdoor camera?
The SimpliSafe Outdoor Camera also offers a 140-degree field of view. We expect our cameras to see at least 110 degrees. All in all, we were pretty pleased to have wide-angle viewing. The camera also features 8x digital zoom.
Has a 120-degree wide-angle lens. The camera’s wide-angle coverage reduces blind spots and maximizes monitoring.
When compared to the SimpliCam Outdoor, the SimpliSafe Outdoor Camera has an even bigger field of view. With a 140-degree field of view, it covers a bigger area, catches more details, and makes spying more effective.
Because SimpliSafe outdoor cameras have a wide field of view, they can keep an eye on a large area without having to use multiple cameras. It gives you a good way to keep an eye on big areas like driveways, yards, or entrances.
When setting up an outdoor SimpliSafe camera, you should think about the camera’s field of view to make sure it covers the places you want it to. Changing the angle at which the camera is mounted can help improve the field of view and get the needed footage.
Can you have two outdoor cameras with SimpliSafe?
SimpliSafe’s advertising says that with their Interactive Monitoring plan, you can have up to 10 cameras.
Camera Compatibility: SimpliSafe offers various outdoor camera models, including the SimpliCam Outdoor and the SimpliSafe Outdoor Camera. Make sure your cameras work with SimpliSafe and can be simply connected.
Base Station Capacity: SimpliSafe base stations can only link so many cameras. The capacity depends on your SimpliSafe system. To guarantee the system can handle numerous exterior cameras, check the specs or contact SimpliSafe customer service before installing one.
Placement and Coverage: Determine the areas you want to monitor and position the two outdoor cameras accordingly. Consider factors such as entry points, high-traffic zones, or vulnerable areas. Placing the cameras strategically helps provide overlapping coverage and minimizes blind spots.
Mounting and Installation: Follow the manufacturer’s instructions for mounting and installing the outdoor cameras. Each camera model may have specific requirements for placement and connectivity. Proper installation ensures optimal performance and reliable surveillance.
How do I rotate my SimpliSafe outdoor camera?
@h82w811 In the phone app, My Settings, camera settings, tap the outdoor camera you want to change, you will then see “rotate image 180 degrees”. Turn on or off. Hit save and then exit that screen.
Remove the Camera: Carefully detach the SimpliSafe outdoor camera from its mounting bracket or mount. Refer to the camera’s user manual or the SimpliSafe support website for specific instructions on how to remove the camera safely.
Adjust the Mounting Bracket: Depending on the type of mounting bracket used, you may have the option to adjust the bracket itself. Some brackets allow tilting or swiveling to change the camera’s angle. If applicable, consult the user manual or the manufacturer’s guidelines on adjusting the mounting bracket.
Reinstall the Camera: After adjusting the mounting bracket or selecting a new position, reattach the SimpliSafe outdoor camera to the mount securely. Ensure that the camera is properly aligned and tightly secured to prevent any potential movement or instability.
Test the New Angle: Use the SimpliSafe app or system to watch the live stream after reinstalling the camera. Ensure the camera covers the target region and gets the video.
Is SimpliSafe outdoor camera hardwired?
If you don’t want to deal with batteries, a passthrough microUSB cable is hidden away inside a rubber tab on the rear of the camera. (The price of a watertight cable of 25 feet in length is an additional $50.)
Easy Installation: SimpliSafe outdoor cameras can be installed without the need for running wires or cables, simplifying the setup process. This makes it suitable for both DIY enthusiasts and those who prefer a hassle-free installation experience.
Flexible Placement: The wireless design of SimpliSafe outdoor cameras allows for greater flexibility in choosing their placement. Camera placement may be optimized without connected connections to increase surveillance coverage.
Scalability: SimpliSafe’s wireless cameras are easily expandable, enabling you to add more cameras to your system as needed. This scalability allows you to customize and expand your security setup based on your changing requirements.
Portability: The wireless feature of SimpliSafe outdoor cameras makes them portable. If you decide to move or relocate, you can easily uninstall the cameras and reinstall them in your new location without the need for rewiring or professional assistance.
Reduced Vulnerability: With no physical wires to cut or tamper with, wireless cameras can be more secure against potential intruders who might attempt to disable the system.

Conclusion
The SimpliSafe Outdoor Camera is easy to set up and can make a big difference in how safe your property is. By carefully choosing where to place the camera, following the steps for installation, and adjusting the camera’s angle, you can make sure that it works well and has the best coverage. Taking the time to test the camera’s connection and make a test recording will give you faith in its performance.
Follow the advice from the manufacturer and use the right tools to get the job done. Make sure the camera is firmly attached and that all the connections are tight. Also, you might want to clean up the wires and protect them from the weather to make sure they last a long time.
Once your SimpliSafe Outdoor Camera is mounted, you can enjoy the benefits of enhanced surveillance and peace of mind. You’ll have a reliable system in place to monitor the exterior of your home or business, deterring potential intruders and capturing footage when needed. With the SimpliSafe Outdoor Camera successfully mounted, you can rest assured that you’ve taken a significant step towards bolstering the security of your premises. Stay vigilant, regularly maintain your camera, and make use of the comprehensive features provided by SimpliSafe to create a safe and protected environment.

